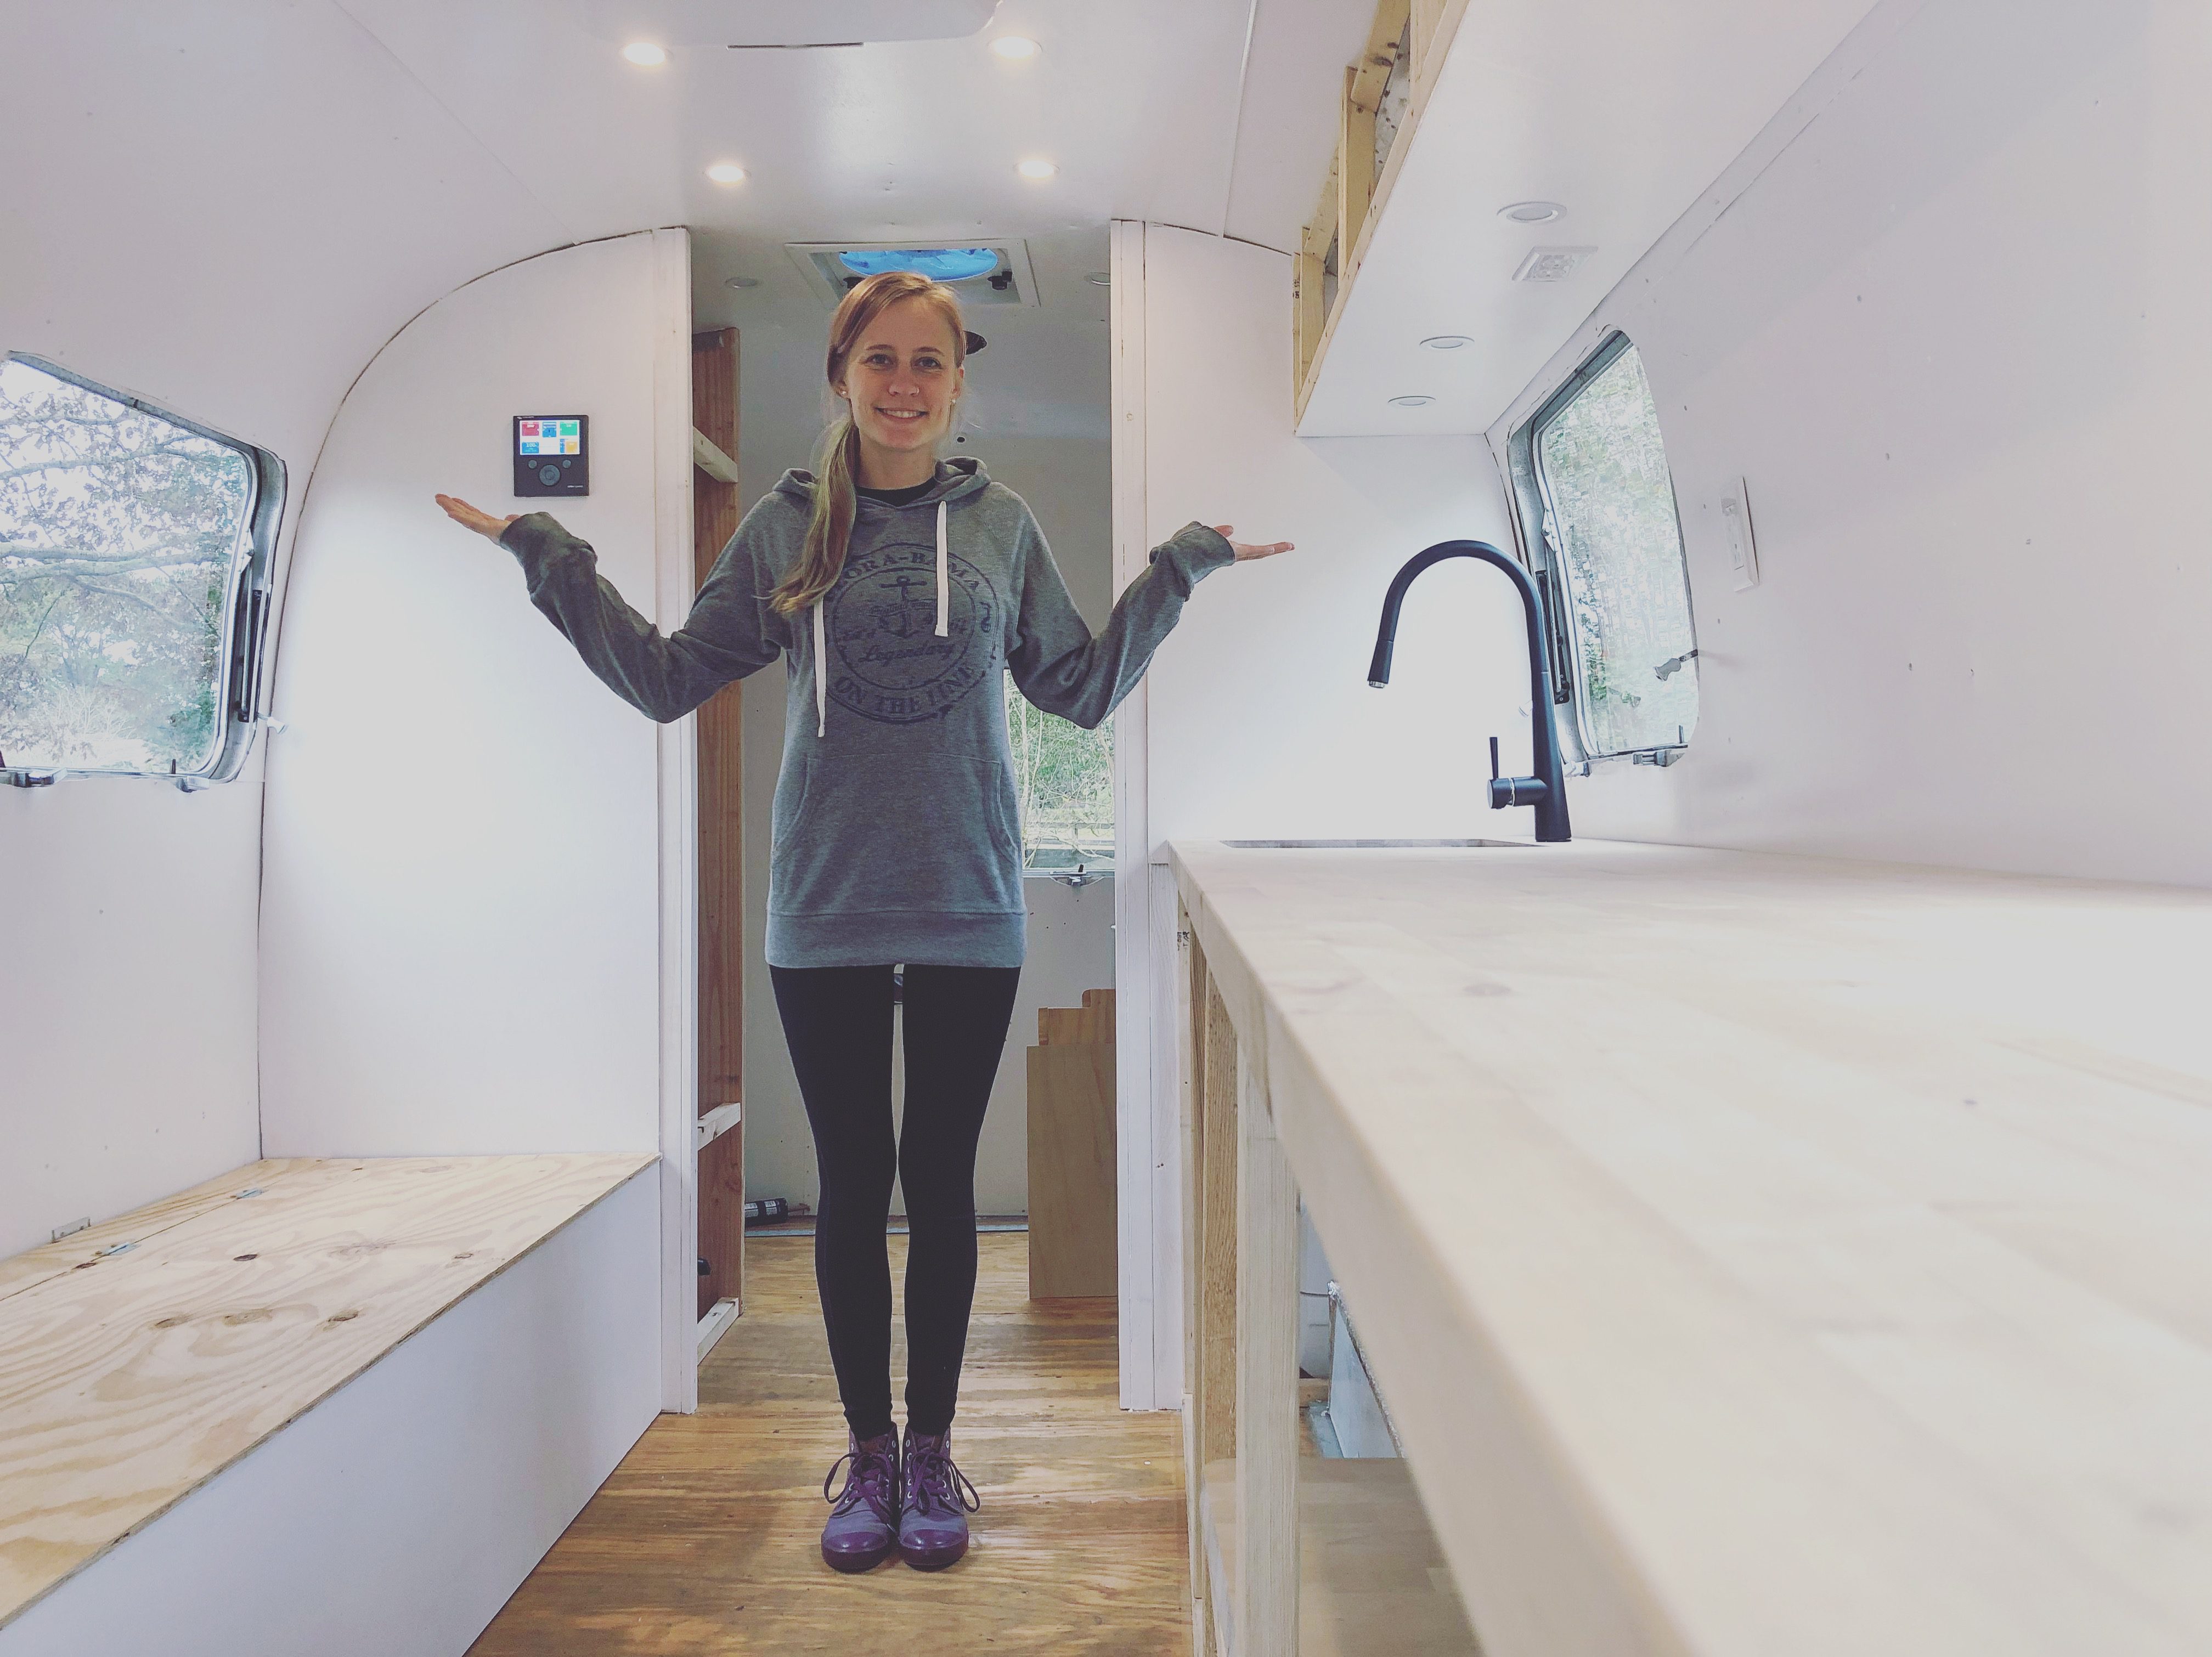

Building a custom Airstream Bed doesn’t have to be hard!
We have been renovating our 1979 Argosy Airstream so completely, that its essentially a new trailer. The only thing original is the frame and the aluminum skins. We designed our layout to have a front bed and rear bath. This meant building a bed frame around the front curve, over the water tank (which is actually original too now that I think about it) and with lots of room for storage underneath.
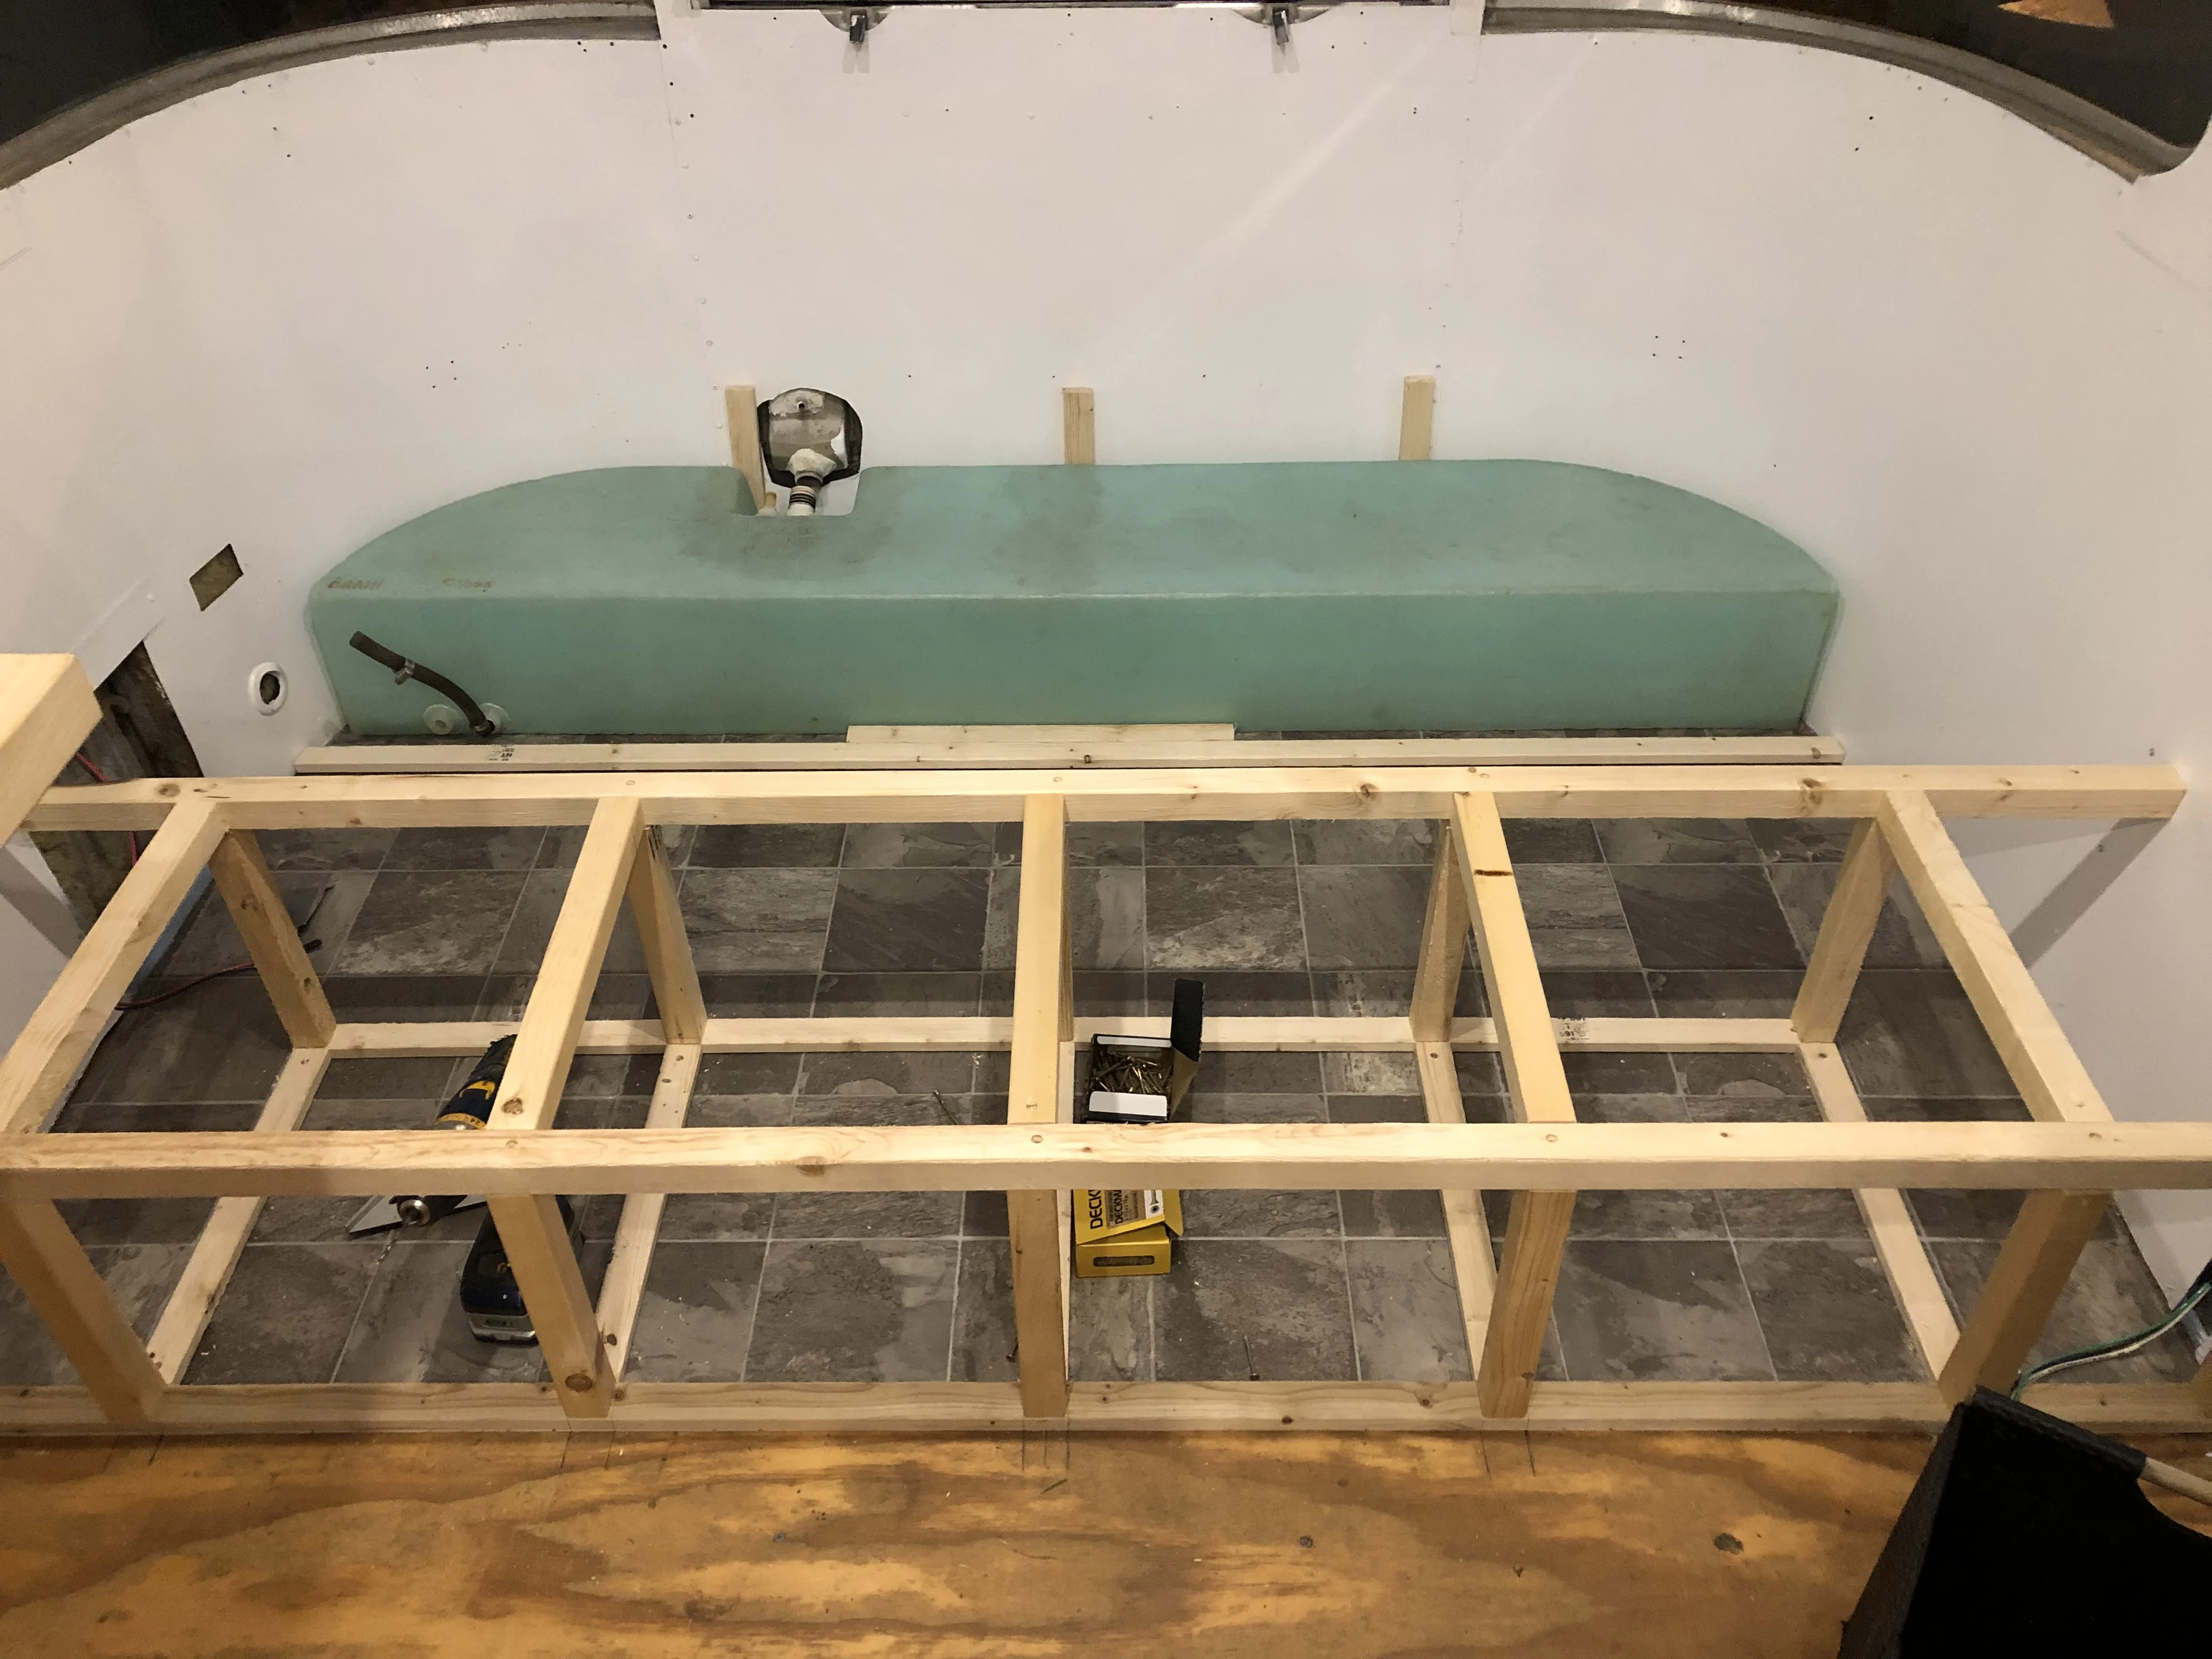
I’m no woodworker, so this is a simple design, nothing fancy, but super functional. I started with a simple sketch to come up with the general design and then I just went for it. I used 1×2’s and 2×2’s for the whole frame so its pretty lightweight too! I used 1×2’s for all the supports along the floor that I would be screwing into and 2×2’s for anything that would be bearing weight.
Cubbies for our Custom Airstream Bed

I decided I wanted to add 4 cubbies to the front that could be accessed without lifting the Airstream bed, I measured a storage basket I liked the size of and made the cubbies 14″ H x 14″ W x 16″ L.
This is slightly bigger than the actual basket and gave a little wiggle room for taking it in and out.
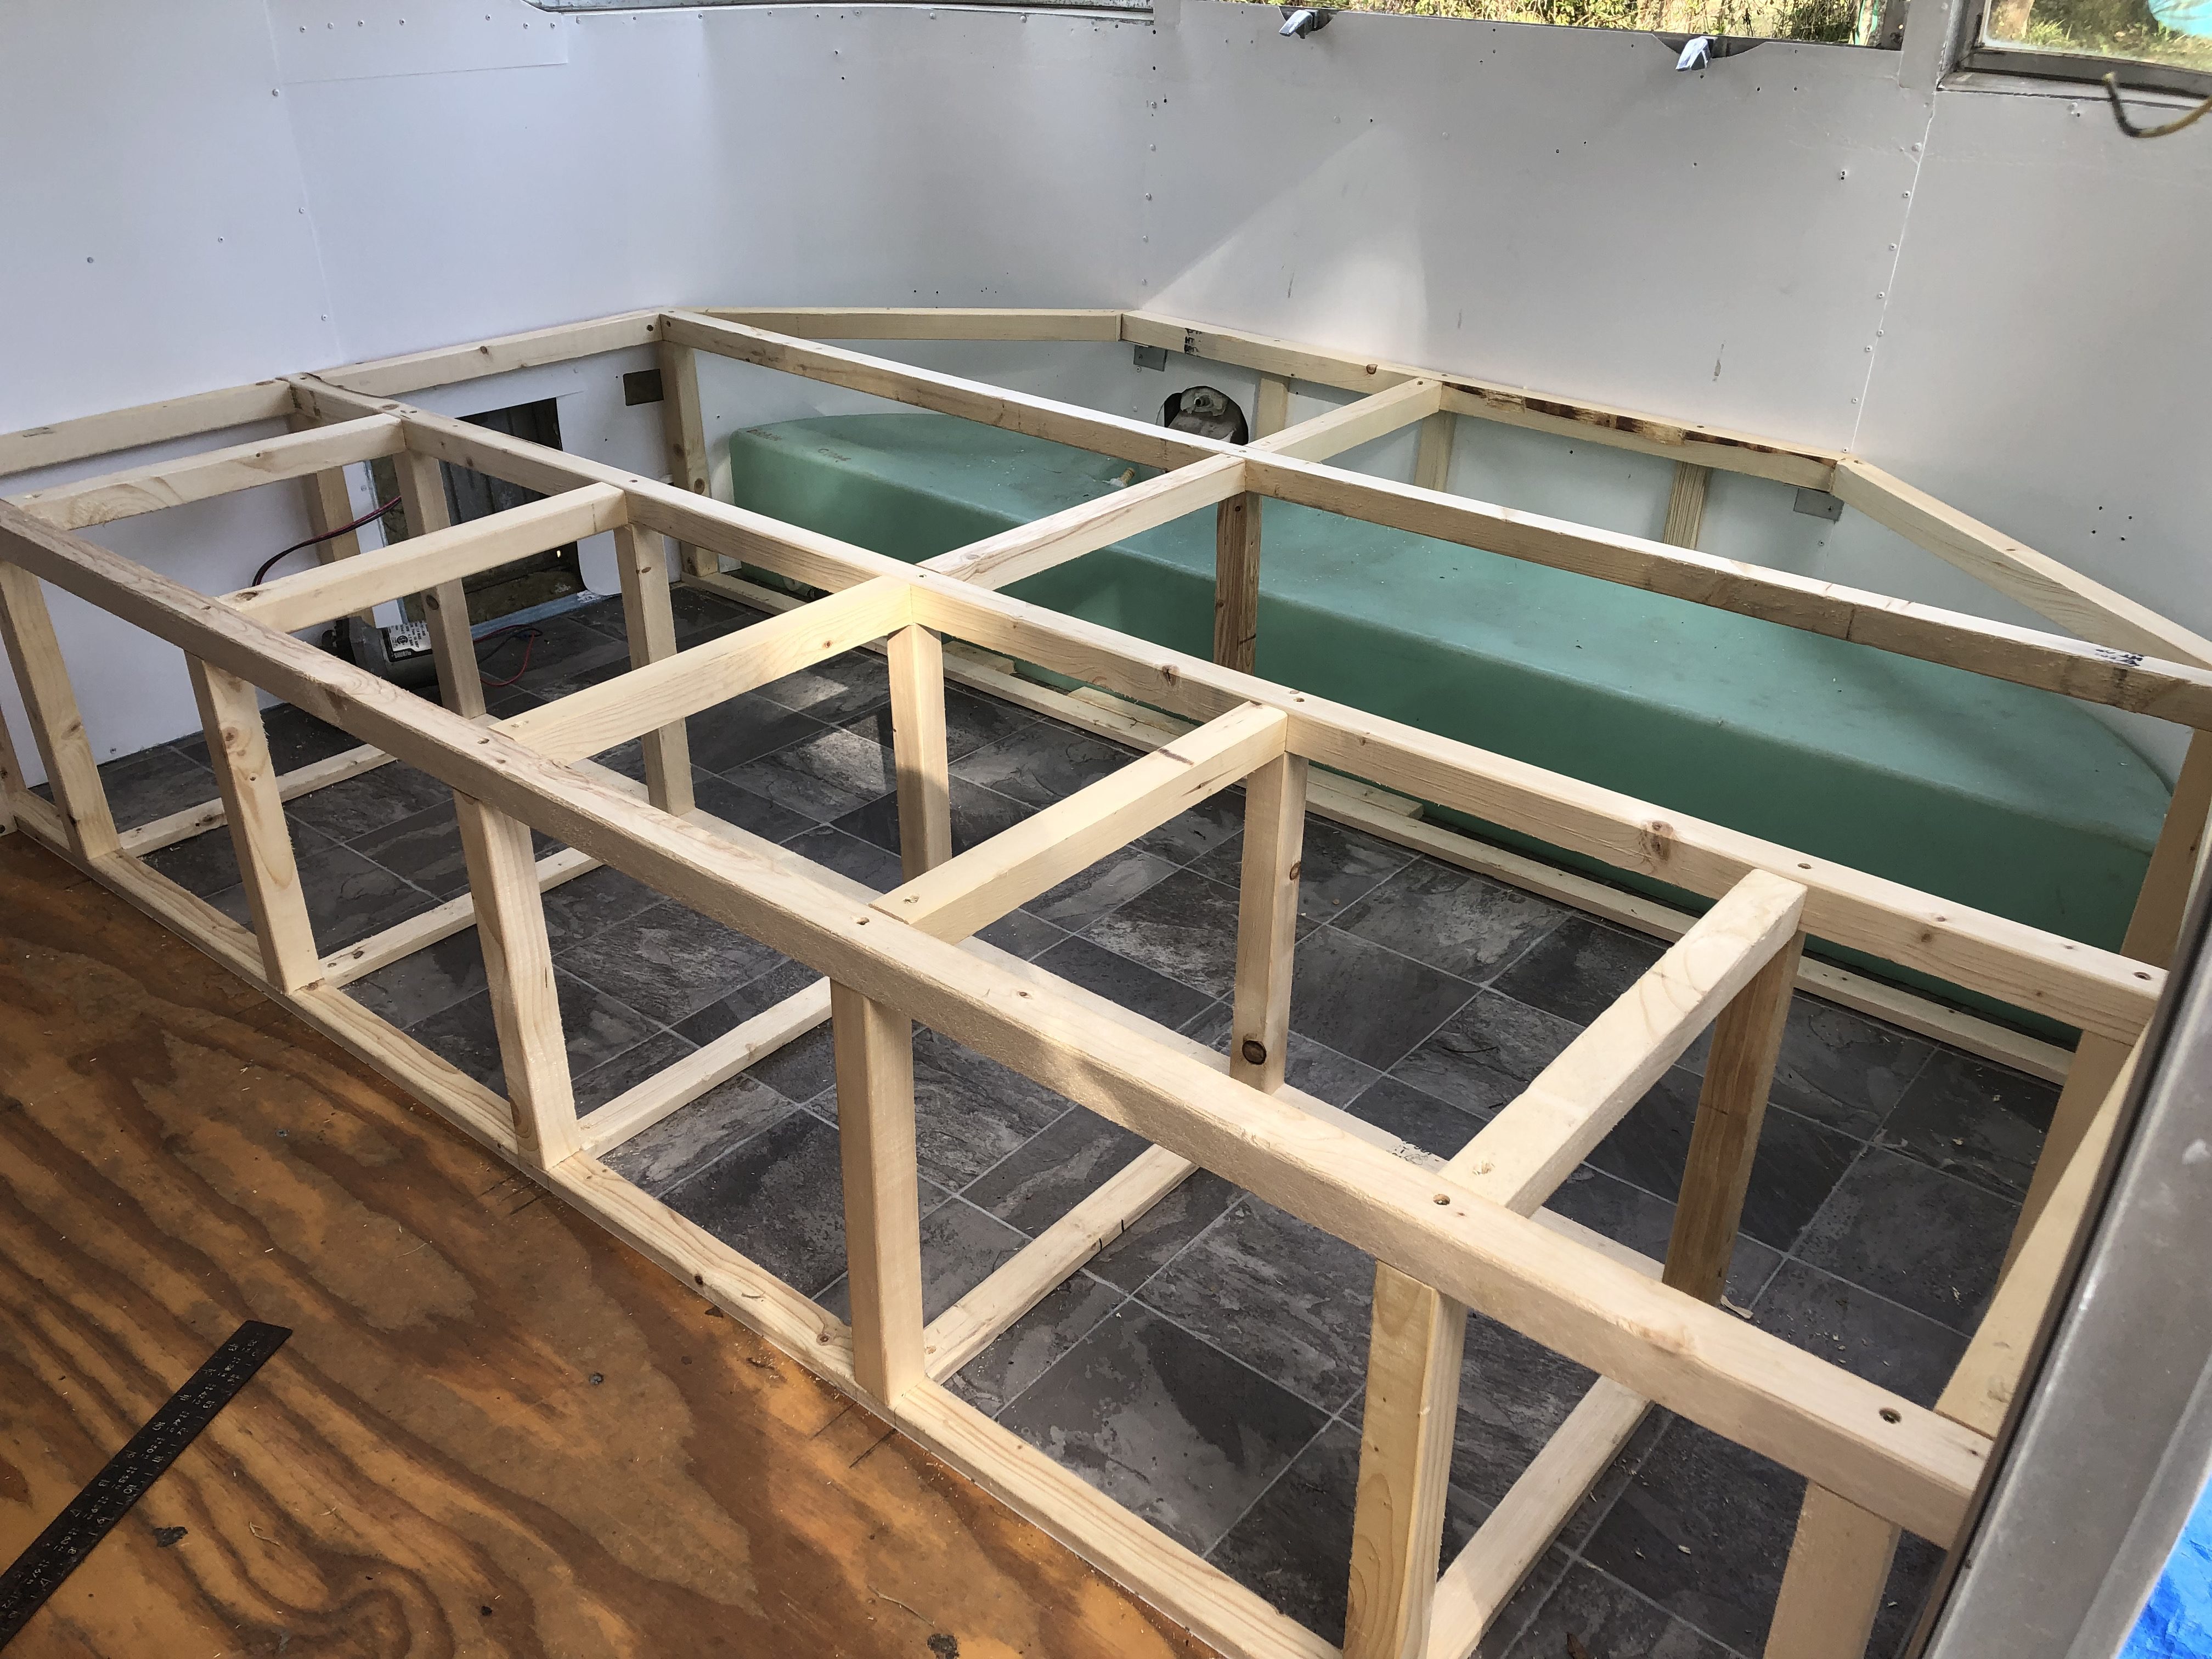

After I measured everything out on the floor (accounting for the 1.5″ width of the 2×2 framing between each cubby) I started framing it out. I just used wood screws to assemble everything but I hear a pocket jig is a wonderful tool. I’m hoping to acquire one for Christmas.
The most challenging part was measuring the angles for the supports connecting the corners. I just traced the angle underneath and put the table saw to the widest angle and used spacers of scrap wood between my piece until I got to the “right” angle.
Creating a Template for the Curves
After the frame was finished I created a template from kraft paper to cut the plywood pieces for the top. There will be a hinge connecting the two pieces and we will purchase a bed lifting kit to easily lift the bed up to access storage once the mattress is on top. We left all that off in the meantime to have better access for plumbing.


Pro tip for those who are a bit more frugal like us – For areas of flooring that won’t be seen regularly, you can get inexpensive rolls of vinyl flooring from Home Depot and Lowes. We got a scrap roll for $24!
We saved a lot of money this way, and significantly reduce weight. Our nicer heavier duty vinyl tongue and groove planks are beautiful, but they can get heavy and pricey, so we save that for all the visible and high traffic areas.
Finishing Touches

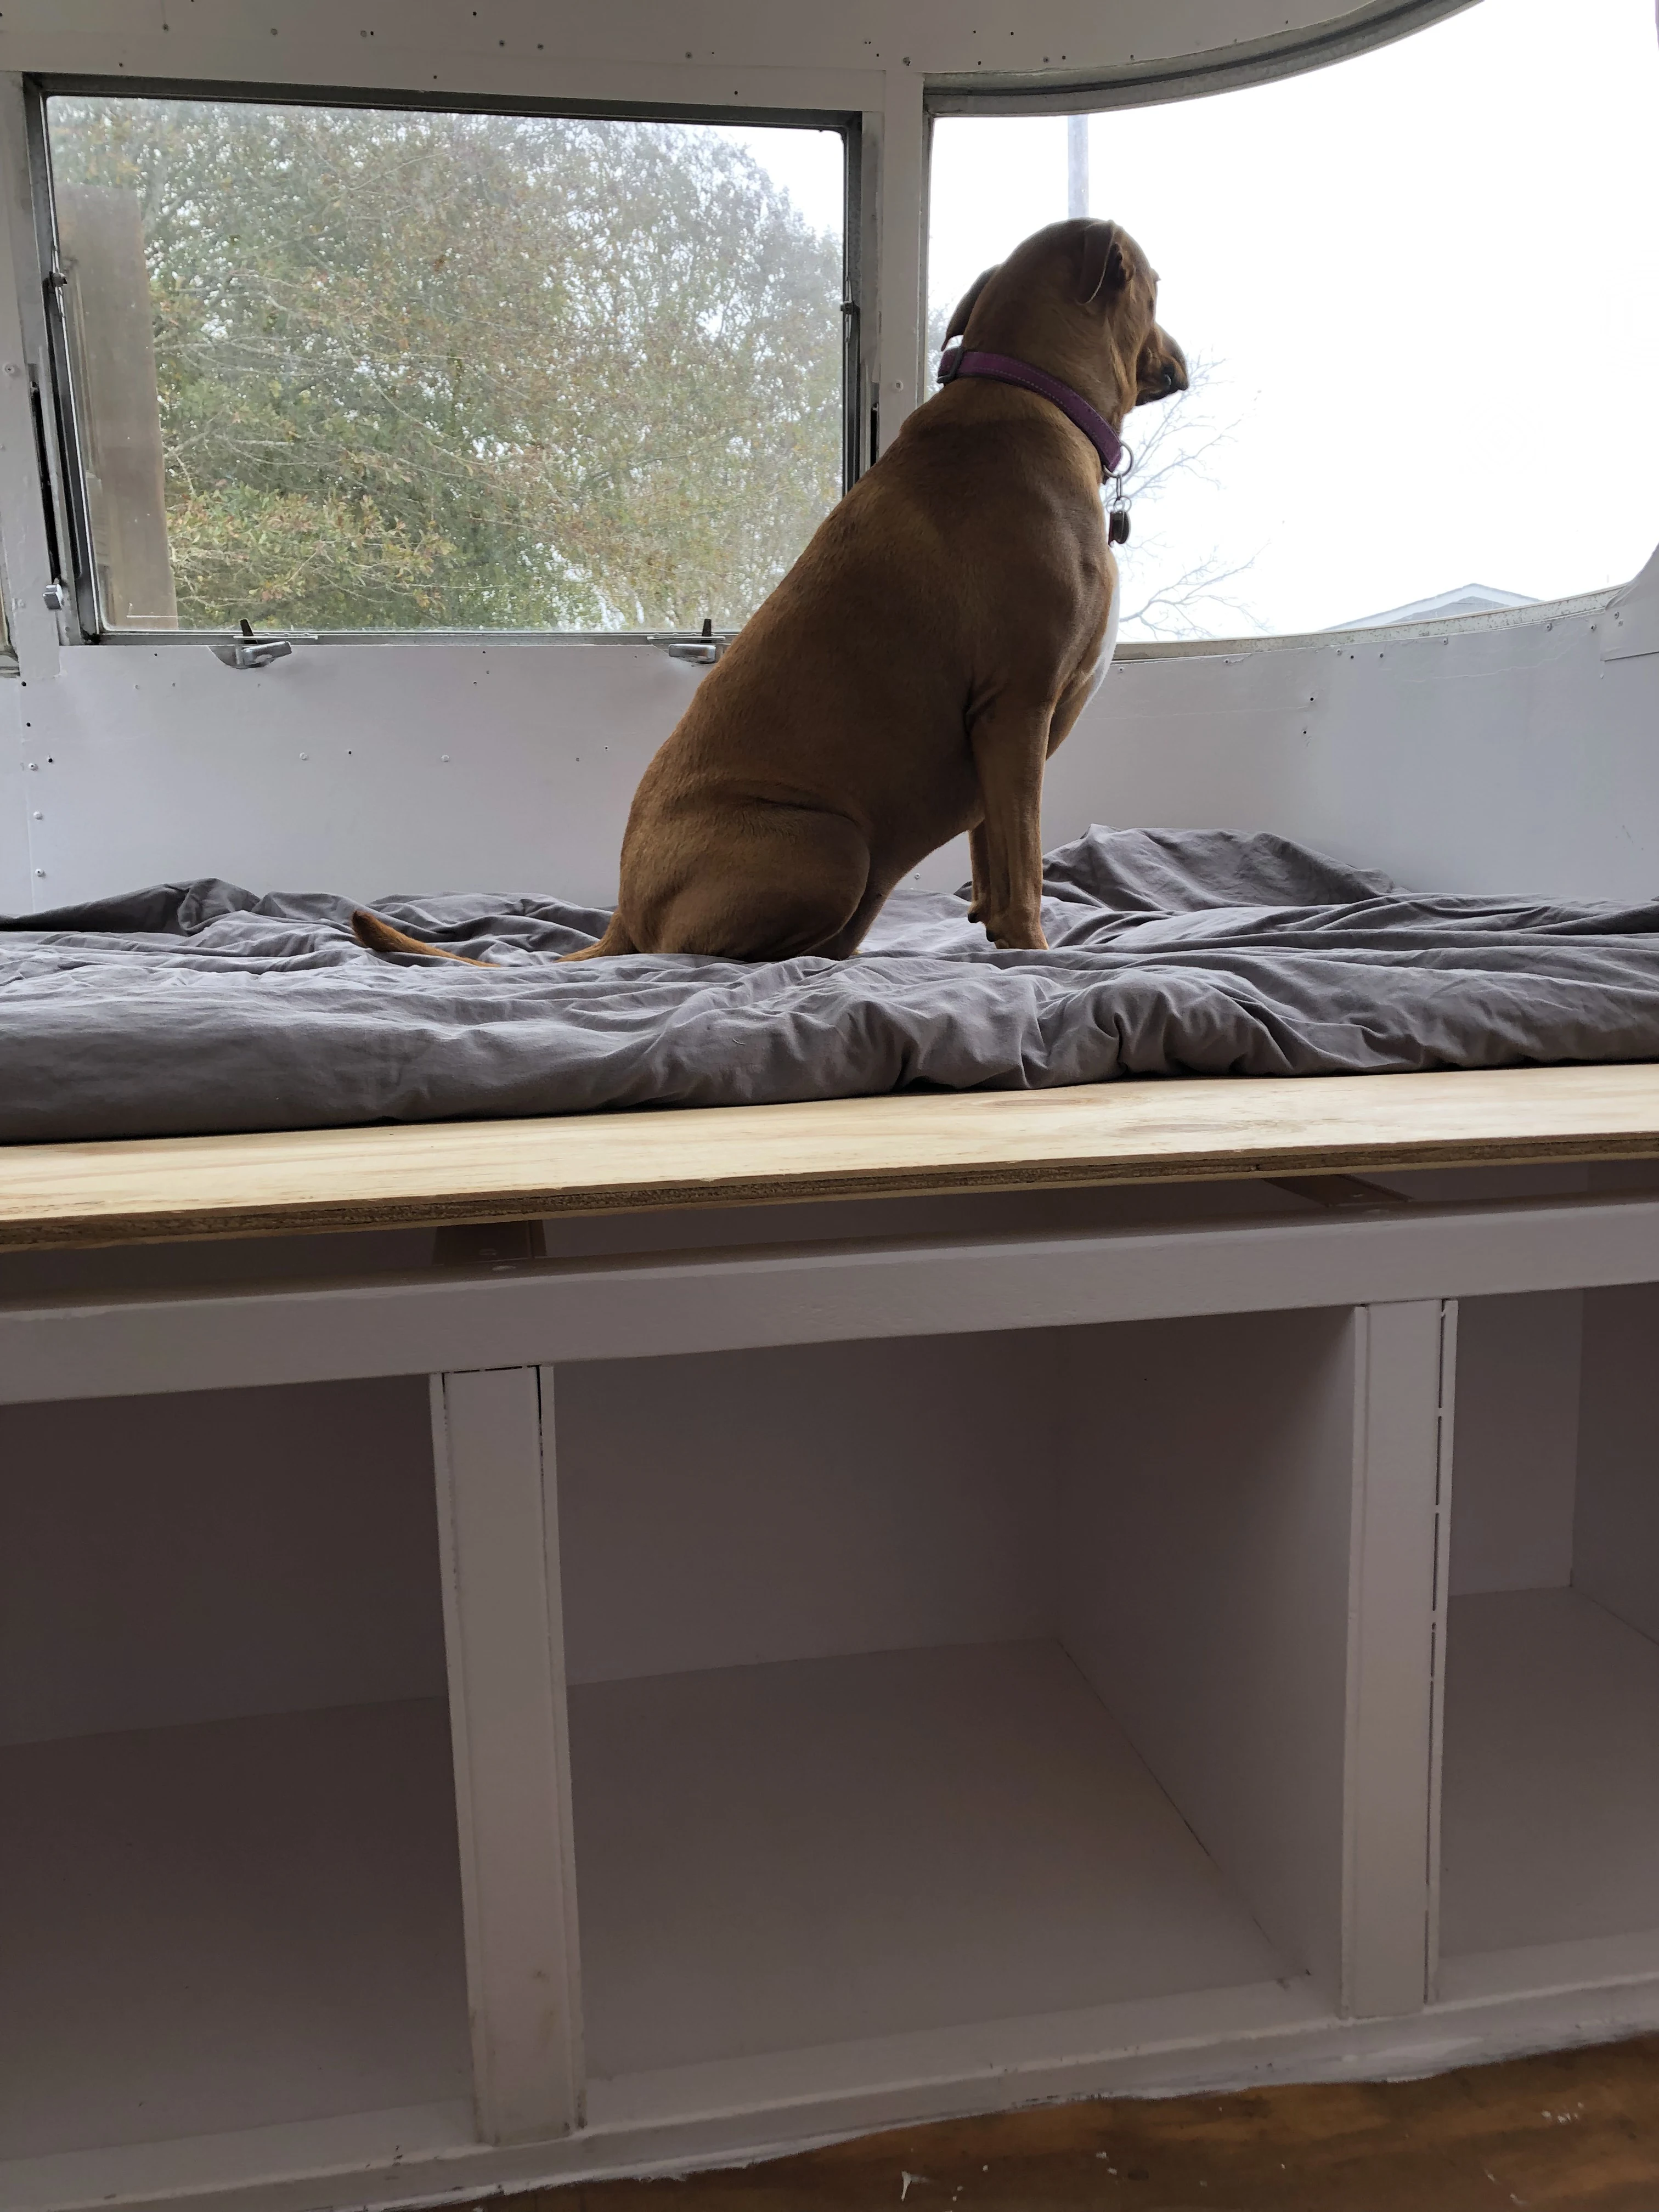
I finished off the cubbies by cutting some thin plywood paneling to create walls and a bottom. I still need to add the hinge to the bed, the lifter arms and some trim around the cubbies to give it that finished look, but River seems to approve the new Airstream bed so far!
For the Mattress, we plan to buy an 8-10 inch memory foam mattress and use a bread knife or electric carving knife to cut the curves out. We will use the front plywood piece of the bed platform as our template before we screw it down.
We’ll let you know how that goes in a future post!
Wonderful job! Approximately what size mattress (before trimming corners) did you get to fit in there?
Thank you! It will be a full size mattress.