RV Water Damage Will Show Up Here First
Do you have soft spots on your floor, roof, or walls? Is there what looks like black mold growing or a mildew like smell in your RV?
It’s possible you have RV water damage and it’s important to take care of it.
But do you know what to do if you find where it’s coming from… Or is there a way to prevent it in the first place?
Yes and yes, water damage is manageable. That’s why we put this guide together to help you manage RV water damage.
So, What’s the Big Deal About RV Water Damage?
RV water damage is something you want to try to avoid at all costs.
Unlike in a house, if you have water damage it interrupts everything. In a house you can confine it to one room depending how bad it is. In an RV it requires taking your RV apart to cure the damage.
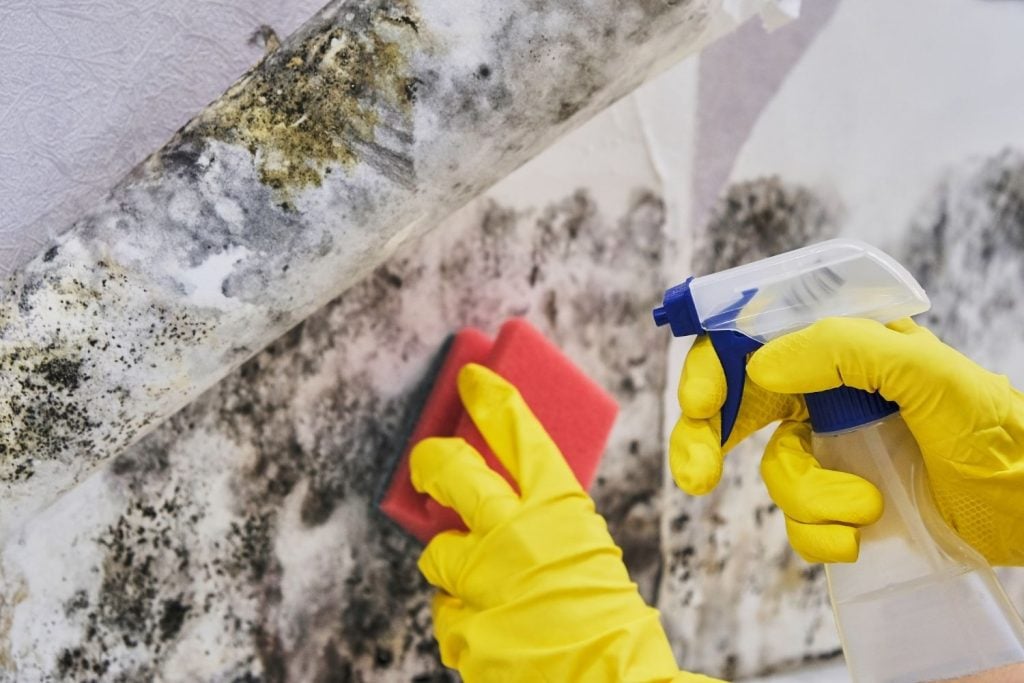
The other issue is that water damage in an RV can cause major health problems for humans and pets. Black mold loves RV’s. There are lots of cold dark places in RVs and it grows like crazy.
Black mold is very toxic to breathe; for both humans and animals. This makes identifying (and treating) water damage in your RV incredibly important.

Most Common Areas for Water Damage
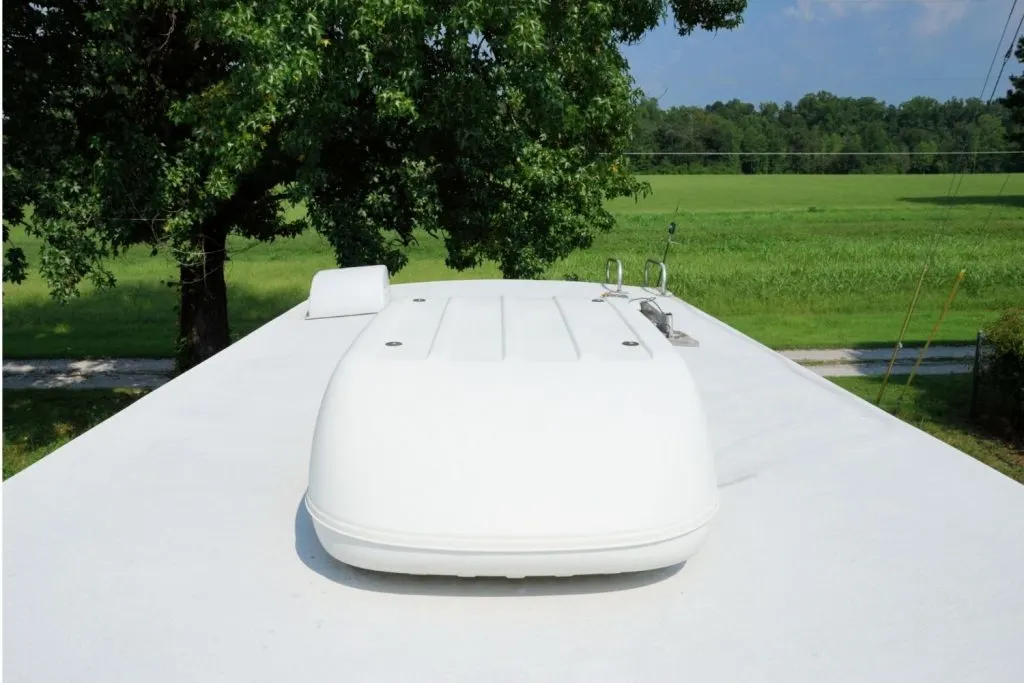
The most common areas for water damage in an RV are the roof, floors and walls.
Your roof is vulnerable because of all the things on it like your A/C, vents, and antennas. If the sealant isn’t properly maintained they can crack and allow water to get in.
In fact, all sealant will fail over time.
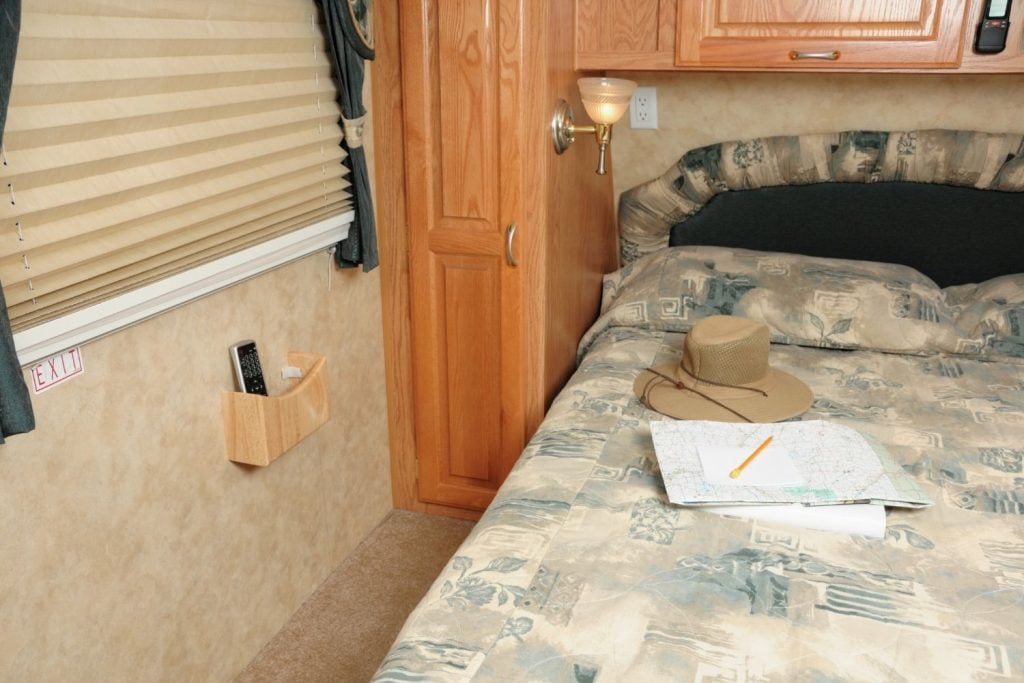
Your walls are vulnerable because of windows and any water lines running through them. If the seals on your windows are old and cracking water can seep in quietly and ruin your day.
And your floors are vulnerable because of water lines through your RV. If there is any kind of leak in your RV, you won’t know until it’s too late.
Water Damage Warning Signs
Here is a list of warning signs that point to water damage in your RV.
If you notice these, it’s time to do a thorough inspection to find out where it’s coming from.
- Musty smell
- Water spots on ceiling
- Soft spot on the floor
- Delamination on exterior
- Dark colored wood
- Bumps/bubbling in paneling
- Rusty hardware
How to Check for Water Damage in an RV
Checking for RV water damage is fairly easy, it just might mean getting into some of the harder-to-reach areas.
One way to check is to use your feet along the floors. If it feels like there is a soft spot when you press your foot into the floor, that could be a sign of water damage.
Another technique is to use your fingers to press into the walls and along the windows. If there are any soft spots, or spots that feel spongy, that could be a water damage spot.

5 Spots to Check for RV Water Damage
Here are the five hot spots to check regularly throughout your RV for water damage.
- Ceiling, especially in cabinets, around skylights, AC, and antenna.
- Walls, near ceiling, under windows, near slide-outs
- All around slideouts
- Floors near slides, plumbing, around windows, in the bathroom, etc
- On the roof, check around seams and feel for soft spots

What to Do if Water Damage is Found
The first thing to do when you detect RV water damage is to find and fix the leak. The leaks can come from the roof and rainwater, or they may be coming from the plumbing. Your number 1 priority once water damage is detected is to prevent further damage from occurring. Then you can move on to repairing the damage.
If you have RV water damage, there are a lot of great resources online to DIY the repair. YouTube is an excellent teacher! Since there may be mold involved, you will need to make sure to take the proper precautions and use personal safety equipment during the repair process.
If you’re not comfortable doing the repairs yourself, contact an RV repair shop or technician for guidance.

Discover the Best Free Camping Across the USA
To be honest with you, we hate paying for camping. There are so many free campsites in America (with complete privacy).
You should give it a try!
As a matter of fact, these free campsites are yours. Every time you pay federal taxes, you’re contributing to these lands.
Become a FREE CAMPING INSIDER and join the 100,000 campers who love to score the best site!
We’ll send you the 50 Best Free Campsites in the USA (one per state). Access the list by submitting your email below:
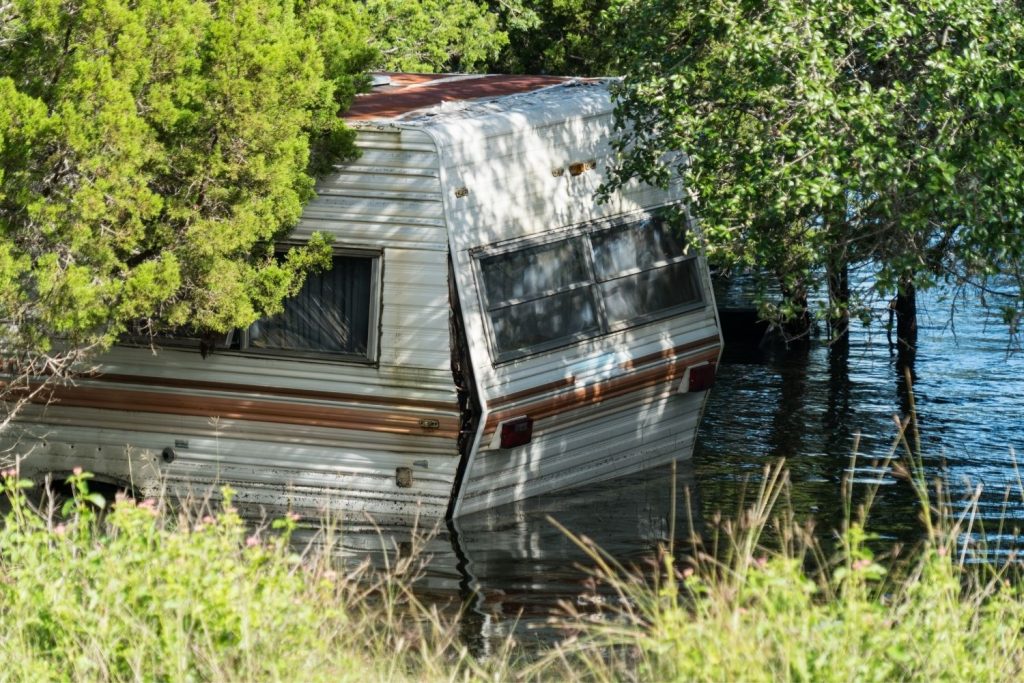
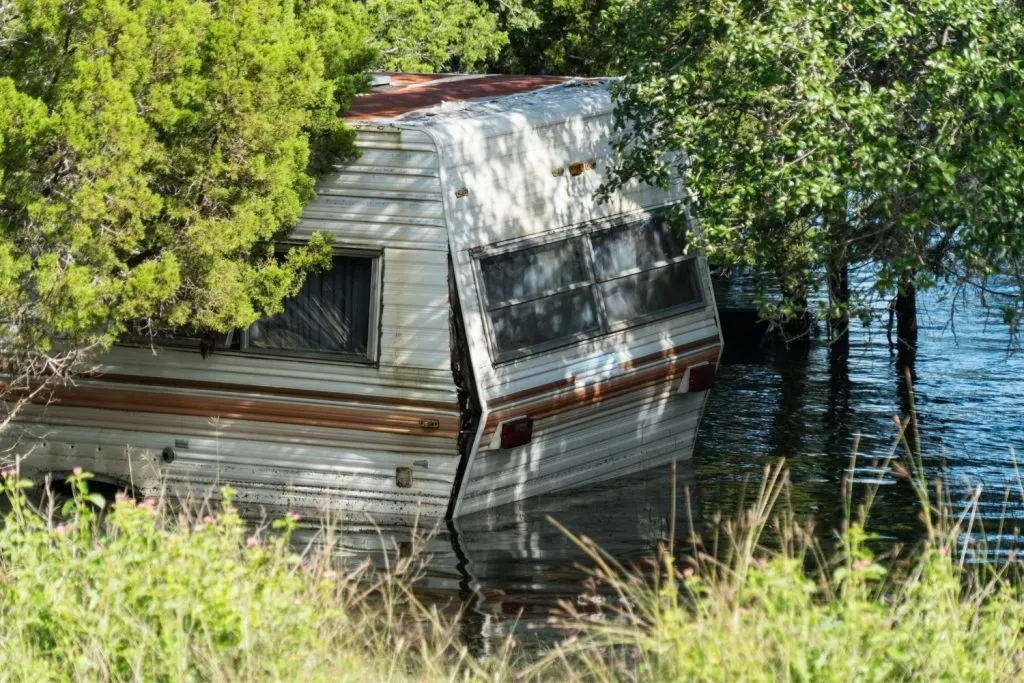
Roof, walls and floor? So in other words, the entire structure.
We had no idea that we had a leak until we removed our dinette table to access and replace a broken locker latch. Kneeling on the floor, it was spongey. We hadn’t noticed water inside, and there was no discoloration or odor. Once we removed the benches and rolled back the vinyl, it was obvious that water had been infiltrating for quite some time. We located the leak, sealed it, and replaced the affected subfloor. It prompted us to go through the entire rig, inside and out. We now check sealant after each wash and wax as you are up close to the outside details.
Yup
I had an older travel trailer that had a rotted wall nhe rear corner. After removing the inside wall, I found at the next rainfall, the leak was coming in from the running light outside above the wall. I removed and revealed all running lights. They originally had soft plastic seals that sealed when the running lights were screwed in.