How To Level Your RV The Right Way
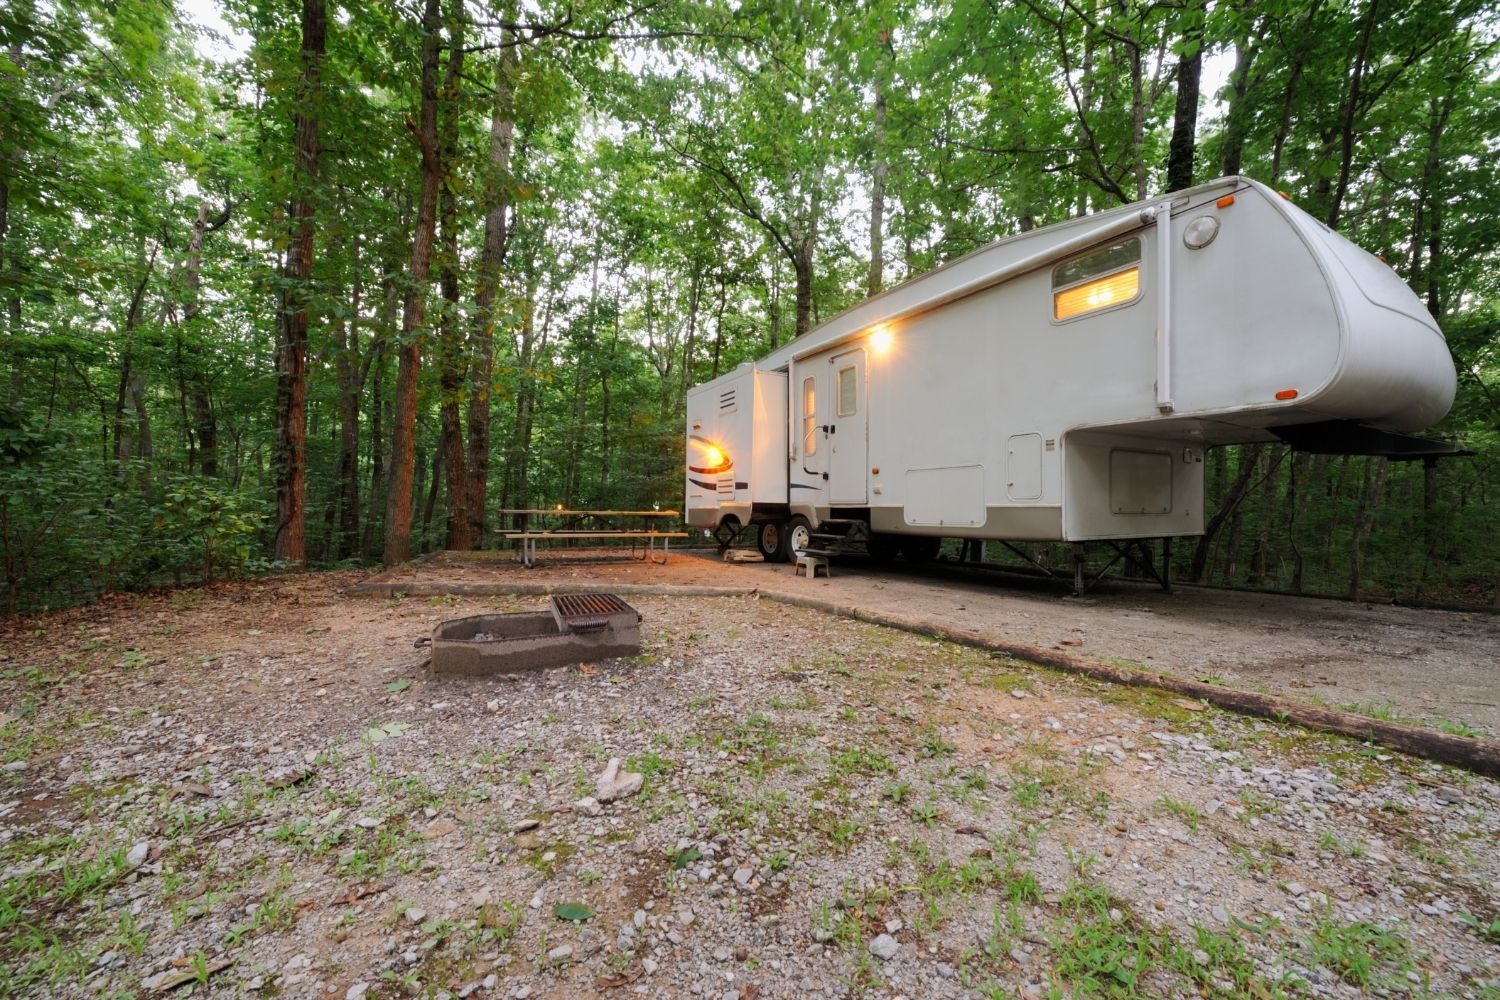
Most aspects of the RV life are outstanding, including the opportunity to see the countryside, set up camp in scenic and tranquil locations, and enjoy outdoor adventures.
But one slight frustration might include getting your rig situated in a level campsite.
It doesn’t sound like leveling is a skill they teach in “RV School,” so why should it concern those of us who just want to hit the road and discover amazing destinations? Why do you need to know how to level an RV?
Why Is It So Important To Level an RV?
Have you ever tried to sleep on a hill, with your head below the level of your feet or reversed? Chances are, you didn’t get much sleep, with the blood running to your head or trying not to slide downhill every time you rolled over.
Sleeping comfortably is only one reason to level an RV.
Allowing an RV absorption refrigerator to work properly is another. This type of appliance uses a flame to heat ammonia, hydrogen gas and water, sending them through coils on the back of the unit, using gravity as its motivator.
This process pulls the heat out of the refrigerator (and your food) as the ammonia evaporates, and a level refrigerator allows gravity to pull the mixture through the cooling process. So if you want to avoid frozen or spoiled food on your camping trip, a level RV is a good start.
An unlevel RV is dangerous for RV absorption refrigerators. If the refrigerator is unlevel for too long, the elements inside the coils can pool in one area and cause an RV fire.
Another reason is more dependent upon your level of irritation. Level RVs have doors that will stay open when wanted and closed when desired.
If you leave a bathroom door open while brushing your teeth, it will not swing shut on you if your rig is on level footing. A closet door will not have to be propped open as you select your clothing for the day, and round items shouldn’t roll off the countertop in a level trailer.
Equipment Needed to Level Your RV or Travel Trailer
In this article, we’ll be talking about generic leveling gear (manual and automatic). Make sure you review your RV manual to see if it requires any special processes.
How to Level An RV Manually
Check your RV’s position by using a hand level placed on the floor of your vehicle, measuring both side-to-side and front to back.
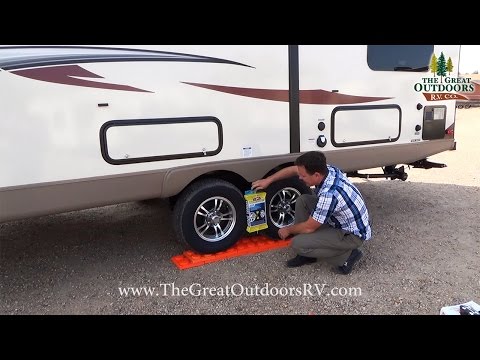
With the lack of automatic jacks for leveling, you will be placing leveling blocks behind the wheels that are too low (both on a side and front or back). This means that you need to level side-to-side and front-to-back in one driving maneuver.
You may even need to level up to three points at the same time. Once you have the blocks strategically placed, back your rig up onto the blocks and recheck to see if everything is level.
Continue adding blocks by connecting them as a little “ramp” if one side needs more extension than the other. It can take a bit of time to get it just right, but the payoff in having a level trailer or motorhome will be well worth it.
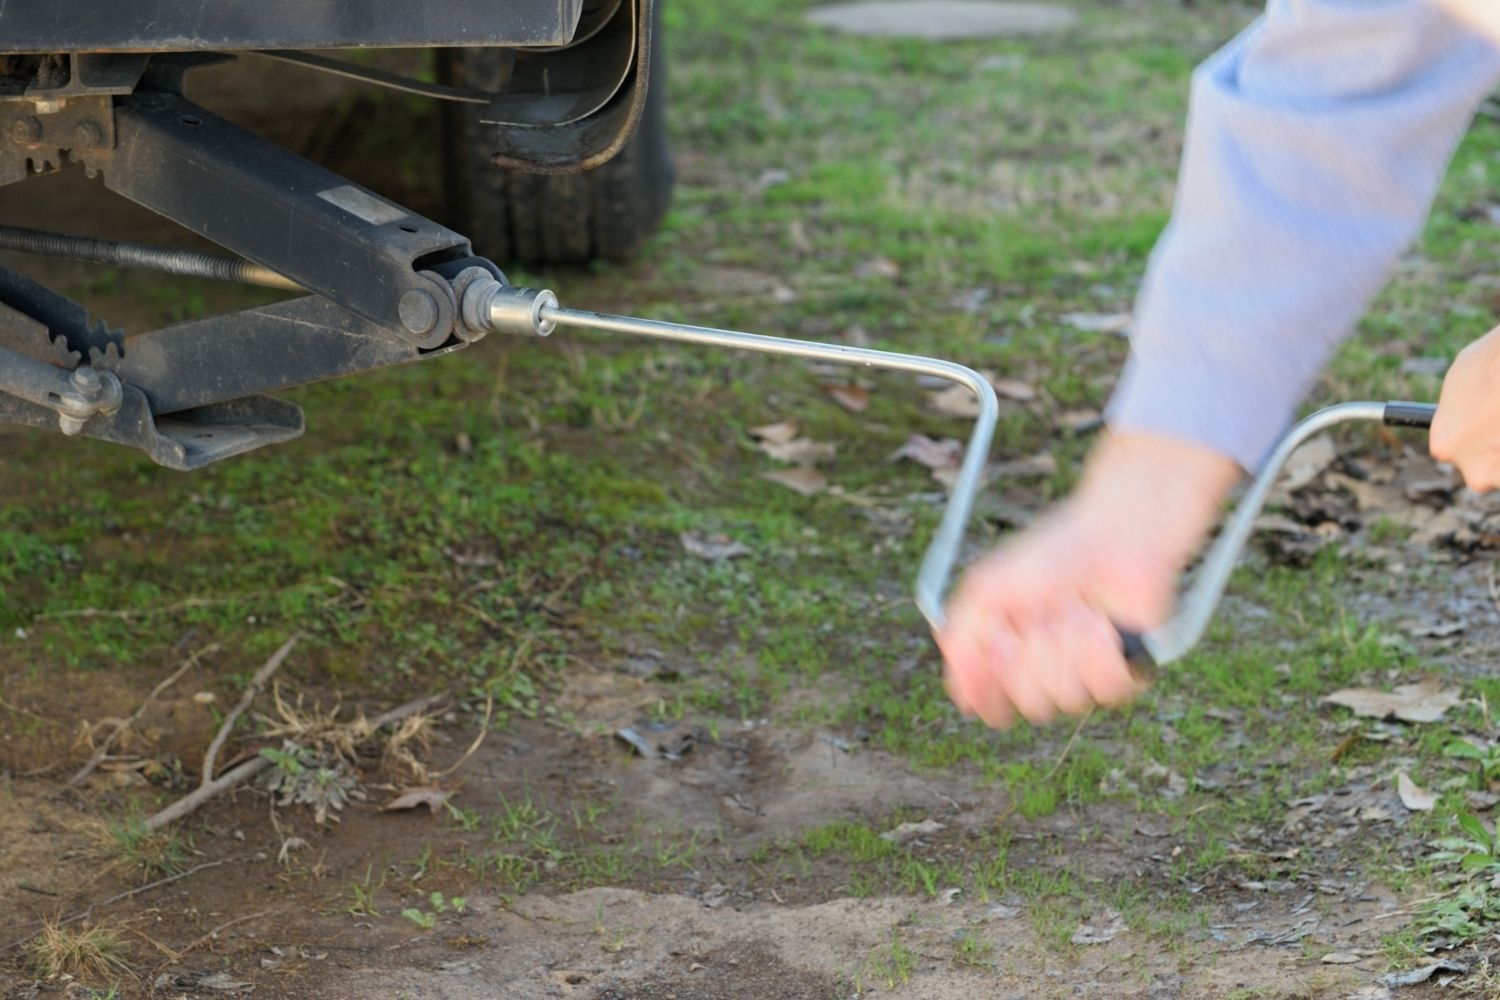
Once everything is level, stabilize the rig, if you have stabilizers, and chock the wheels.

How to Level An RV With Built-In Automatic RV Levelers
If you have a travel trailer with automatic levelers, disconnect the rig from the tow vehicle before using them. Open any slides you might have, then turn on the auto levelers.
Start with the back levelers, watching to see if you will need to add leveling blocks between the ground and the leveler – never try to extend the levelers 5 or 6 feet – make up the difference with blocks. Then drop the front levelers in the same fashion.
After leveling a trailer, use any stabilizers you might have if they can be opened at no more than a 45 degree angles. (They are not meant to be load-bearing.)
At 45 degrees, you can then add blocks under the stabilizers to reach the ground, if need be. Then chock and block the wheels.
Automatic Motorhome Leveling
If you have automatic leveling in a motorcoach, start with straight front tires on your coach. Many manufacturers suggest opening slides before leveling the RV, as well.
If you have air bags on your motorhome, dump them before leveling, then chock the wheels (especially the front tires). Then turn the key in your rig’s ignition to “Accessory” to power the jacks, and turn the leveling system on. Hit the “auto” button to start leveling.
If your system is not automatic, you can manually run your leveling jacks using the interior control display. Once turned on, the display will tell you which side(s) of your RV is low, showing a yellow light beside the corresponding jack in the diagram display.
Level side-to-side first, pushing the “Up” arrow on your display to send the side jack down. Hold the button down until the yellow light goes out, indicating that side is now level. Then move on to the front or back jacks, if they indicate one of them is low.
Once you get the coach level, be sure to run down any jacks you did not use. They should touch the ground, as all four jacks act as stabilizers for your RV. Then turn off the display, turn off your ignition and take the keys out. You are now ready for a level camping experience!

Be Level-Headed
It is probably apparent by now that a level RV leads to a more enjoyable camping trip. Learning how to get your excursion off to a great start just requires that you be a level-headed leader, by providing a stable home base from which to explore the wonders around your campsite!
Discover the Best Free Camping Across the USA
To be honest with you, we hate paying for camping. There are so many free campsites in America (with complete privacy).
You should give it a try!
As a matter of fact, these free campsites are yours. Every time you pay federal taxes, you’re contributing to these lands.
Become a FREE CAMPING INSIDER and join the 100,000 campers who love to score the best site!
We’ll send you the 50 Best Free Campsites in the USA (one per state). Access the list by submitting your email below:
Our Thor Tuscany XTE motorhome clearly requires the leveling jacks must be down and the motorhome indicating level before putting the slides out.
Obviously, some manufacturers advise the reverse order.
Also, if the site is not level front to back. I have found it advantageous to park the MH pointed downhill. While this will result in the steps at the front of the MH being a little higher, it will avoid raising the rear which can reduce the ability of the parking brake to hold since the parking brake only works through the rear tires and not the front.