We Painted Our RV, Here’s What We Learned
So you want to do an RV paint job, but you’re intimidated by the amount of work.
Everything you’ve seen online talks about how difficult and frustrating it is to get paint to stick (and stay) on RV walls.
This is true, but it doesn’t mean the job has to be difficult or frustrating. All you need to do is learn how to properly prep your surfaces, and your RV paint job will be a breeze.
Ready to learn how? Let’s dive in!
Want to Change the Look of Your RV? Paint Is a Fun DIY
If you want to make a huge change to the aesthetic of your RV on a budget, paint is the best choice. Painting your RV can make it feel like an entirely new space, and it doesn’t require thousands of dollars or dozens of hours of physical labor.
Whether you want to paint the entire interior, a single room or accent wall, or the exterior of your RV, painting is a fun and simple RV DIY that won’t break the bank.
But painting an RV isn’t as simple as just throwing paint on a surface. It requires a little extra preparation. Here are our best tips for your DIY RV paint job.
Interior RV Painting Tips: Walls
Most RV interiors are made up of wood-surfaced cabinetry and wallpaper or a wallpaper-like surface. Painting RV walls can be a bit tricky. For a smooth, finished product and easier application, try these tricks.
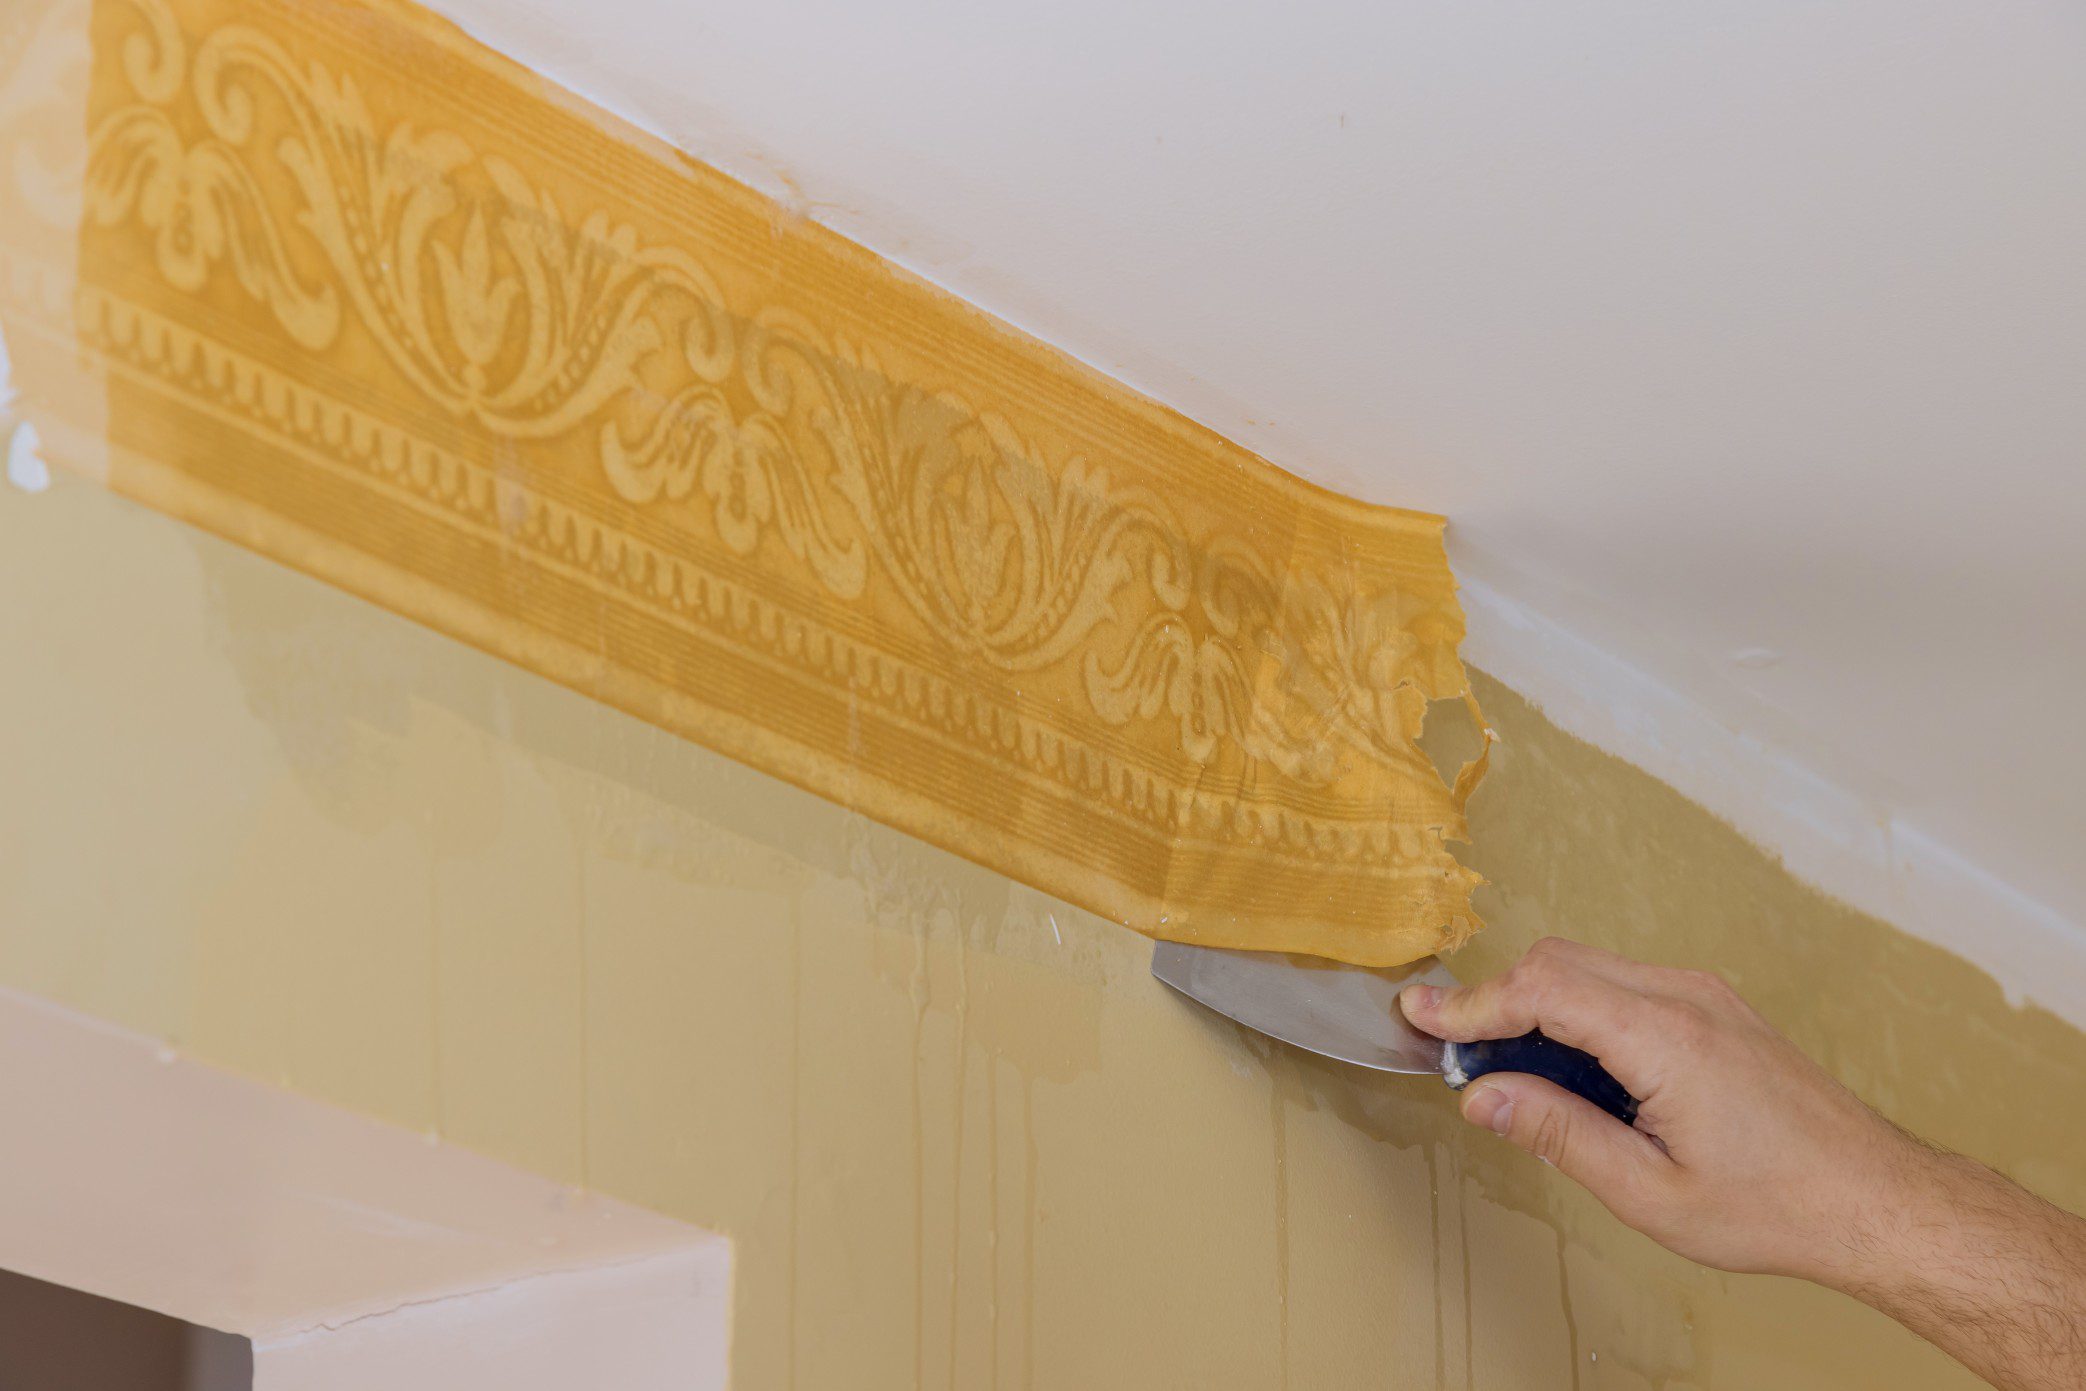
Remove Wallpaper Borders
First thing’s first: remove any wallpaper borders or decals that will cause a seam in the paint. Don’t worry about it tearing because, in the next step, you’ll smooth it all down. The main purpose of removing borders and decals is to eliminate any major seams that will show under a few layers of paint.
If you have difficulty removing your wallpaper borders, try scrubbing with a wet sponge or using a drapery steamer to help peel it off.
Sand the Walls
Sanding your RV walls will help smooth them down, minimize any seams, and create a better surface for your primer and paint to adhere to. You can sand your RV walls by hand or use a sanding tool, but be careful not to over-sand and damage the wall.
We recommend a light sanding job with 220 grit sandpaper on any surface that you plan to paint.
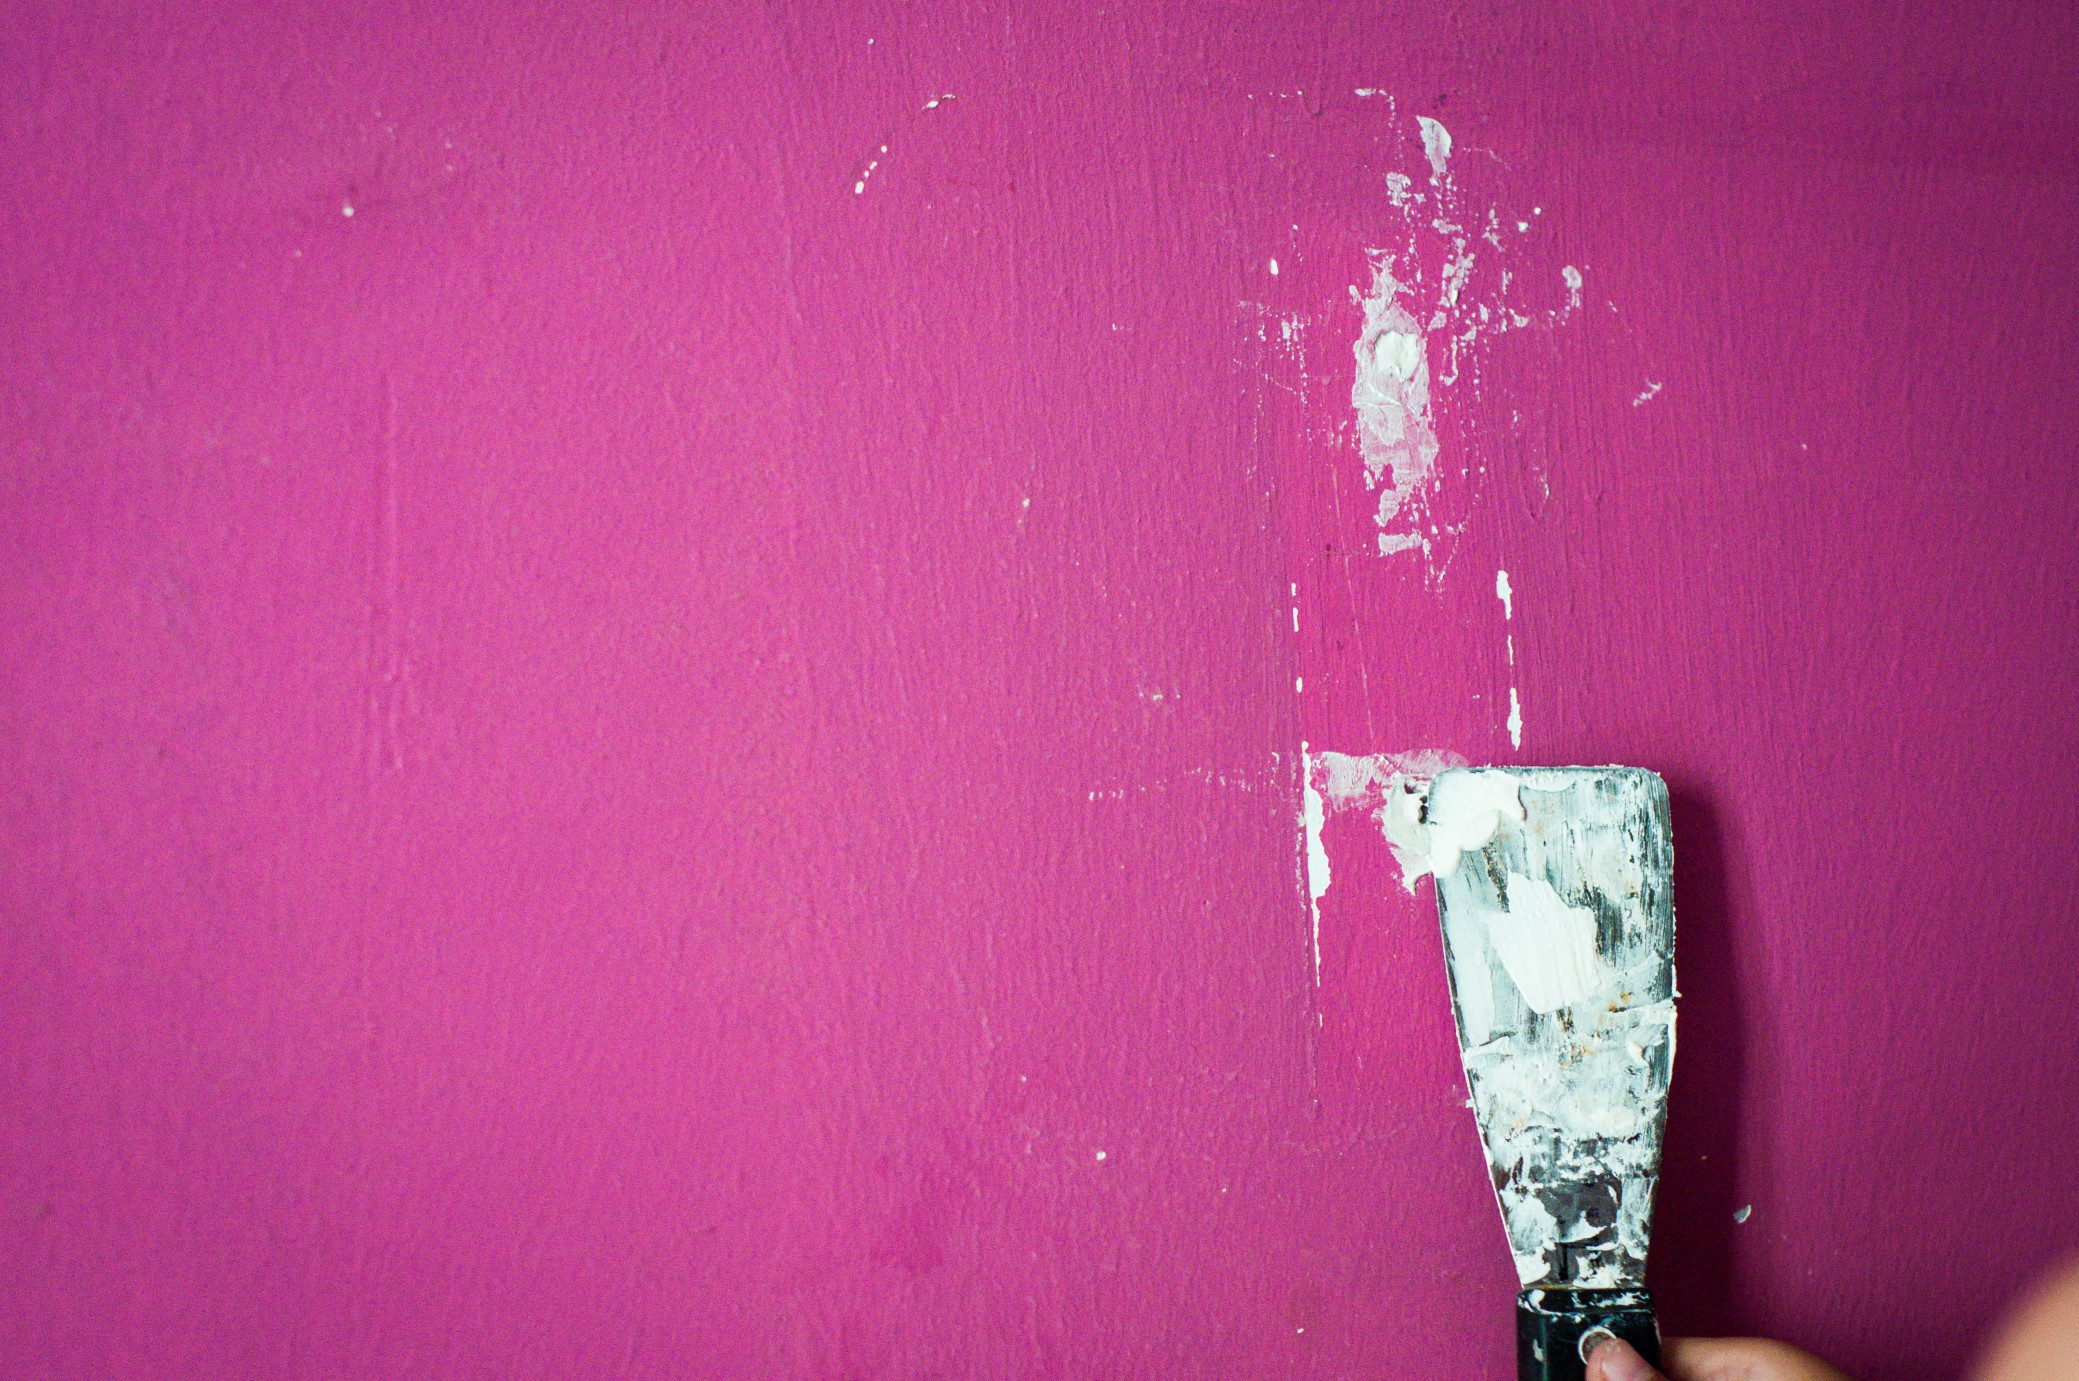
Fill in Holes
If there are holes in your wall from previous wall hangings or light damage, you can fill them in with wood filler. Fill in any holes or pockmarks, allow it to dry, and sand over the surface. Do this step before or after sanding to create a flat, hole-free surface for painting.
Tape
Taping is a given with any painting project, whether in an RV or not. But we didn’t want to leave it out of this list. Use painter’s tape to protect windows, cabinets, floors, ceilings, and outlets.
Clean Your Walls
After you sand your walls, it’s time to clean them up. Use TSP or a degreasing cleaner to remove dirt, grime, grease, and any leftover dust from sanding. Sanding is essential for painting, but cleaning your walls might be even more important.
You want a clean, dry, and grease-free surface to paint.
Use a Primer
Lastly, paint a coat or two of primer before using your RV paint. Use a grip primer for best results. Grip primers adhere better and provide a better surface to paint over. Following these tips will help you avoid the headaches that most people associate with painting an RV.

Interior RV Painting Tips: Cabinetry
Now that you know how to prepare your RV walls for painting, what about the cabinetry? If you try painting cabinetry without prepping, your paint may bead up and roll off like raindrops on a windshield. Here are some tips for stress-free RV cabinet painting.
Remove Doors, Drawers, and Handles
To make your cabinet painting job easier, remove all your doors, drawers, and handles. If you have a separate workspace like a patio or garage, set up a table where you can paint all doors and drawers.
If not, you can assemble a make-shift workspace inside your RV.
Sand off the Sheen
Since most RV cabinets are made out of wood or a wood-like material, they usually have a glossy sheen or finish. If you try to paint on top of this finish, your paint will roll right off. Sand your cabinets using fine-grit sandpaper and fill any holes with wood filler.

Clean Your Surface
After you’ve sanded and filled in any holes and imperfections, you need to clean your surfaces to remove any dirt, dust, and grease. Similar to cleaning your walls, you need to complete this step to ensure proper paint adhesion.
Use a Primer
Finally, use a primer. The steps for prepping your cabinetry for RV paint are almost identical to preparing your walls, it’s just a different material. Just like with your walls, using a grip primer will help ensure proper adhesion and keep your paint from peeling for years to come.
Pro Tip: Want unique cabinets in your RV? Read more to find out How To White Wash RV Cabinets.
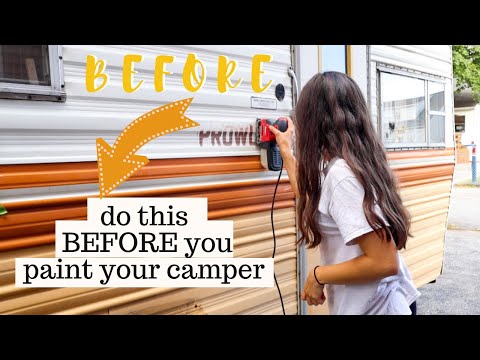
Exterior RV Painting Tips
Do you want to paint the exterior of your RV? It’s a big job, but it can make an old RV look much nicer. Painting your RV exterior also adds a custom touch to your RV and helps you stand out (or blend in) on the road. Here are some tips for painting your RV exterior.
Remove All Decals
You should remove all decals. Unless you’re just painting the decals themselves, painting over them will leave a seam in your paint. They may also peel, flake, and crack, so it’s best just to remove them.
Depending on how old your RV is and how old your decals are, they might be a major pain to remove. Use a heat gun to heat your decal and underlying adhesive and slowly peel using a credit card, paint scraper, or razor blade. If that’s not working, you may just have to slowly chip away at it using a blade. Remove any remaining adhesive with a product like Goo Gone.
Clean, Clean, Clean
After you’ve removed all your decals and adhesive, give your RV exterior a good wash. Be sure to use a degreaser or solvent to remove any grease or oil left behind from Goo Gone, tree sap, and your skin.
Caulk and Seal
Next, get your RV caulk or sealant and go around your RV exterior. Look at all your seams, window seals, and any holes or entry points for appliances or outlets. Be sure all your seams and seals are properly caulked. If you see old sealant or caulk that’s shriveled or cracked, peel it off and clean with a degreaser before applying the new sealant. Then, let your seals dry.
Pro Tip: Want to paint and renovate a vintage camper? These 5 Brands Are Worth Your Effort!

Tape It Up
Tape up your windows, refrigerator grate, water heater, and all other appliances and outlets you don’t want to get paint on. Sure, you could always clean as you go, but taping makes the job easier.
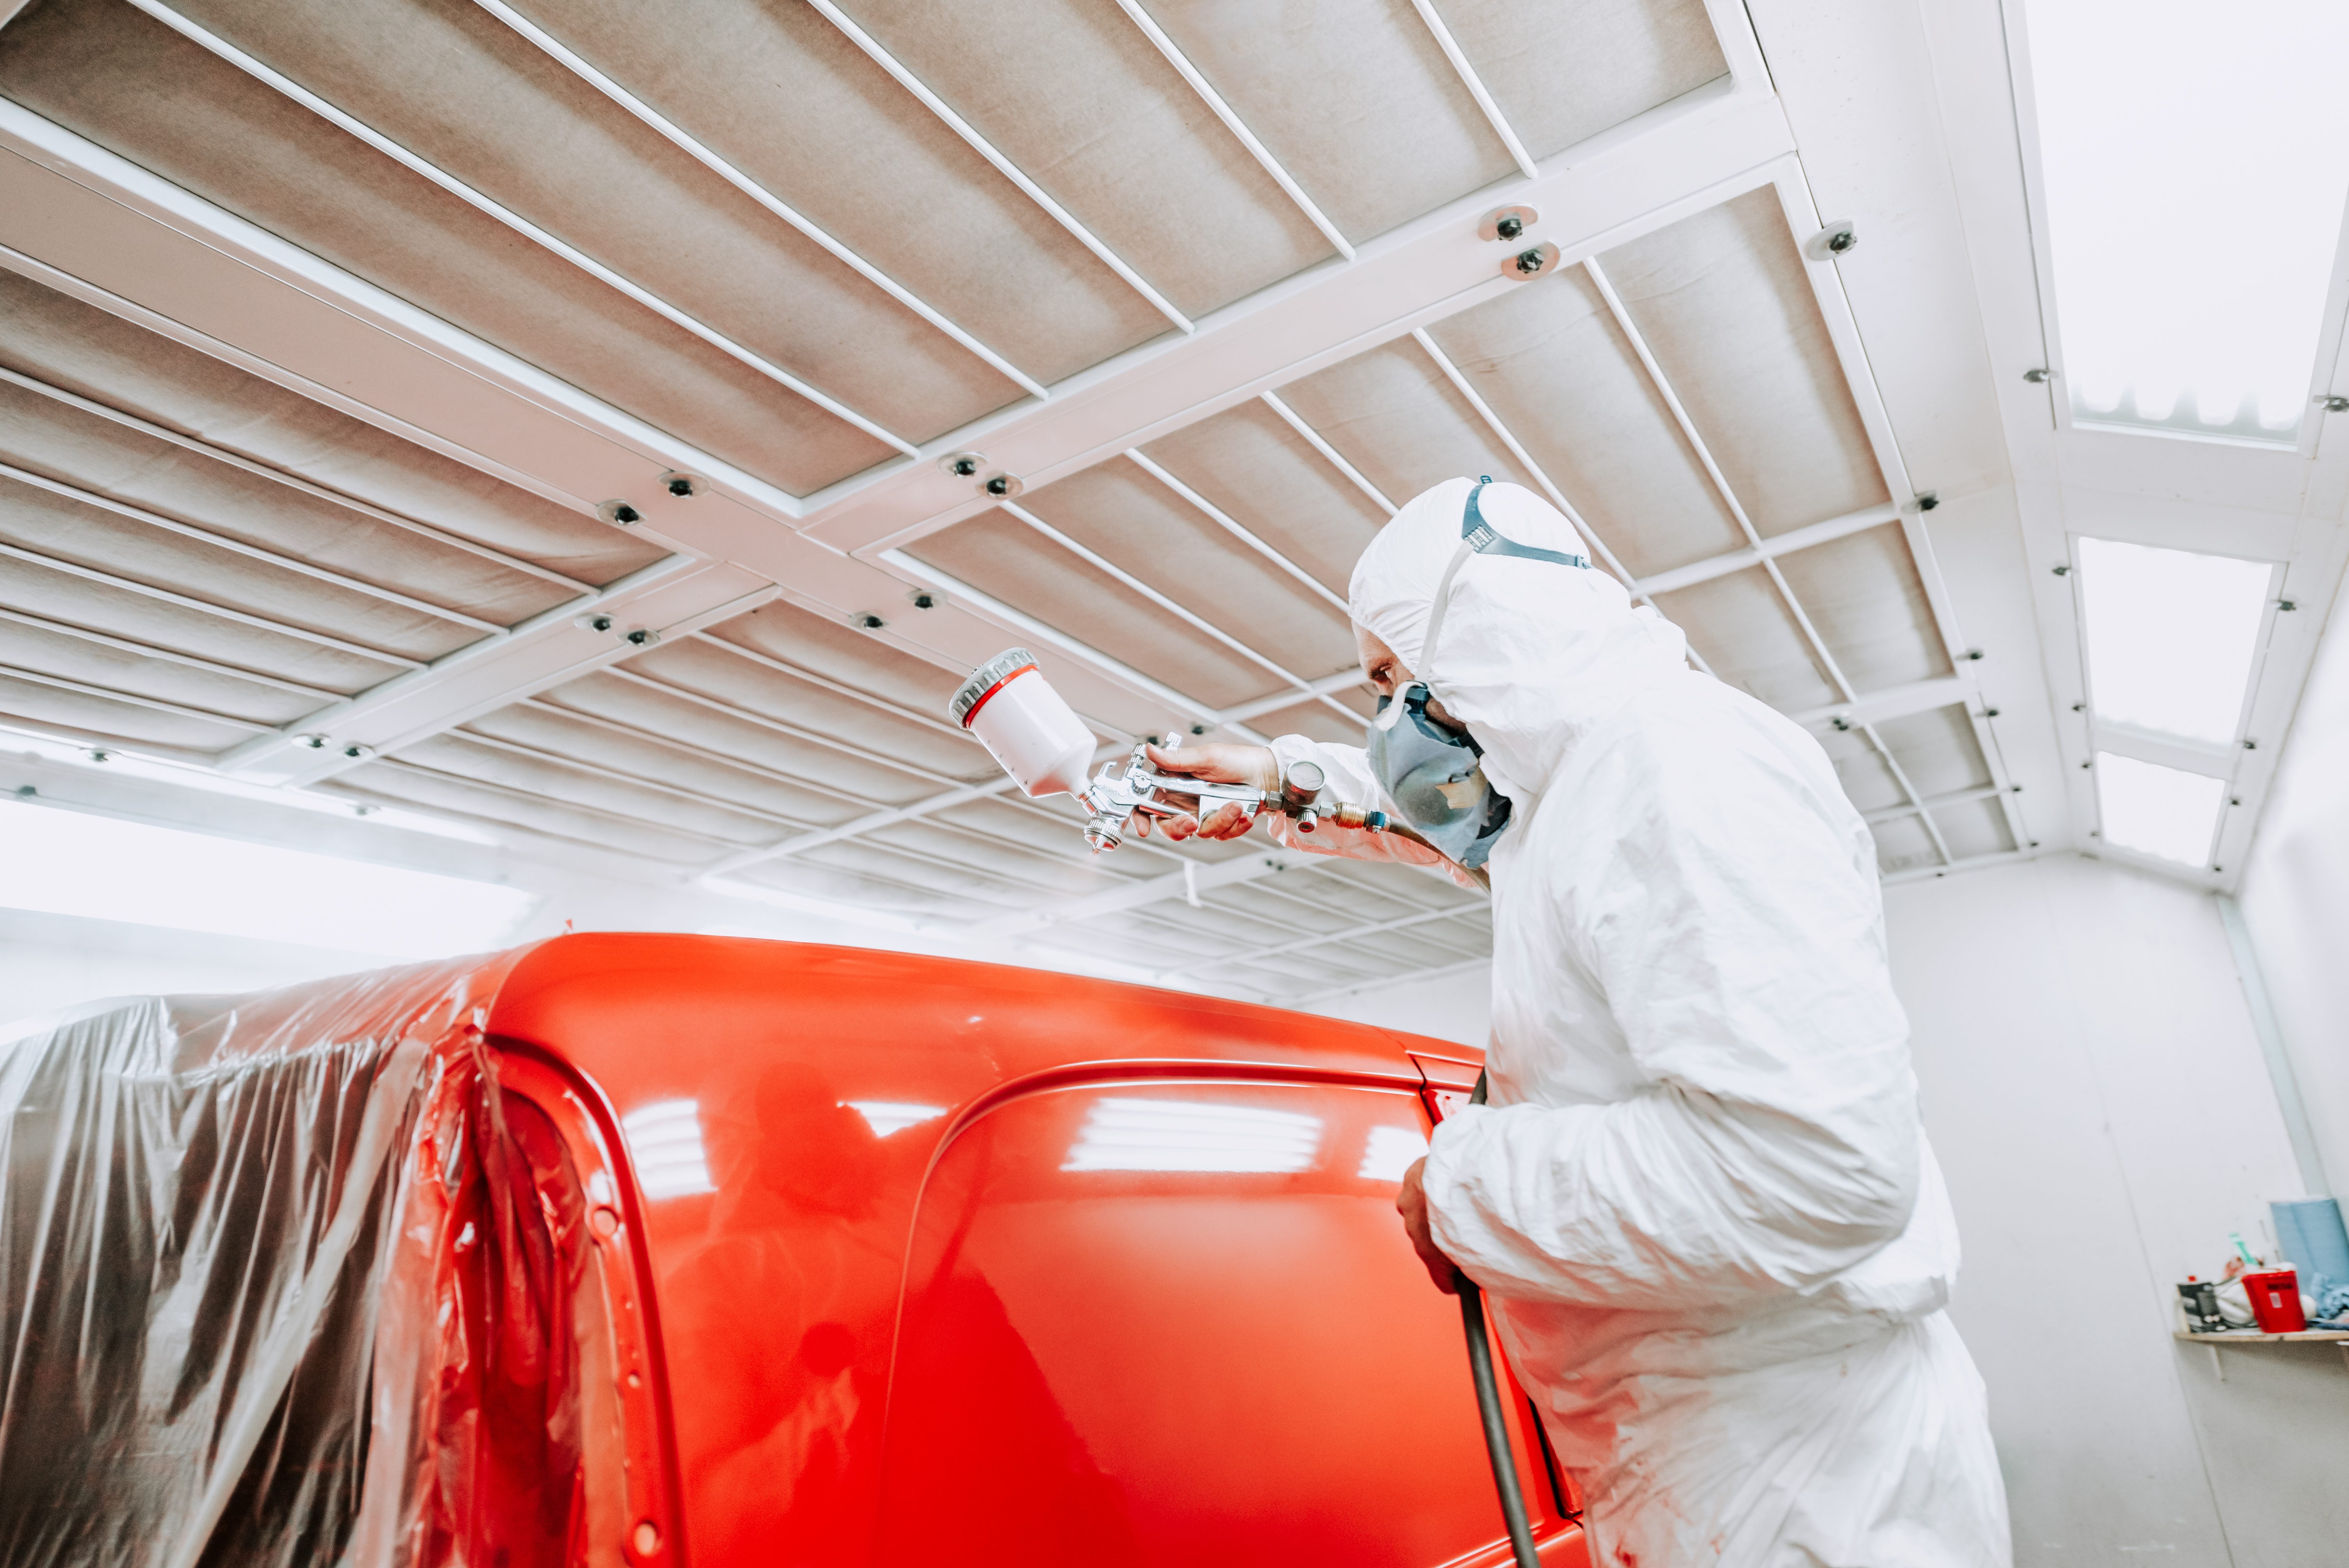
Use the Right Paint for your RV
So what kind of paint should you use on your RV exterior? Should you use an airbrush, or can you just use paint brushes and rollers?
Honestly, this part is entirely up to you. We don’t recommend using spray paint as it’s very difficult to create a cohesive finished product. But, you can use regular exterior paint with brushes and rollers. You don’t need an expensive or fancy setup to paint your RV exterior.
Update Your Camper with an RV Paint Job
If you want to update your RV, paint it. Painting your RV takes a lot of prep work, but it’s cheap, easy to do, and will give your space an updated look. Take your new RV paint job to the next level by adding custom decals to the exterior and unique artwork on the inside. An RV paint job is perfect for anyone who wants to do an RV renovation on a budget. Do you have any RV painting tips?
Discover the Best Free Camping Across the USA
To be honest with you, we hate paying for camping. There are so many free campsites in America (with complete privacy).
You should give it a try!
As a matter of fact, these free campsites are yours. Every time you pay federal taxes, you’re contributing to these lands.
Become a FREE CAMPING INSIDER and join the 100,000 campers that love to score the best site!
We’ll send you the 50 Best Free Campsites in the USA (one per state). Access the list by submitting your email below:
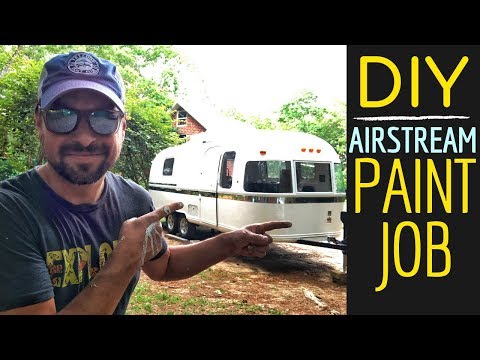
Type of paint is important, especially if painting bare aluminum as shown here with an Airstream.
By the way, it looks much better painted. I’ve never liked Airstream with the bright polished aluminum.