No matter how much or little you spend on your vehicle, you want to keep it clean. However, paying for professional auto detailing can cost hundreds of dollars, depending on your vehicle.
Luckily, there are some things you can do to save cash and take care of your vehicle.
Today, we’re sharing ten tips for DIY auto detailing to keep your vehicle looking new. Let’s get started!
What Is Auto Detailing?
Auto detailing is deep cleaning and restoring the cosmetics of a vehicle to its like-new condition. It’s how drivers protect their vehicles’ metal, plastic, and fabric surfaces from normal wear and tear.
The process involves cleaning and applying protectants to various surfaces to improve their look and help extend their life. A vehicle that goes through the auto detailing process can often look as good as the day it rolled off the dealership lot.
What Does a Full Auto Detailing on a Car Include?
When you get a full detail on a car, you can expect to wash the exterior, including the wheels, wheel wells, door jambs, and windows. You’ll vacuum the interior and wipe down all interior surfaces thoroughly.
Depending on the condition of your vehicle and the type of materials, it may require you to shampoo your seats and carpets. When you or the auto detailer finishes your vehicle, it should look and smell like a brand-new car.
How Often Should You Do Auto Detailing on Your Car?
How often you detail your car will likely depend on where and how you use your vehicle. If you’re a parent with small children, you may need to detail your vehicle every two or three months. You’ll also want to ensure you’re regularly vacuuming your vehicle to avoid crumbs and other dirt from building up in your vehicle.
On the other hand, if you do an excellent job of keeping dirt and debris out of your vehicle, you may get by with detailing it every five to six months. You’ll still need to complete occasional cleanings to address any messes or wipe away dust. However, you can leave the deep cleaning to the professionals.
Pro Tip: Make your car exterior just as clean as your interior. Use our guide on How To Easily Clean Cloudy Headlights.

10 Tips for DIY Auto Detailing
Here are some tips for doing auto detailing yourself. You don’t always need to spend hundreds of dollars to keep your car shining. Let’s dive in!
1. Wash the Windows Completely, Even the Edges
Most of your windows will tuck up inside the door’s seals to prevent leaks. It would be best to lower your windows a few inches when cleaning them.
This helps ensure you get all the dirt and debris off your windows. Once you clean the top, close the windows completely so you can clean the bottom of the window.
2. Use a Leather Care Kit
You didn’t splurge on leather seats, only for them to crack and fade after a couple of years. Purchase a leather care kit to keep them looking new and in excellent condition while auto detailing. You should use a leather care kit on your seats and leather surfaces every three to six months.
If you live in an area with extreme heat, you’ll want to ensure you stay up to date on treating all the leather in your vehicle. Cracks and fading can appear quickly and likely aren’t the look you’re hoping for in your vehicle.
3. Clean Up Scuffs With Plastic and Vinyl Colorant
Over time, your vehicle’s plastic and vinyl surfaces will develop scrapes and scuffs. Keeping these surfaces clean with colorant can help cover these marks and provide a like-new look inside your vehicle. These colorants can help offer a fade-resistant coating to restore your surfaces from previous damage and protect them against future harm.

4. Use a Paintbrush or Toothbrush to Clean Vents
Dust and debris are small and will settle on almost any surface. Air vents are one of the most challenging surfaces in a vehicle to clean. The spaces between the vents are tiny and are nearly impossible to wipe clean with a rag.
Once you clean these spaces as much as possible, use a paintbrush or a toothbrush to scrub them. Buy a cheap toothbrush from your favorite dollar store and only use it for the air vents on your vehicles. The smaller the head of the toothbrush or paintbrush, the better.
5. Rinse the Exterior Thoroughly Before Applying Soap
Many people who do DIY auto detailing make the mistake of not rinsing the vehicle’s exterior before applying soap. You want to soak your vehicle thoroughly to get as much dirt and grime off before using even a drop of soap. This helps you keep the gunk out of your soapy water, and the suds should go further.
6. Clean the Grime Out of Your Hood Latch
Under your hood is one place that many DIY auto detailers often forget or neglect when cleaning. A lot of debris can gather in your hood latch as you travel. You’ll likely find that leaves, rocks, and other debris fell in the latch while you drove down the highway.
Some drivers have even discovered nests from critters who found the compartment a comfortable place to call home. Make sure you wear gloves to avoid unnecessarily contacting any germs or bacteria.
7. Remove Minor Paint Scratches
Minor paint scratches can be incredibly annoying for car owners. You may only notice them when the sun hits them just right, but you’ll always know they are there. Minor scratches typically require 3,000-grit sandpaper, rubbing or polishing compound, and a couple of polishing pads.
When you’re working on auto detailing, wet the sandpaper and the scratch and begin to sand it lightly. Eventually, the paint finish will dull, and the scratch will disappear. Next, clean the surface with a microfiber towel before applying the compound to the polishing pad. Use a drill to rub and work the compound into the surface to create a light haze. You can finish the project by using a polishing compound to increase the shine of the area.
8. Get Into Nooks and Around Buttons With a Cloth and Screwdriver
Don’t neglect the hard-to-reach areas in your vehicle. This will include the various nooks and buttons throughout your vehicle’s cabin. You can use a screwdriver or a sharp object to work the cleaning cloth into the crevices. Avoid applying too much pressure, as you can easily damage the buttons and surfaces.
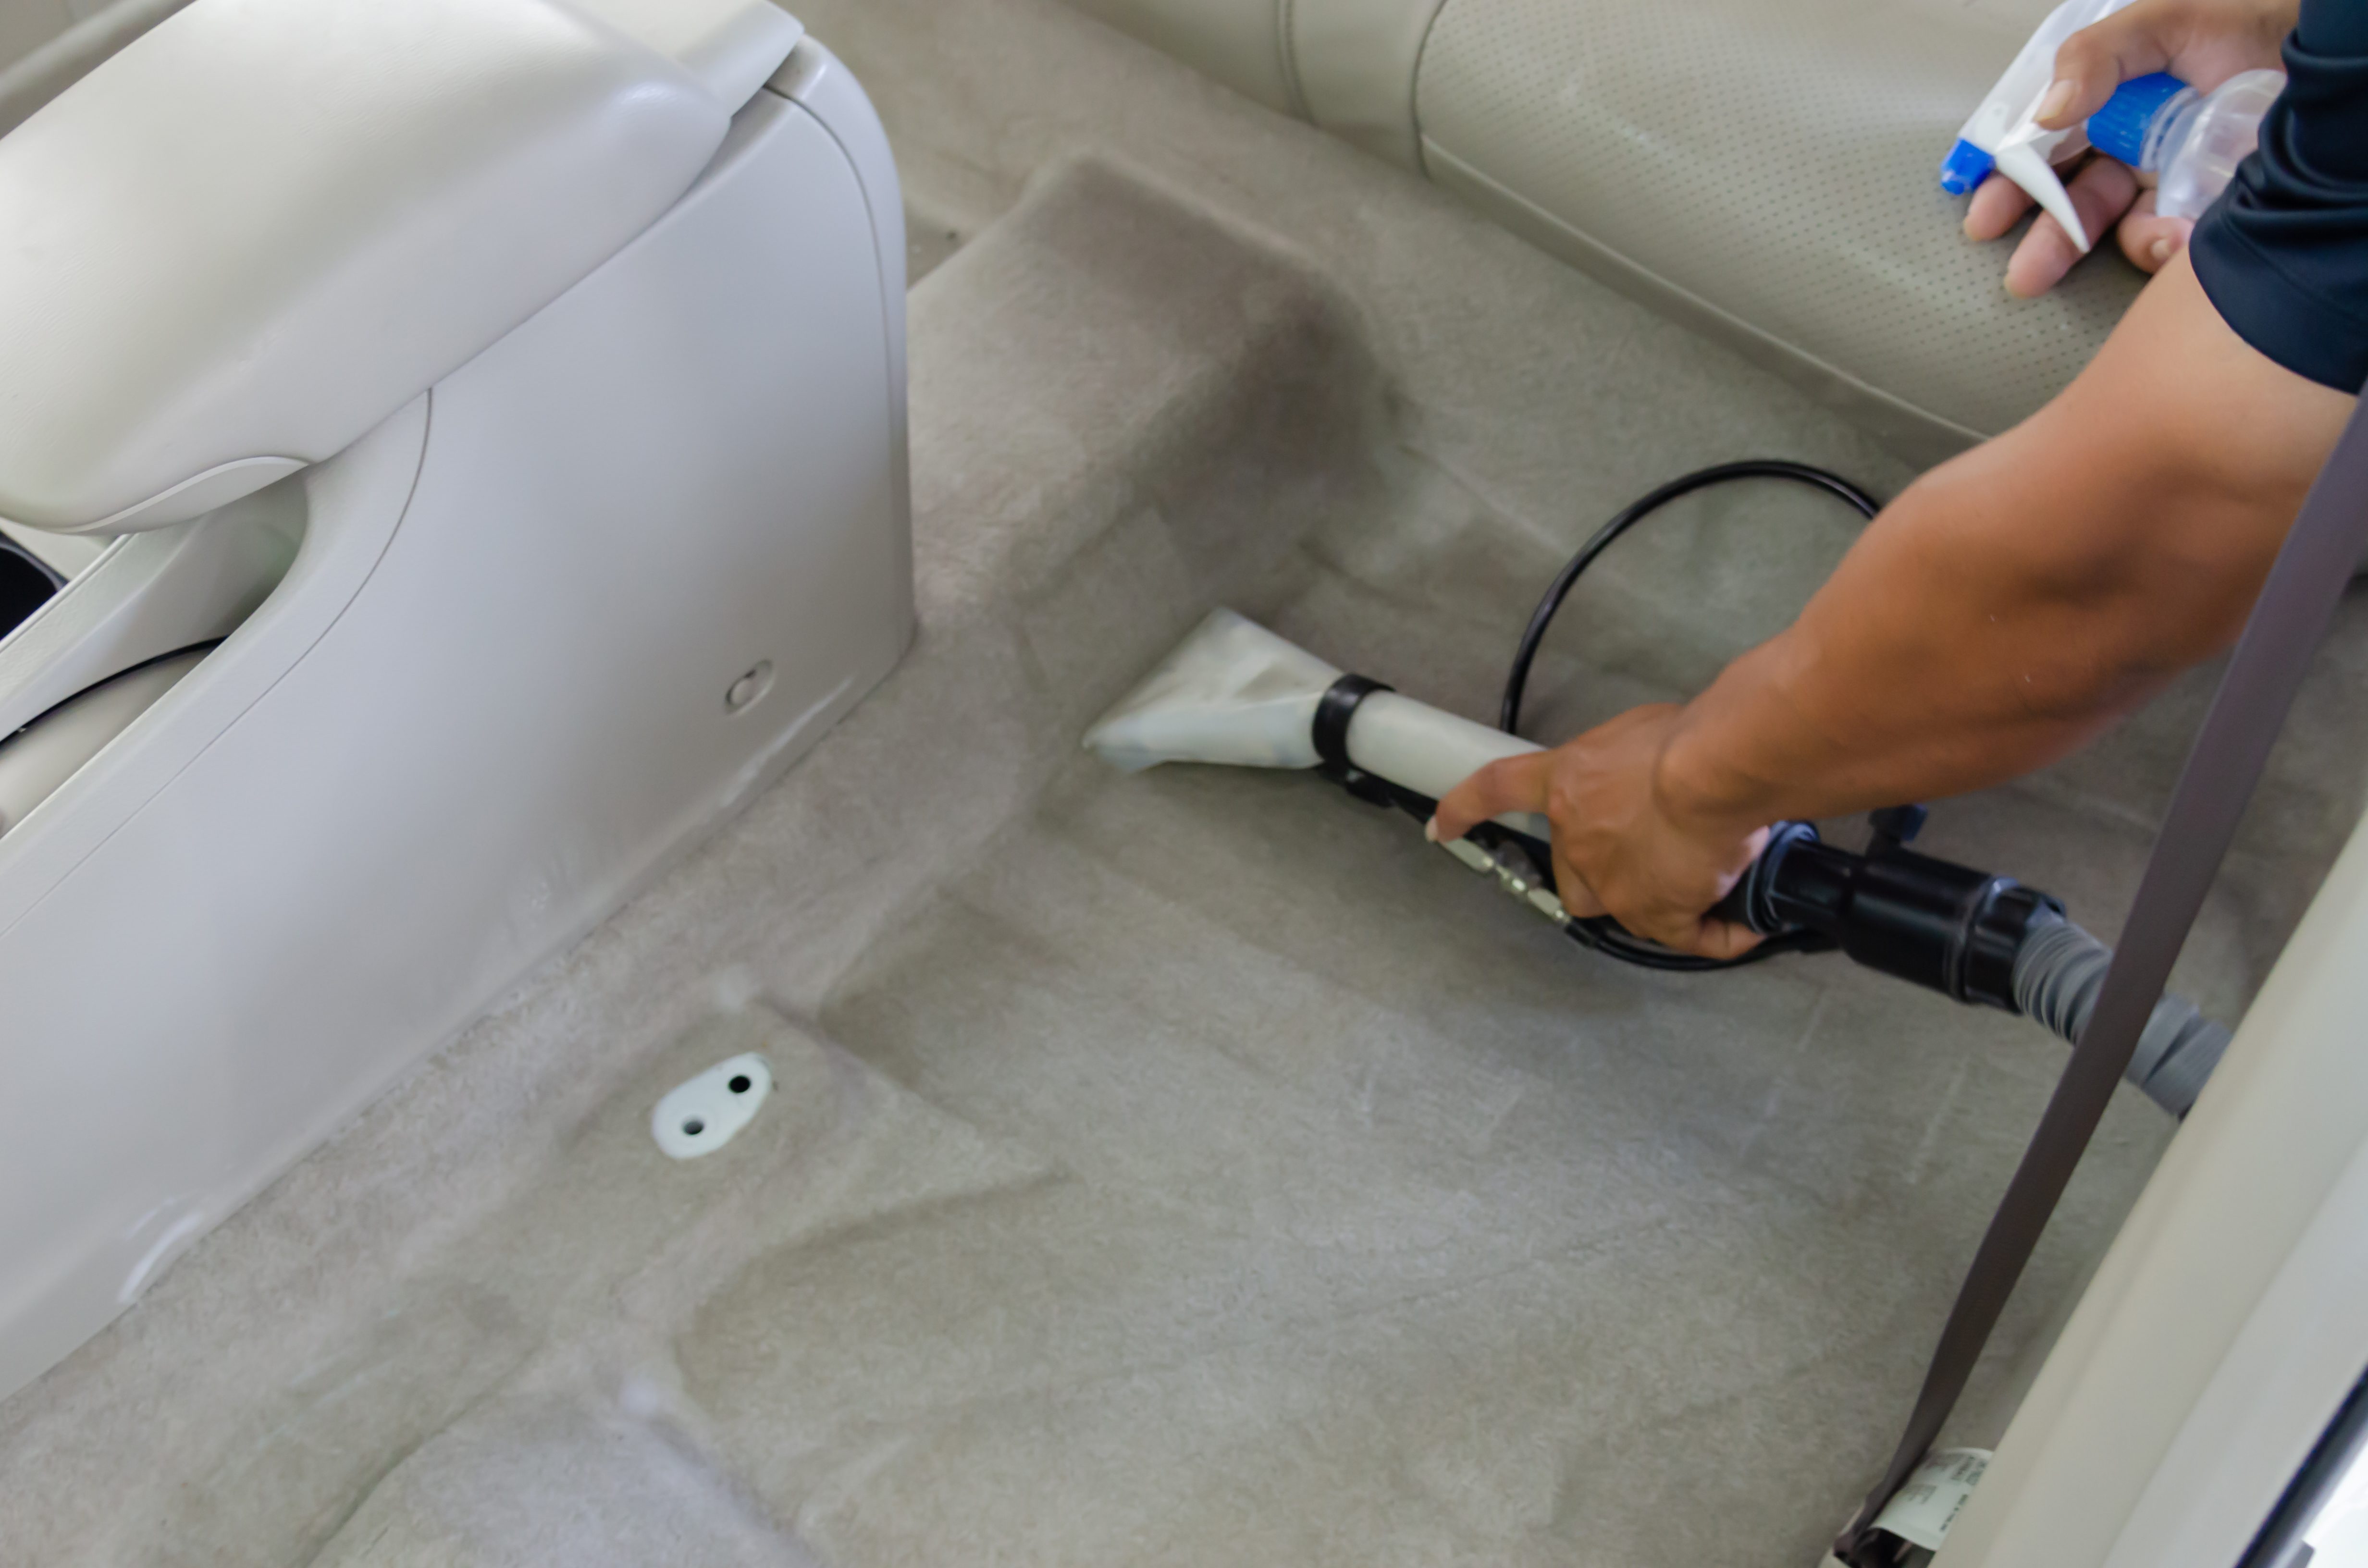
9. Brush and Vacuum the Carpet
You will want to use a brush and vacuum on the carpet when auto detailing. Using an attachment with a brush can help lift the stubborn dirt and debris out of your carpet and suck it up. You’ll want a heavy-duty vacuum powerful enough to provide plenty of suction. The more powerful the vacuum, the easier this job will be and the better the results.
10. Wash the Exterior With the Right Soap
You should never use household soaps or dish detergents on your vehicle. They can damage your paint and the protective coatings that help your vehicle shine like new. We recommend getting a wash and wax combo, so you clean your car and leave it with a bright and stunning shine when it dries.
Pro Tip: Use these tips on How to Clean Rubber Floor Mats in Your Truck or Car to get your interior spotless.
Is DIY Auto Detailing Worth It?
You spent good money on your vehicle, so take pride in it. You don’t want your friends and family to climb into your car and navigate trash and dirt caked into the floorboard. Keeping your vehicle in like-new condition is a great way to ensure you get a top-dollar offer if you decide to sell it. If you don’t have the time or energy for a DIY auto detailing, pay a professional to give your vehicle the care it deserves a couple of times each year.
Would you try DIY auto detailing? Tell us your thoughts in the comments!
Discover the Best Free Camping Across the USA
To be honest with you, we hate paying for camping. There are so many free campsites in America (with complete privacy).
You should give it a try!
As a matter of fact, these free campsites are yours. Every time you pay federal taxes, you’re contributing to these lands.
Become a FREE CAMPING INSIDER and join the 100,000 campers that love to score the best site!
We’ll send you the 50 Best Free Campsites in the USA (one per state). Access the list by submitting your email below: