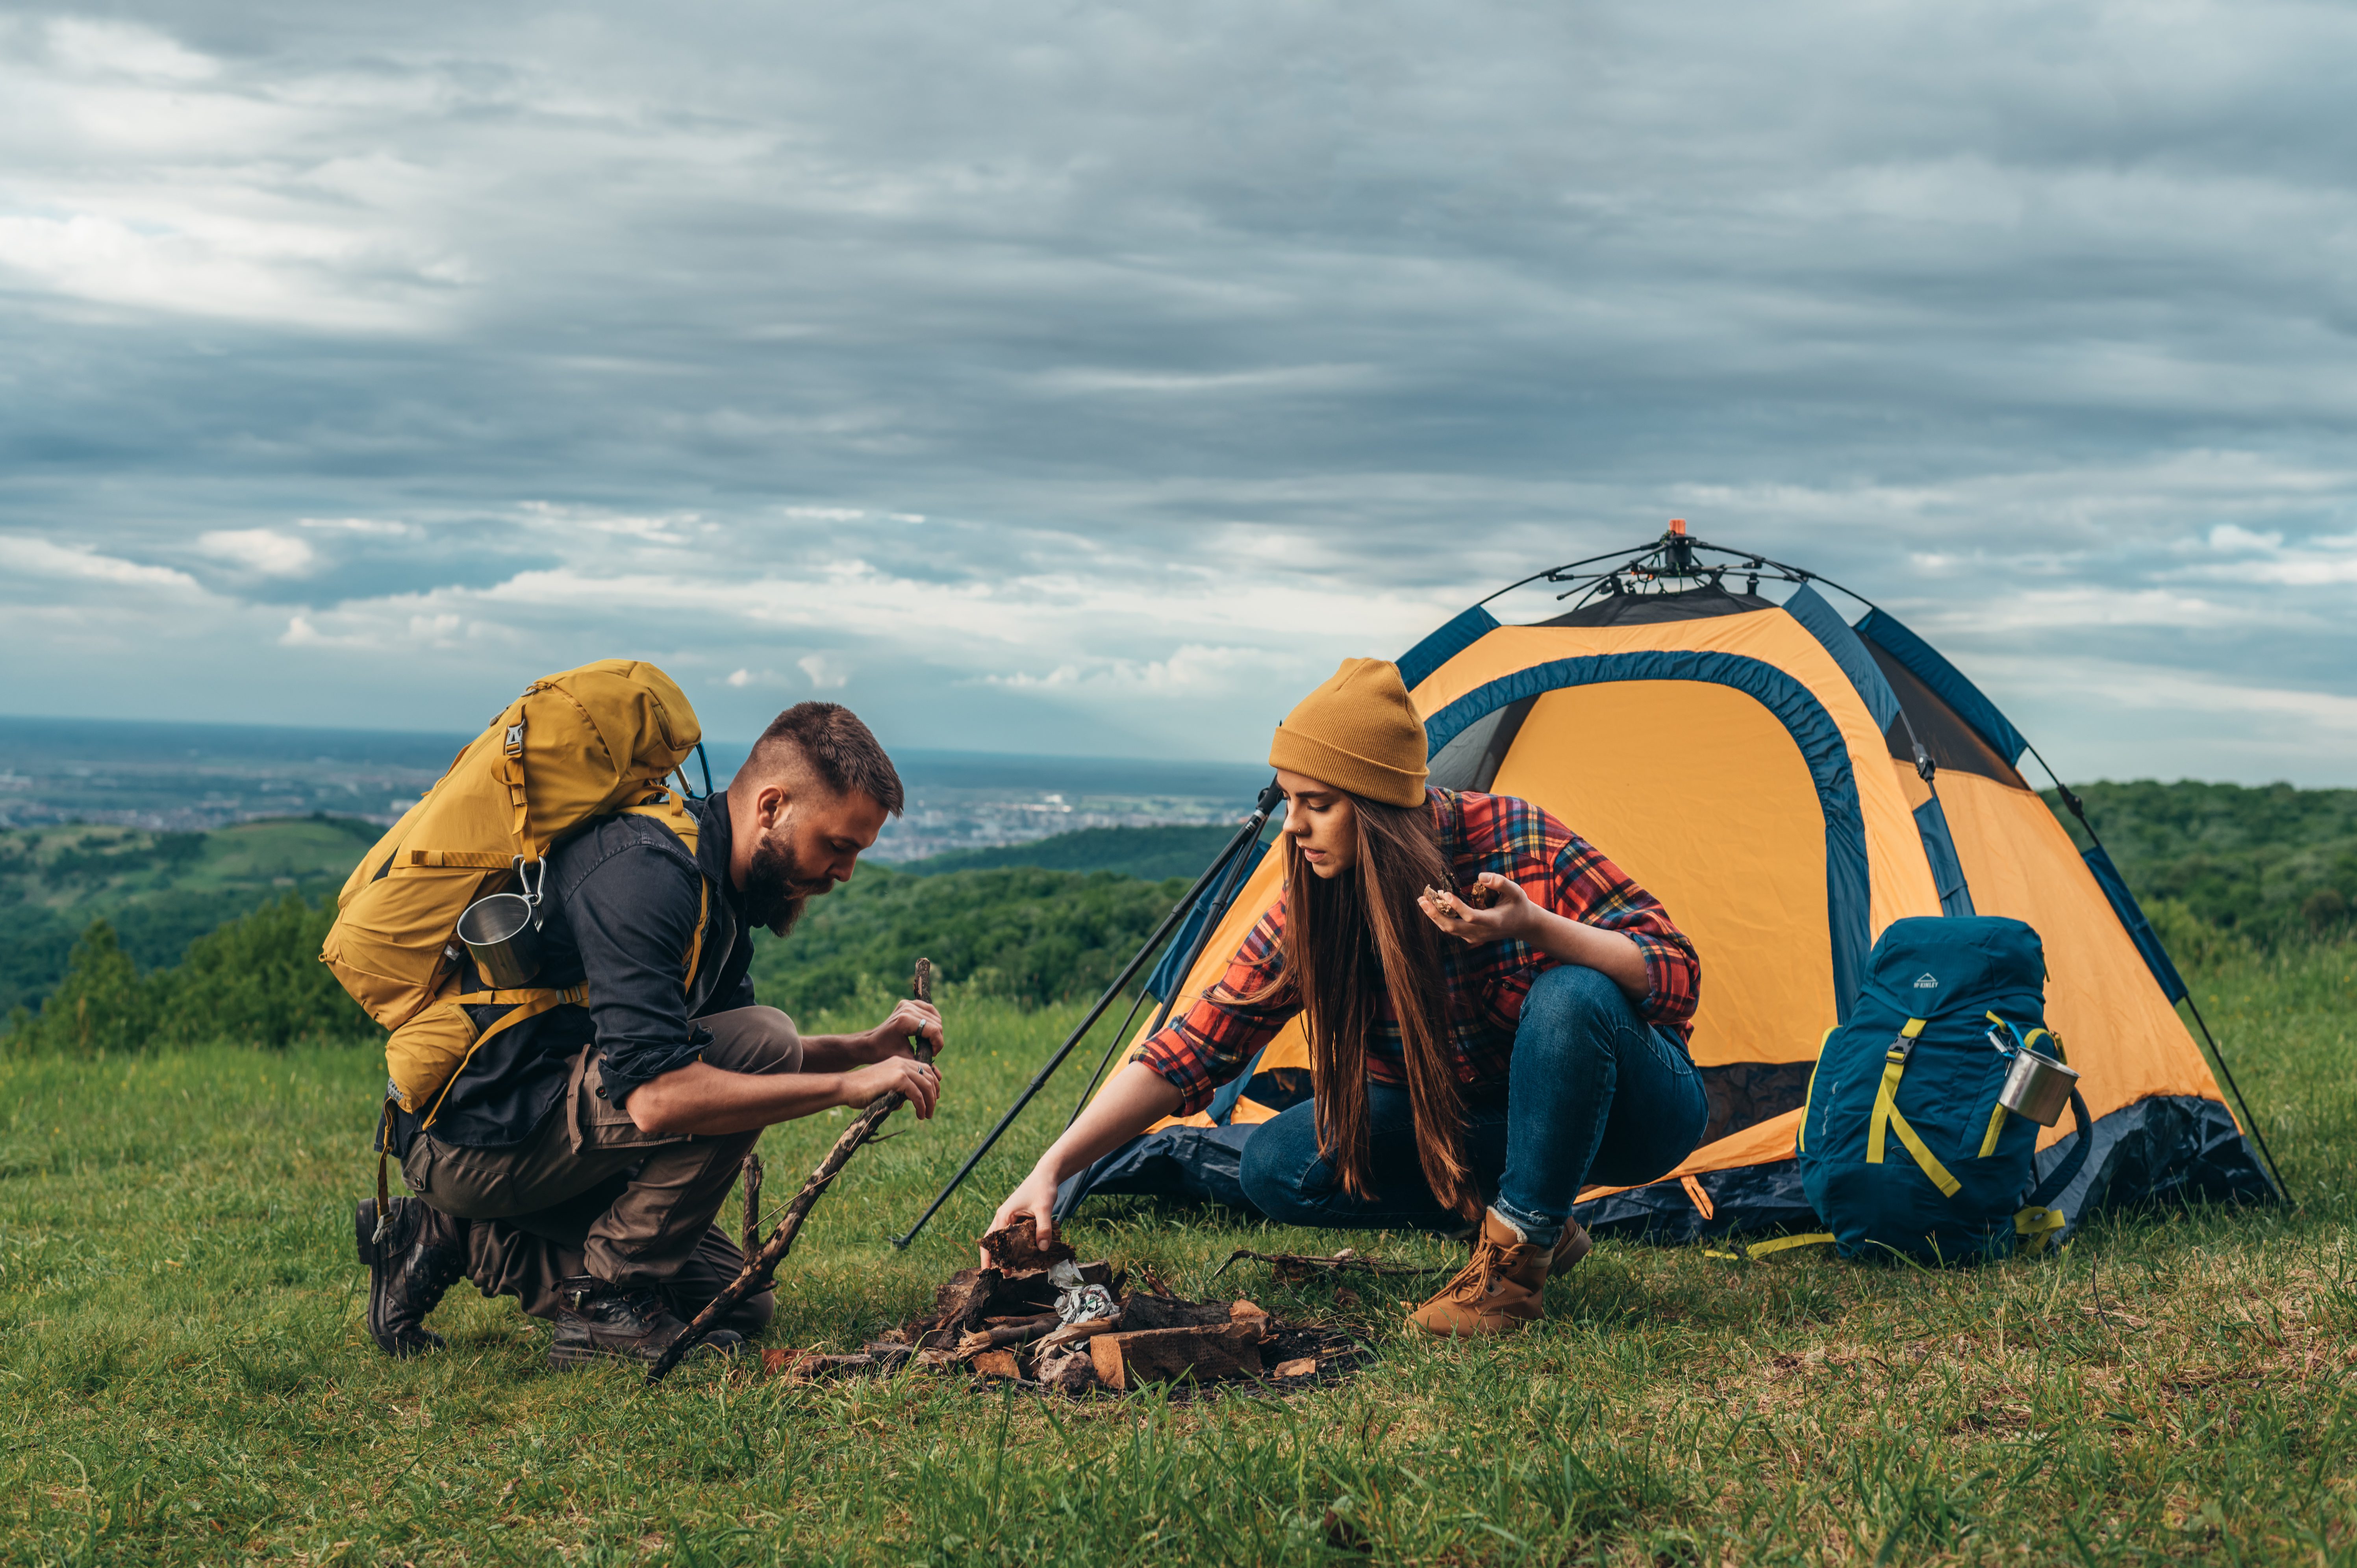
When you’re tent camping in a remote area, you might not be able to take a camp stove with you. Backpacking down into the Grand Canyon or climbing an Alaskan peak is exhausting enough. You don’t need the added weight of a lot of gear.
Or if you’re stealth camping, you don’t want a lot of smoke going into the air to signal your location. Enter the hobo stove. It’s an easy do-it-yourself project you can complete at home or the campsite. Let’s learn more!
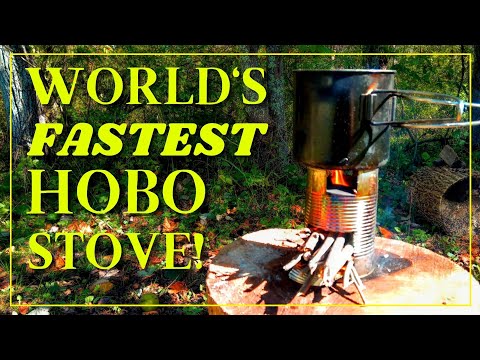
What Is a Hobo Stove?
A hobo stove is made from common, everyday materials. Rocket stoves made from tin cans fall into the category of hobo stoves. Homeless people, backpackers, and stealth campers can easily make this stove, hence the name. The idea of the stove is to use easy-to-find materials to construct a cooking surface. Hobo stoves are also easily portable.
Why Would Someone Create a Hobo Stove?
Knowing how to build a hobo stove is a survival skill. For people who adventure in off-grid locations, being able to create a heating surface is critical. Boiling water to purify it for drinking or cooking is very important.
Plus, a hobo stove creates a heating surface for campers to cook meals.
Pro Tip: Build a campfire with ease by using one of these 5 Best Campfire Starters.
The Steps to Building a Hobo Stove
A hobo stove has to be easy to construct. Otherwise, it’s not convenient or efficient. A homeless person isn’t going to spend an hour trying to make a stove. A backpacker who has spent an entire day exploring the wilderness of Yosemite wants to build something quickly and easily to enjoy a dinner. Here are the simple steps to create a hobo stove.
Gather Materials
First, you’ll need three different size cans. The largest can will be the size of a can of beans, while the middle-sized can will be the size of a can of cream of chicken. The smallest can will be the size of a can of tomato paste. These cans should be able to “nest” inside one another.
Then, you’ll want to wash them thoroughly and remove the labels.
Make First Cut and Test Fit
Remove the top and bottom of the smallest can. Save the top of the smallest can and the top of the middle-sized can. It’s important to use a can opener that removes the rough edges so you don’t cut yourself while making the hobo stove. Additionally, you’ll need a pair of needle-nose pliers, a nail, and matches.
Take the lid from the smaller can and bend it slightly so it will conform to the edge of the large can. Take a permanent marker and outline the lid on the side of the large can, about a half-inch from the bottom. To make your first cut, puncture a hole with a nail. Then use the needle-nose pliers to cut the outline of the circle. After you cut the hole, you can file down the edges. Take the small tomato paste can and insert it into the hole in the large can to test the fit. It should be snug.
Make Second Cut and Insert Can
Put the middle-sized can inside the large can. Draw a line around the inside of the hole and cut it just like you did with the large can. Line up the holes and insert the smallest can to test the fit again. It should be tight; you might have to squeeze and work the can around a bit. Have enough room for the ashes and flame, but you can position the small can farther in or out depending on how you want the stove to burn.
Make the Burn Shelf
Make two marks on the end of the small can about a quarter up from the bottom. Then snip the slots at the two marks about half an inch into the can. For the lid to fit to create the burn shelf, you’ll need to widen the slots just a bit with the needle-nose pliers. Then take the lid from the middle-sized can and slide it into the two slots to make sure the fit is snug.
Make two marks on the lid where it slides into the can. Then cut slots on the lid about half an inch so that the two slots on the lid insert into the two slots on the middle-sized can. The air hole under the lid (shelf) helps the stove work more efficiently.
Puncture the Burn Holes
Disassemble the stove to puncture the burn holes in the largest can. Go just below the lip of the can and punch holes with a nail all the way around the can. The outside of the holes will be rough, so smooth out the sharp edges with a pair of pliers to ensure you don’t cut yourself.
Use Hanger Iron For Cooking Surface
Reassemble the hobo stove by putting the middle-sized can inside the largest can. Line up the holes and insert the smallest can with the burn shelf. If you’d like to use a hanger iron, take two pieces and cut slots underneath the center hole and position them together like an “X.” Then, cut slots underneath the end holes of the hanger iron. This will enable the hanger iron to securely stay on top of the stove for a solid cooking surface. The slots will slide onto the lip of the largest can.
Start the Fire
Strike a match and light wood or paper. Insert it into the stove via the smallest can. You can drop more wood or paper inside the top of the stove if needed. Place the hanger iron on the top of the stove for a secure cooking surface and start cooking.

What Are the Benefits of a Hobo Stove?
A hobo stove is great for stealth camping. It will burn with almost no smoke and is easy to extinguish. It will also burn with almost 100% combustion. Since you can use everyday household items to create the stove, the construction is simple and easy.
Are Hobo Stoves Safe?
There’s nothing dangerous about hobo stoves. There’s no propane or lighter fluid involved. The only dangerous part of cooking with a hobo stove is lighting the fire. Just like anytime you use matches, you want to be cautious.
In addition, make sure to choose BPA-free cans. You don’t want this interior coating to enter the air you’re breathing. You also want to be careful when making the stove so that you don’t cut yourself on the metal edges.
As long as you are careful and use it appropriately, there’s no reason a hobo stove should be dangerous.
Pro Tip: Use our guide on How to Build the Perfect Campfire to heat up your campsite.

Is a Hobo Stove Worth It?
If you’re camping in a remote area, it’s likely you aren’t carrying a lot of equipment or gear. If you’re going to be backpacking all day to get to a campsite, you probably aren’t packing a camp stove. Bringing along a few cans, needle-nose pliers, a nail, and matches won’t take up much room in your backpack, nor will it add much weight. Plus, you could already have a hobo stove made and just assemble it once you set up camp.
If you do a lot of stealth camping, a hobo stove might just be your cooking solution. Does it seem like a good fit for your camping style?
Discover the Best Free Camping Across the USA
To be honest with you, we hate paying for camping. There are so many free campsites in America (with complete privacy).
You should give it a try!
As a matter of fact, these free campsites are yours. Every time you pay federal taxes, you’re contributing to these lands.
Become a FREE CAMPING INSIDER and join the 100,000 campers that love to score the best site!
We’ll send you the 50 Best Free Campsites in the USA (one per state). Access the list by submitting your email below: