Nails make a great way to hang pictures and other lightweight items on your walls, but the holes they leave behind can cause a problem. You probably thought, “I’ll get around to fixing those nail holes someday.” However, someday quickly turned into a couple of years, and those unsightly holes fell off your to-do list. So how do you easily fill nail holes and repair them correctly?
Today, we’ll share a few tips and tricks so you can finally tackle those nail holes littering your walls. Let’s get started.
What Are Nail Holes?
Hanging pictures makes a great way to decorate the walls of your home and make the space feel like home. Many people put up pictures of their family or artwork that means something special. No matter what you put up, you’ll need a nail to do it. However, these leave a tiny hole when you remove them.
Since there is a hollow space in the wall, you can’t simply paint over it. If you do, you’ll see a small dimple on an otherwise flat and even surface.
And if you rent an apartment, you’ll need to fill those before moving out. Luckily, it’s relatively easy to fix. If you do it right, you can’t even tell where the holes were in the first place.
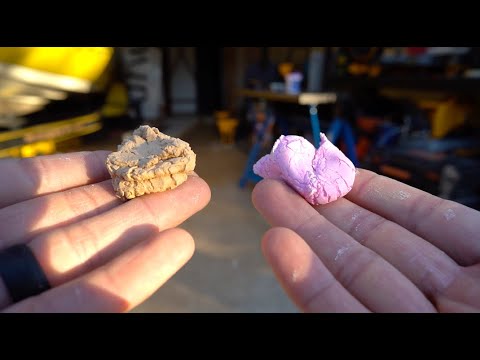
What Do Professional Painters Use to Fill Nail Holes?
Before any paint hits a brush, professional painters will fill nail holes. They’ll typically use some quick–dry spackling. They get a putty knife to push the spackle into the hole and then drag the knife over it to remove any excess and smooth the surface.
Then they’ll give the spackling plenty of time to dry before applying any additional layers. They’ll then come through and gently sand the area with fine-grit sandpaper to smooth the surface.
Pro Tip: Are you a pro DIYer? Find out How to Easily Paint Your Garage Door.
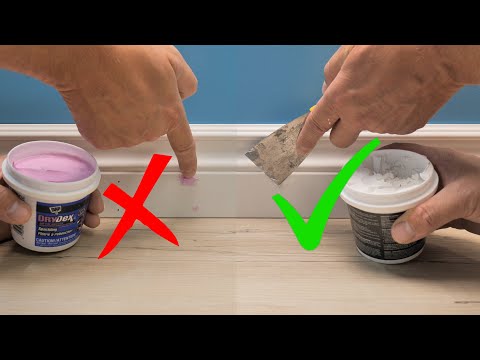
Can I Use Caulk to Fill Nail Holes?
Will caulk fill nail holes? Yes. However, using caulk to fix nail holes is not the correct or best way to fill them. You can’t sand caulk, and it doesn’t accept paint as spackle does.
Since any task is worth doing correctly, we only recommend filling nail holes with spackle to get the best results.
How to Easily Fill Nail Holes
Stop putting off filling those holes cluttering your walls. In only a few easy steps, you can remove every one in your home and have clean and smooth walls. Here’s how to do it.
Remove Loose Paint Around the Hole
You’ll first need to remove any loose paint or gypsum that formed a ridge around the hole when you hammered the nail in.
Take a 220-grit sanding block and gently cover the surface. Use a circular motion against the drywall and avoid pressing too hard.
You want to get the surface as smooth as possible before you put any spackle on it.
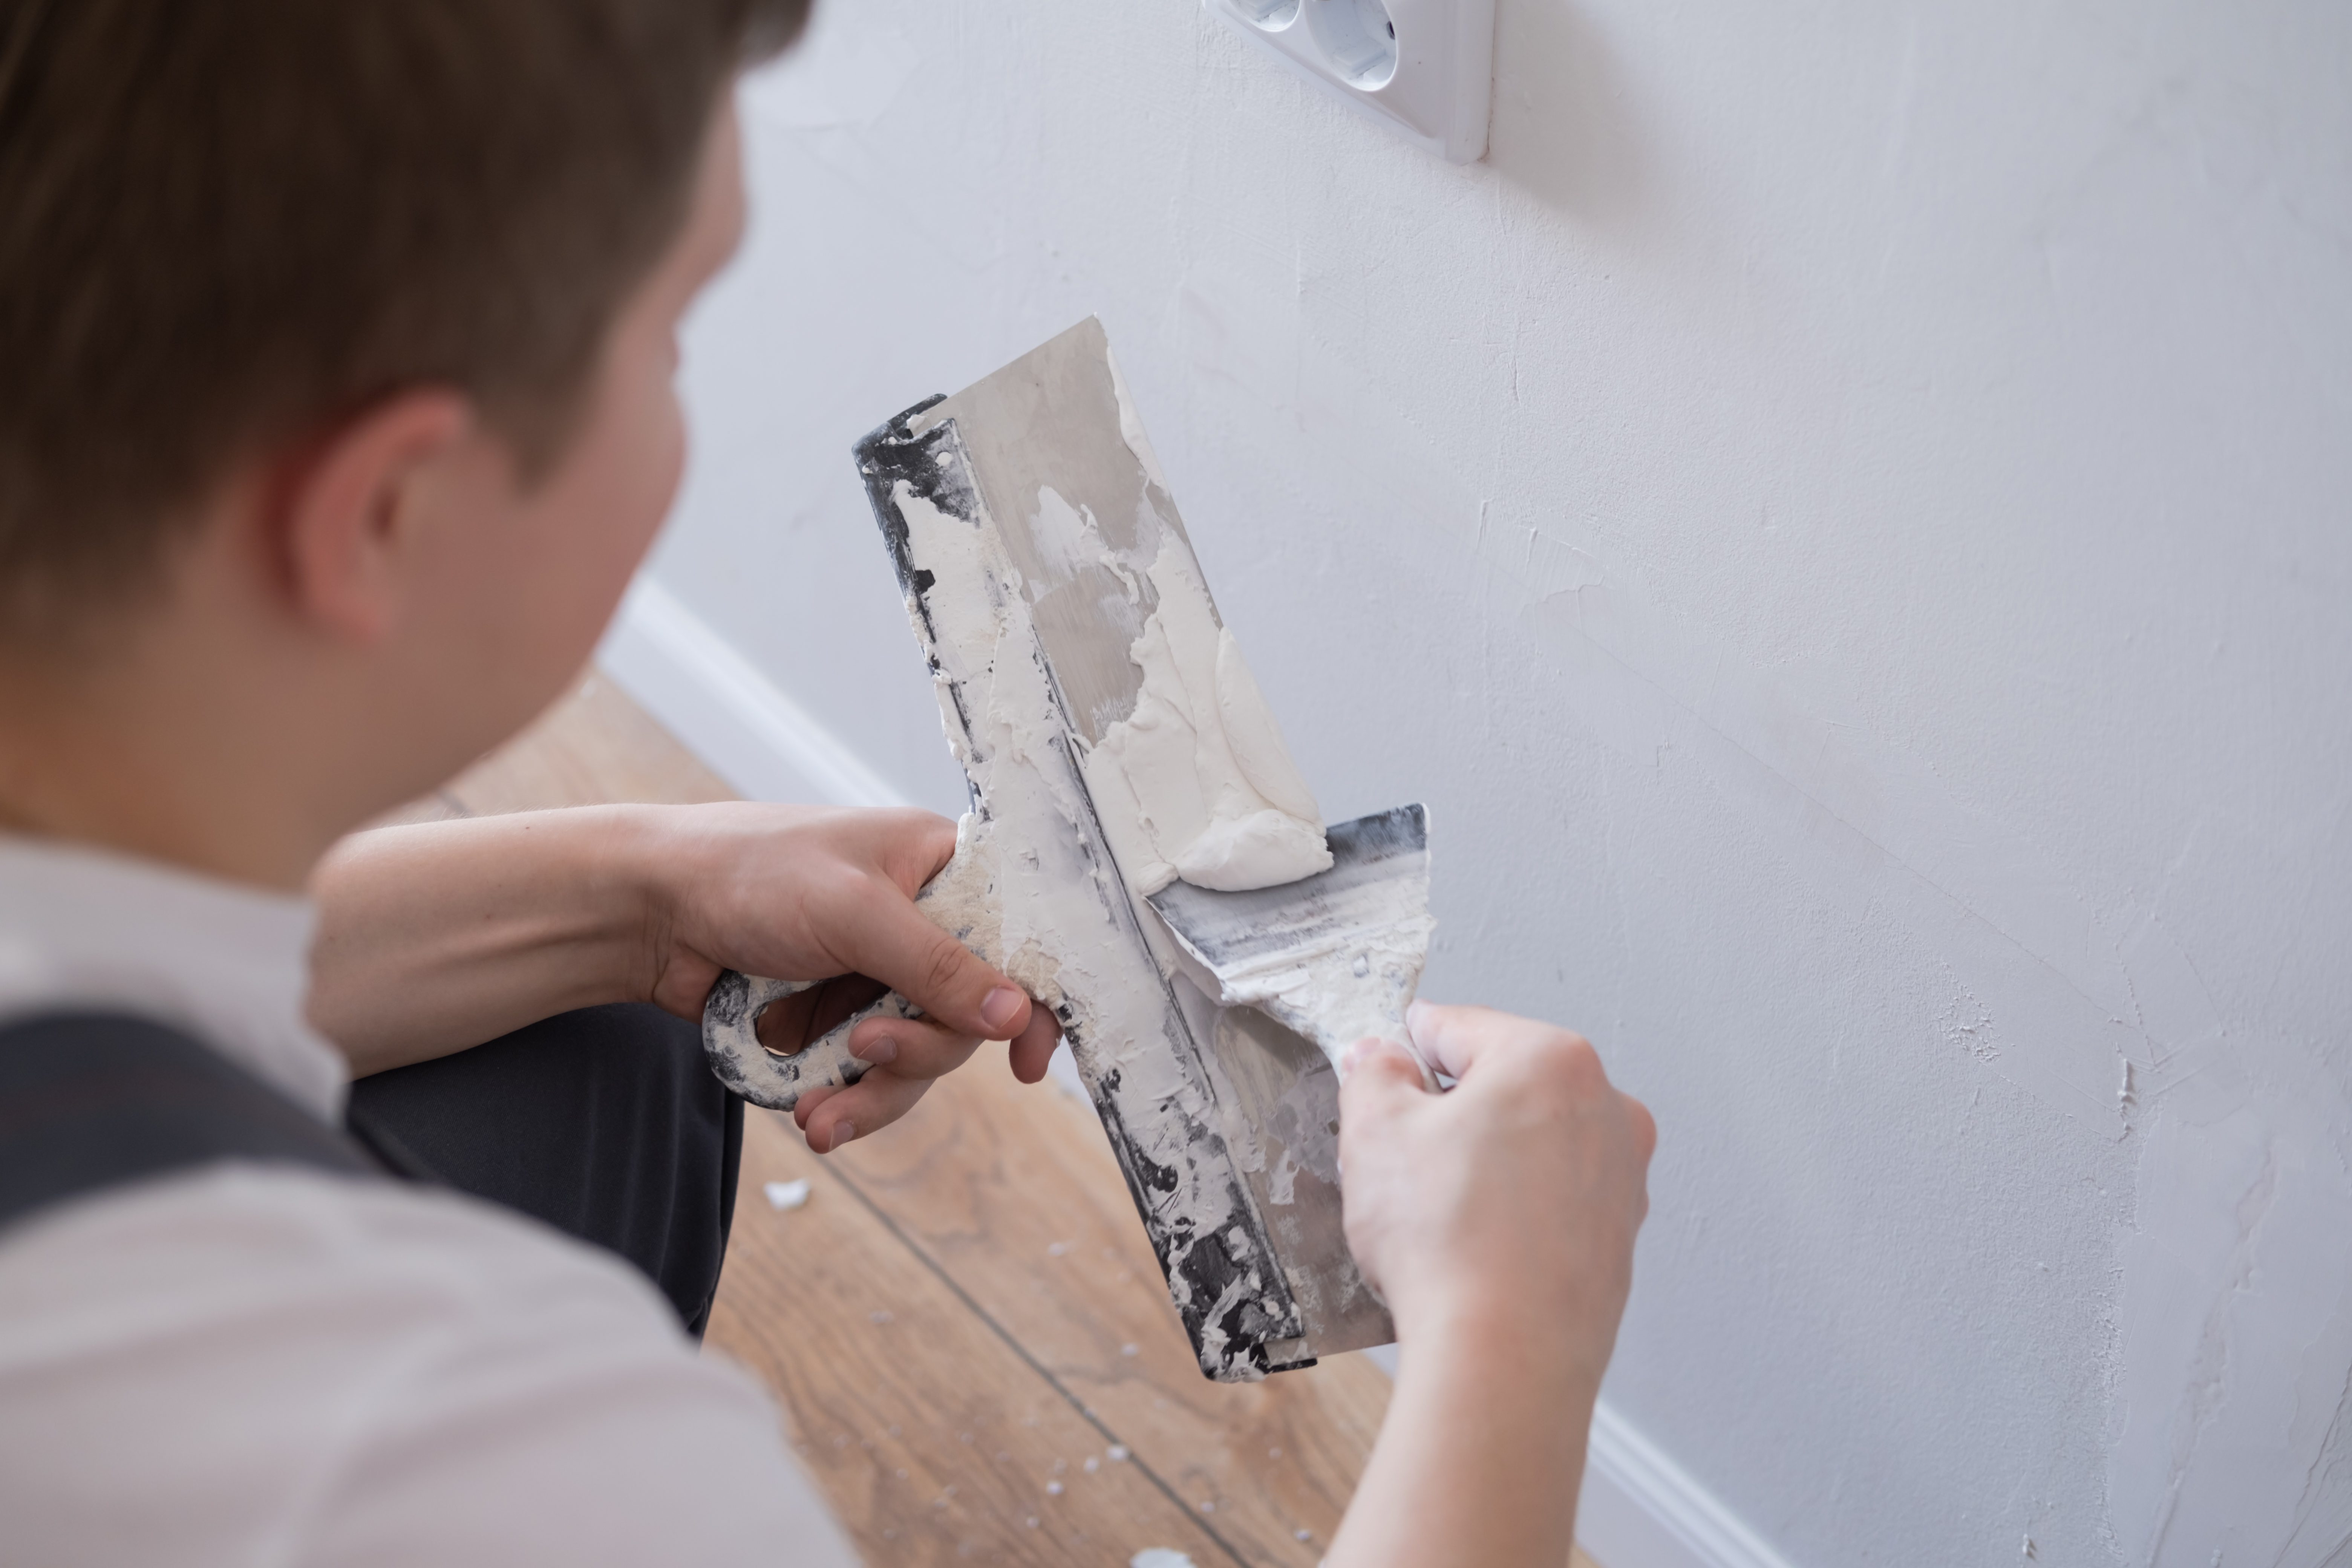
Add Spackle to the Hole
Once you level the area around the hole, use a flexible putty knife to place a small amount of spackling over it. Place a dime-sized bit of spackling onto the wall and spread it across the nail hole.
You should do this in two swipes in each direction. Apply pressure as you spread the spackle to push it inside, but don’t place too much pressure on the putty knife that you scratch the wall.
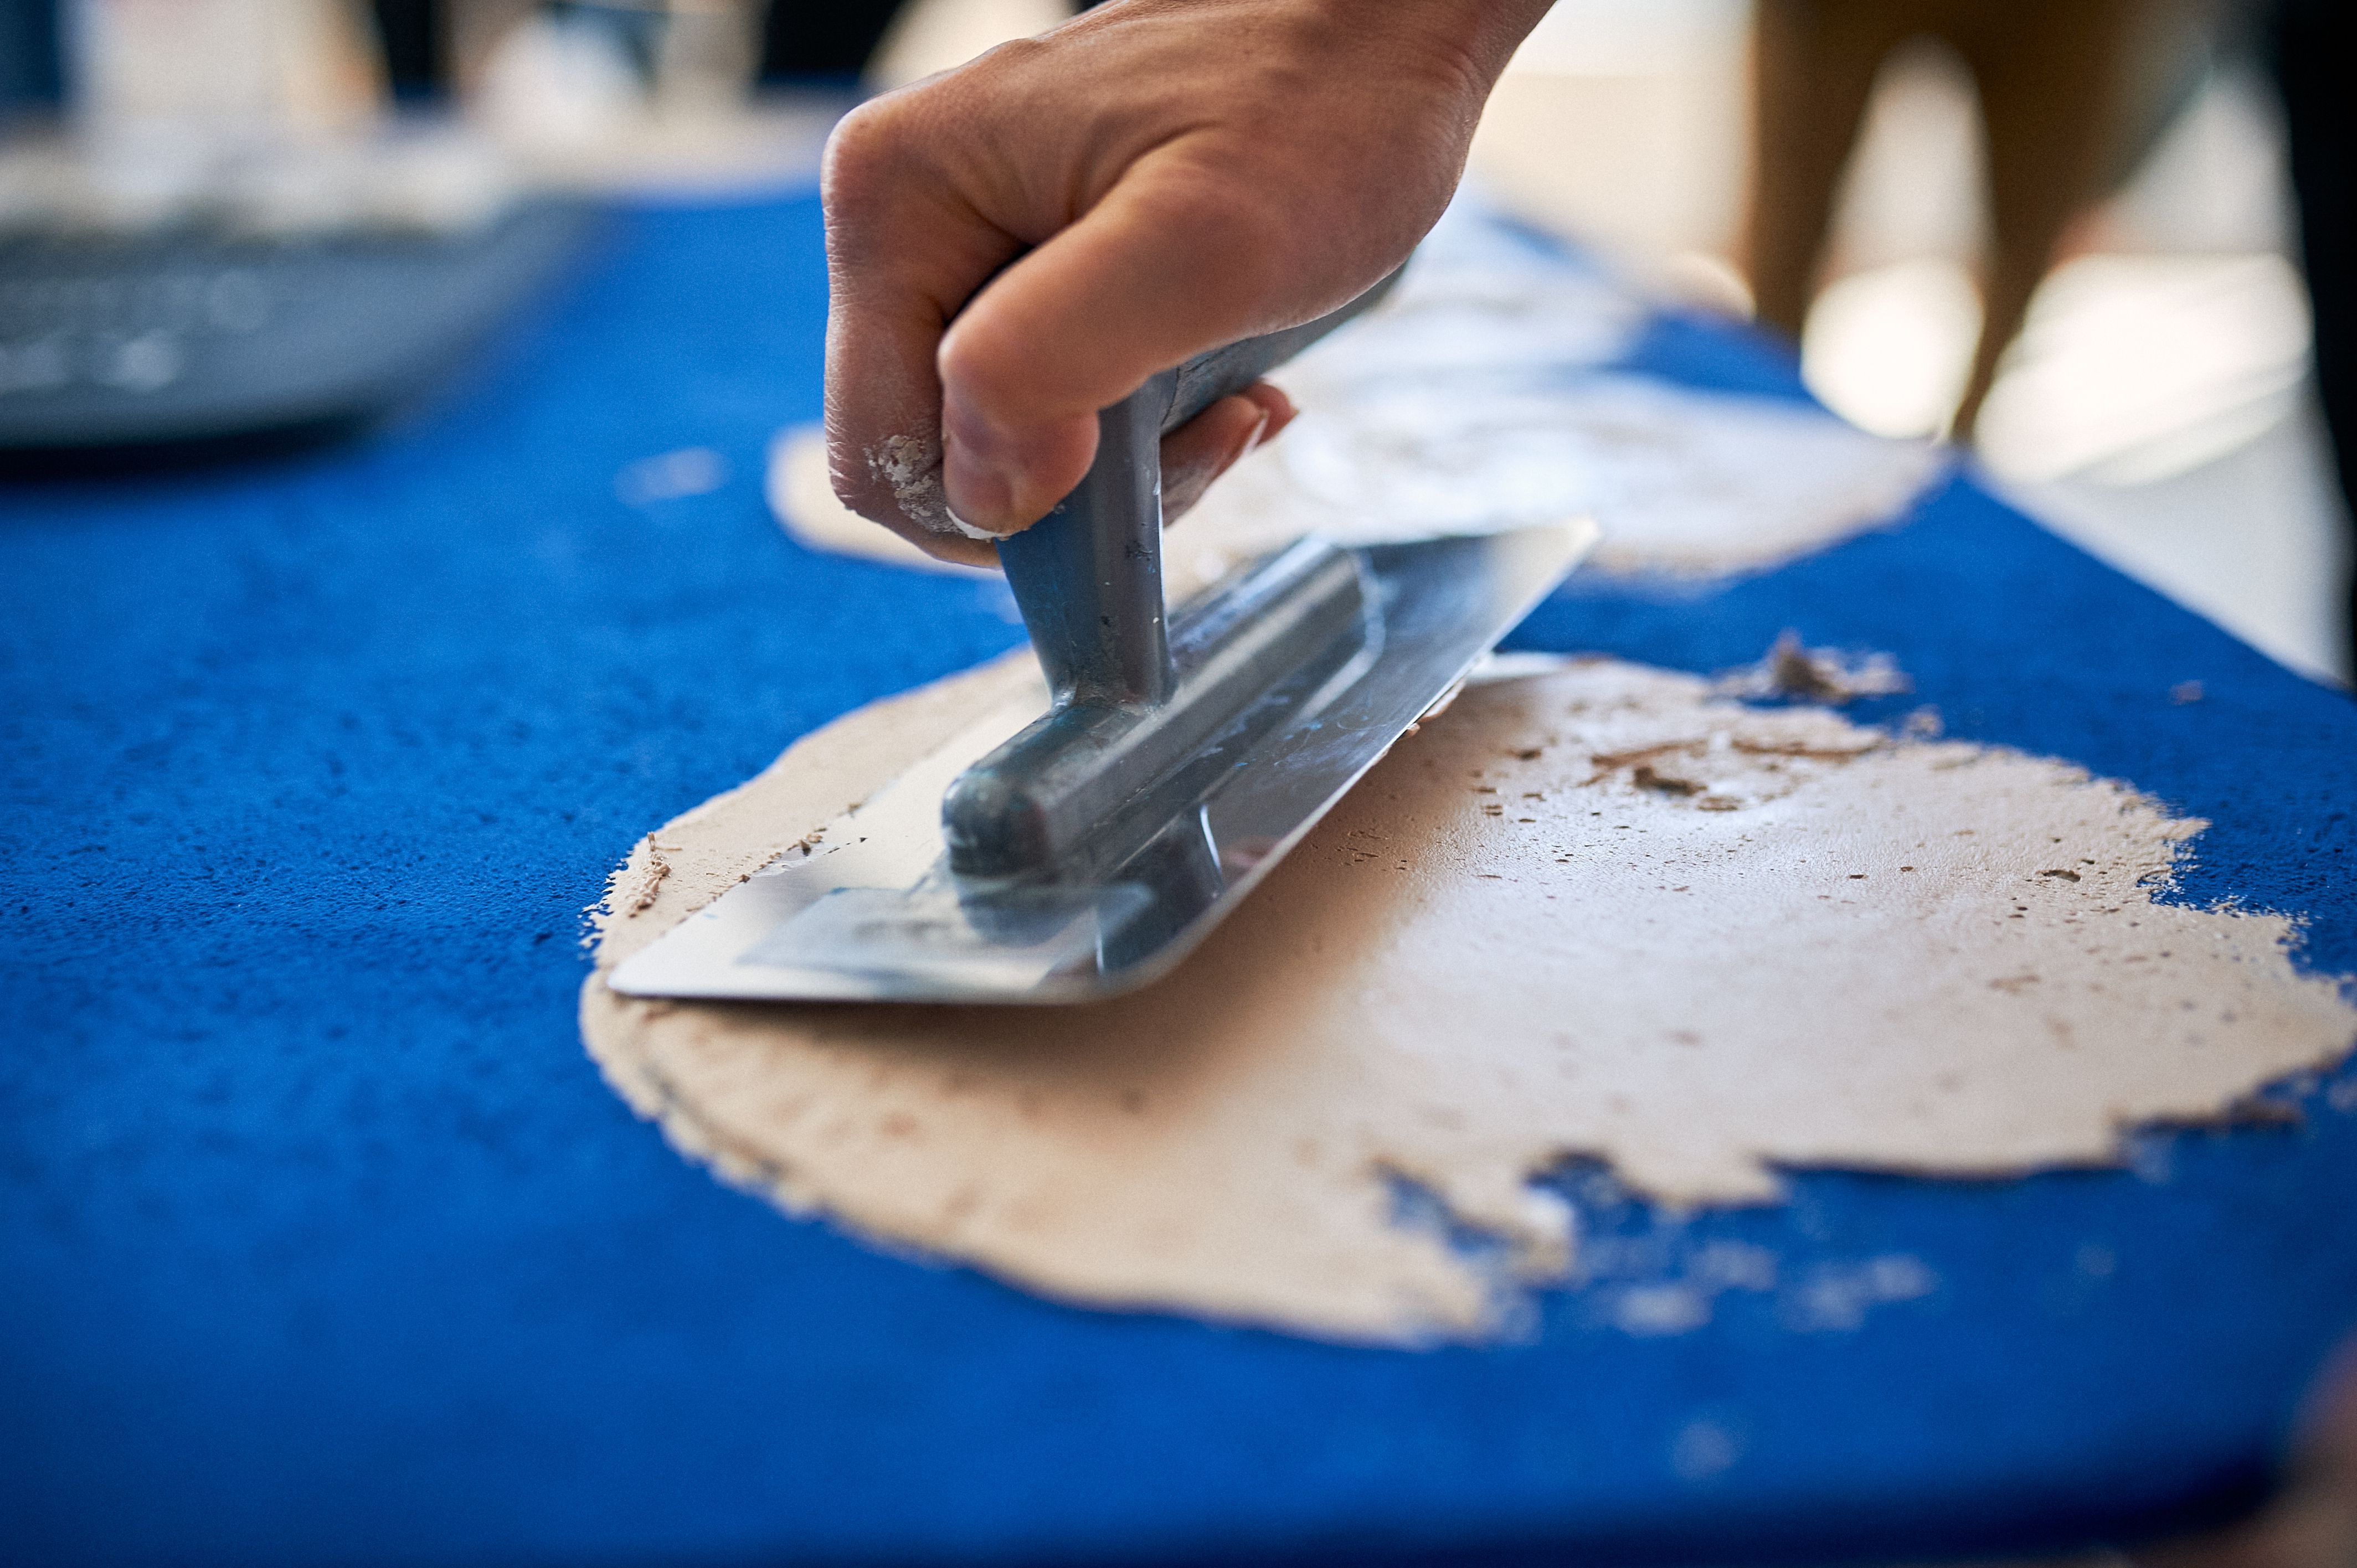
Remove Excess Spackle and Gently Sand
If you have excess spackle left behind, use the putty knife to remove it from the wall. Make sure to take less spackle on the next nail hole you’ll fill. You can easily use too much spackle, which wastes material and takes longer to dry.
Now, let the spackle dry before you can start sanding. Drying times vary depending on the compound you select. Some quick-dry options will dry in less than an hour.
Take your time and fill all of the nail holes at once. The first nail holes may have finished drying by the time you do the rest.
Finally, grab the 220-grit sanding block you started with and sand the surface to create a smooth finish.
Add Another Layer of Spackle
Sometimes, one layer of spackle isn’t going to cut it. If that’s the case, repeat the process with a second layer. Spread the spackling over the hole to fill in any gaps or divots. You should notice that the hole vanishes as you near the completion of this project.
Let Dry Completely Before Painting
Now that you’ve applied your final layer of spackle, give it plenty of time to dry before doing a final light sanding. At this point, you shouldn’t be able to feel much of a difference in the wall.
Once you paint over the hole, it should disappear entirely. If you did this project correctly, no one should notice any difference.
Pro Tip: Before you make a bunch of holes trying to hang something in your RV, find out Does a Stud Finder Work in an RV?
Is It Easy to Fill Nail Holes?
Filling nail holes is a rather easy DIY project that almost anybody can complete. However, like most projects, the key is to take your time. Rushing this task won’t give you the best results.
Many people make the mistake of not allowing the spackling to dry completely before sanding it. If you’re worried about this, try breaking the project up into a weekend.
Prepare all the surfaces on Saturday, then come back Sunday and do the sanding and painting. It will take some time and practice if you want a professional look.
Are you ready to spackle this project? Tell us in the comments!
Discover the Best Free Camping Across the USA
To be honest with you, we hate paying for camping. There are so many free campsites in America (with complete privacy).
You should give it a try!
As a matter of fact, these free campsites are yours. Every time you pay federal taxes, you’re contributing to these lands.
Become a FREE CAMPING INSIDER and join the 100,000 campers that love to score the best site!
We’ll send you the 50 Best Free Campsites in the USA (one per state). Access the list by submitting your email below: