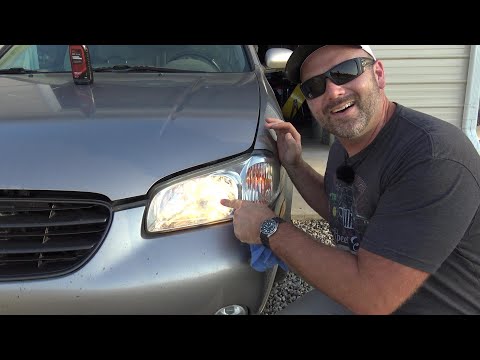
Can’t see while driving at night? It may not be your eyesight failing you. It could be that you need to clean those foggy headlights.
Headlight lenses obviously get dirty just from driving. Dust, dirt, grime, rain, sleet, snow, even sunshine, all gang up to do damage to your headlight lenses.
Though the toll the elements take on your headlights can be substantial, there are numerous options for how to clean cloudy headlights.
Let us light the way!
Cloudy Headlights Can Be Fixed
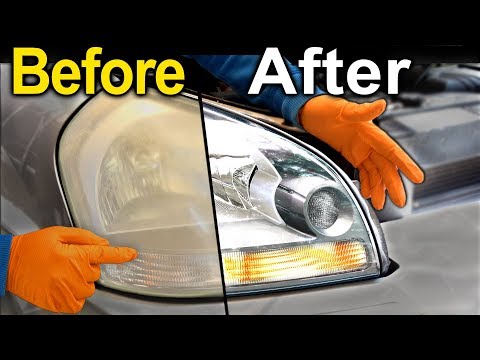
Driving with cloudy headlights isn’t just inconvenient, it can be downright dangerous. But this is a problem that can often be fixed without having to purchase expensive replacement lenses. Frequently, headlights can be restored via different cleaning measures, some more aggressive or costly than others.
What Causes Headlight Cloudiness?
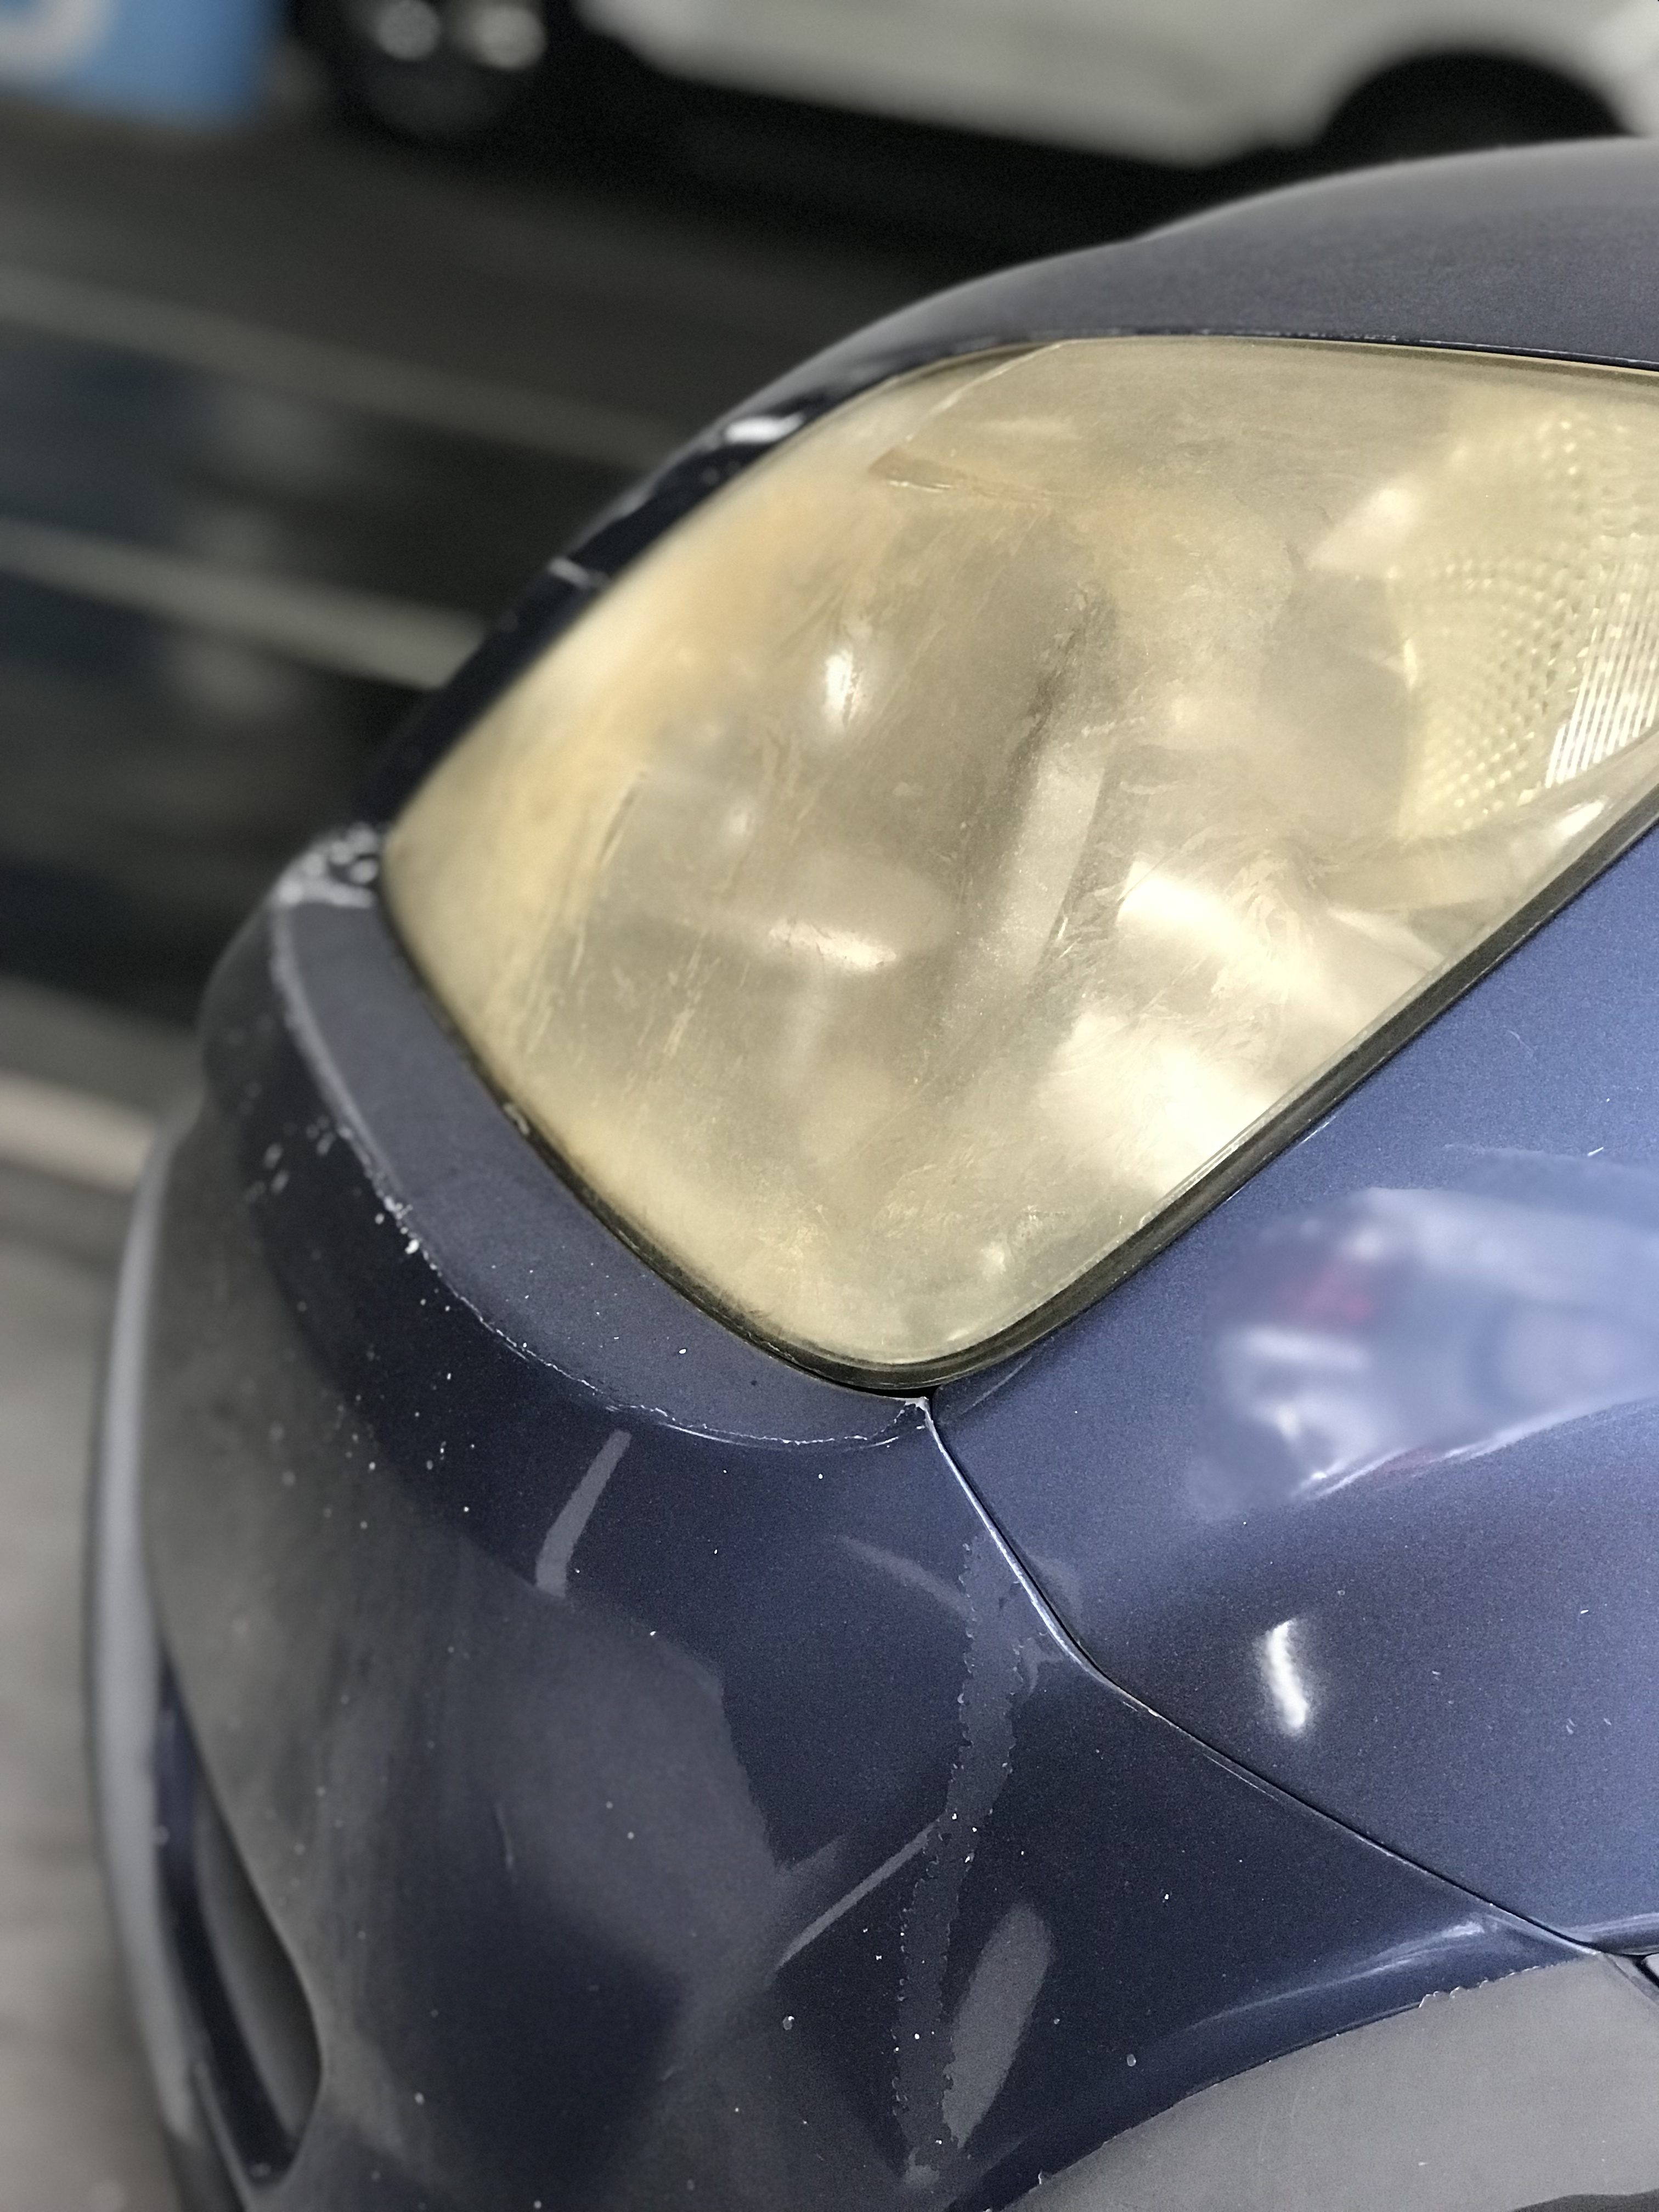
There are several factors that combine to cause headlight cloudiness. The main culprits are UV rays from the sun, as well as dirt, debris, and chemicals on the road.
Headlights have a protective outer coating, but it takes a beating from gravel, rock salt, chemicals, and other debris on the road. Over time, that topcoat becomes less effective, allowing the sun’s UV rays to oxidize and cloud the lens. If that coating is worn, scratched, or pitted it also allows more of the grime from the road to stick to the lens, further exacerbating the problem.
Why Are Cloudy Headlights So Dangerous?
Cloudy headlights are dangerous because they reduce your nighttime driving vision. When traveling down a dark road, your headlights are often all that is illuminating the way. If your headlights are cloudy or yellow, this further reduces your field of vision, making driving much more dangerous than it ought to be.
How To Clean Your Cloudy Headlights
The good news is that there are lots of ways to combat foggy headlights. Below, we’ve listed some of the most effective ways to clean your cloudy headlights. Most of them are fairly inexpensive, especially when compared to the cost of replacement headlight lenses.
Start With Windex
The first step in any headlight restoration is cleaning. You can use dish soap and water, but Windex or other glass cleaners are more effective at getting as much of the grime as possible off of the lenses.
Try Toothpaste
The next step is removing the layer of oxidation that has built up on the lenses. This requires an abrasive paste and some elbow grease.
Surprisingly, toothpaste is a good, mild abrasive that can help remove mild oxidation.
After cleaning the headlight, get it wet and apply a small amount of toothpaste (about a fingertip’s worth) to the lens. Then, scrub away. Be sure to keep the lens wet while you are scrubbing and add more toothpaste as necessary. This may take 5 to 10 minutes of scrubbing per headlight.
Another abrasive option is a baking soda paste. In a small bowl, mix a couple of tablespoons of baking soda with enough plain white vinegar to make a thick paste. Using a cleaning cloth, polish the headlight with the paste in a circular motion. Again, this may take a few minutes.
Whether you use toothpaste or baking soda, when you are done, rinse the headlights.
Rub On Some Car Polish
After scrubbing and rinsing the headlights to remove the layer of oxidation, apply a thin layer of car polish or car wax. This will restore a shine to the lens and also help prevent future cloudiness. Once your lenses are clear again, apply a thin protective layer of car polish to the lenses any time that you wash them.
Buy A Restoration Kit
If the cloudiness of your headlights is extreme and the previous methods didn’t quite work, it’s time for more aggressive measures. Consider purchasing a headlight restoration kit. There are several on the market, though some of the costlier ones may actually be as much or more than replacement lenses, depending upon your specific headlights.
A restoration kit typically includes a professional grade cleaner, an oxidation remover, sandpaper, and a shine restorer that also provides a protective coating. Of course, there are many kits with many variables, but these are the basics of most.
Be sure to wear protective gloves and follow all instructions, as most kits contain more aggressive chemicals than the do-it-yourself methods we outlined above.

Go To A Pro
If you’re not comfortable with a restoration kit or simply don’t want to do the work yourself, call in the pros. Having a professional cleaning and restoration done might actually be less expensive, especially if you have a headlight that is somewhat pricey to replace.
Another benefit of going to a pro is it’s what they’re good at. A professional can tell you if the headlight lenses are beyond restoration and should guarantee their work.
What To Do If The Haziness Is On The Inside
Haziness on the inside of the headlight lens is usually caused by moisture build-up and/or dust getting inside the headlight. This is a much more complicated proposition than clearing up the fogginess on the outside of the lens. It may require a professional.
If you are a confident do-it-yourselfer, it is possible to clean the inside of the lens and reseal it. The basic procedure includes removing the headlight from the car. After removal, use a heat gun to soften the seal that holds the lens to the headlight body in order to separate them.
Once the lens is separated from the headlight, clean the inside, being sure to use a lint-free cloth as your final measure of cleaning. Put some silicone sealant around the body of the headlight and reaffix the lens to the headlight body to keep dust and moisture out.
After the sealant has had time to set, reinstall the headlight onto the car.
Keep You and Your Family Safe with Clean Headlights
Every piece of a car needs help over time. But the degradation of your headlight lenses is something that quickly becomes obvious and has an immediate effect on your ability to safely drive the vehicle.
Luckily, if caught early enough, cleaning up cloudy headlights doesn’t have to be a costly or even difficult endeavor.
With the methods we’ve outlined here, you can get many more years out of your headlights, keeping your travels safer and brighter.
Discover the Best Free Camping Across the USA
To be honest with you, we hate paying for camping. There are so many free campsites in America (with complete privacy).
You should give it a try!
As a matter of fact, these free campsites are yours. Every time you pay federal taxes, you’re contributing to these lands.
Become a FREE CAMPING INSIDER and join the 100,000 campers who love to score the best site!
We’ll send you the 50 Best Free Campsites in the USA (one per state). Access the list by submitting your email below:
Clean headlights with insect repellant with high amounts of Deet. Spray it on and wipe it off with clean paper towel. After cleaning polish with car polish
@Robert DJoy, Hi. We used a bit of Vim ( from my wife’s cleaning supplies). Made our 15 year old foggy headlights look like new. Put a bit of cheap ole car polish on after and headlights stayed clear for a long long time!😃
Tend to the oxidation early on and it won’t be that big of a deal. If you’ve waited to beyond repair, replace with glass lenses and not worry about oxidation again.
Better still, just put a coat of wax on both your headlights and taillights once every six months and you want have to worry about getting cloudy headlights.
Many Thanks for this article & replies. My beloved 2004 LandCruiser’s headlights have dimmed so much that navigating neighborhood turns as well as mountain trails has become difficult.