An asphalt driveway can take quite a beating in a year or two. These driveways aren’t cheap to install, and failing to maintain them properly can be an expensive mistake. If you want to get the most out of your driveway, you’ll need to seal it now and then.
Luckily, sealing a driveway isn’t difficult and makes for a great weekend project.
Today, we’re walking you through the steps you should take when sealing your driveway. When you finish reading, you’ll likely be adding this to your to-do list and be on your way to your local hardware store. Let’s get started!

Is Sealing a Driveway Easy?
While installing an asphalt driveway is no walk in the park, sealing it isn’t that difficult. Anyone who can get on their hands and knees and isn’t afraid to get a little dirty can do the job.
For most driveways, this is a great weekend project. However, you want to keep an eye on the weather and make sure you can avoid walking or driving on your driveway for at least 48 hours.
How Can I Seal My Driveway Myself?
There are a handful of steps you need to take when sealing your driveway yourself. None of them are all that difficult, but you’re going to spend most of your time preparing the surface for the sealant. You want a clean, dry, and smooth surface before you start applying any sealant to your driveway.
Let’s walk through each step you should follow when sealing your driveway!
Pro Tip: Want to sleep on a perfectly sealed driveway? Learn more about What Is RV Driveway Surfing?
Clean, Prime, Rinse
You first want to get your driveway as clean as possible. Taking a broom to your entire driveway can help get dirt and debris out of the cracks in your driveway. However, if you have access to a leaf blower, this can achieve the same results with less effort.
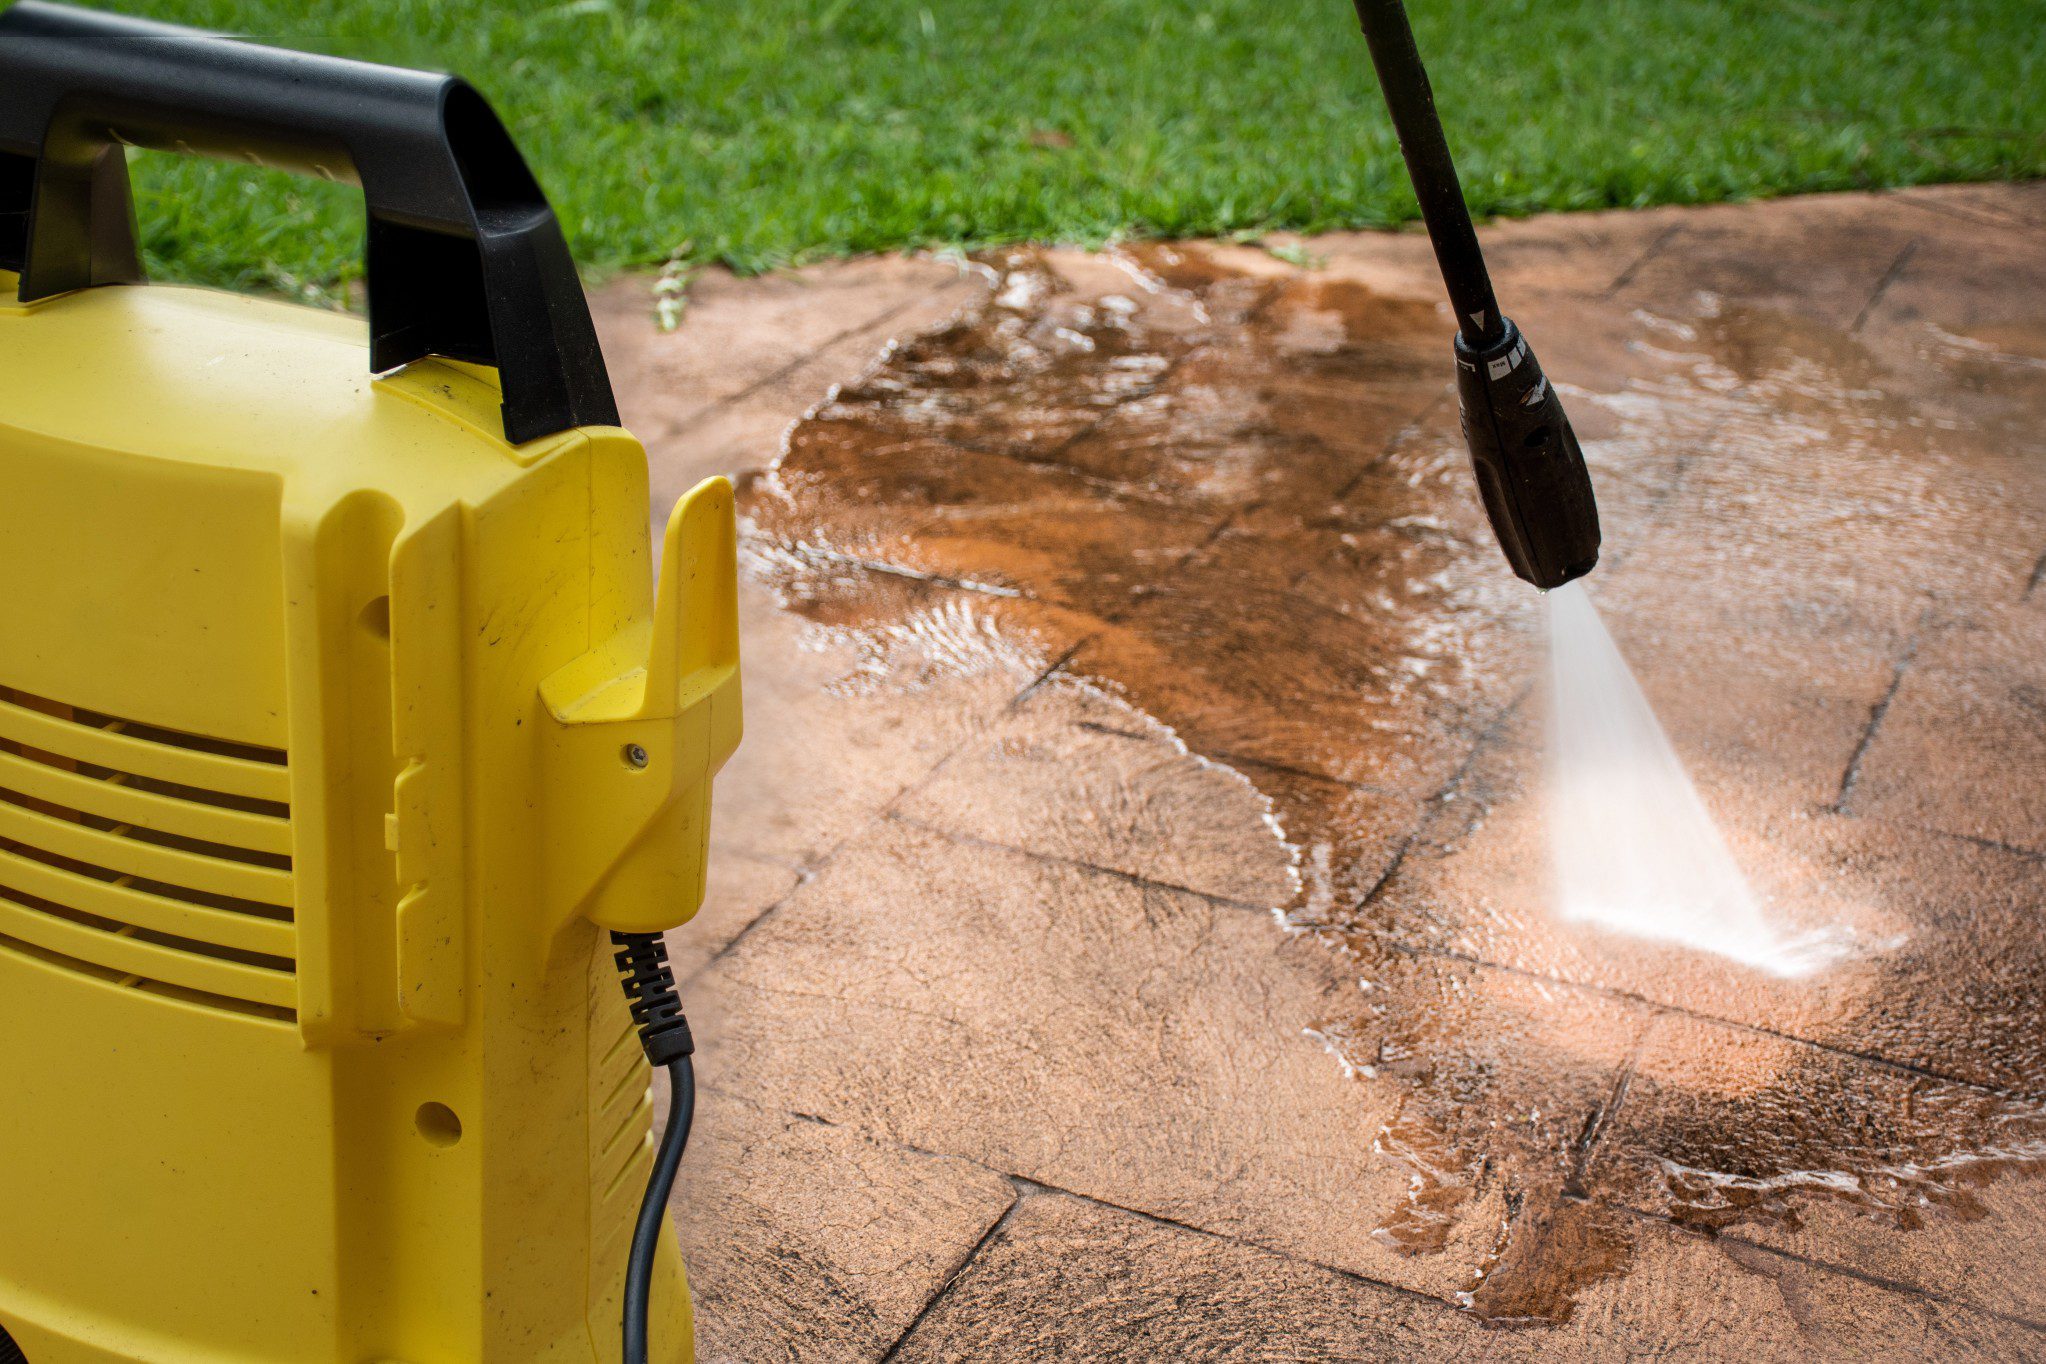
You should then spray a degreaser over the entire driveway. Let the degreaser sit and do its magic before coming back through and spraying down the driveway with a pressure washer. It will help remove any remaining gunk or debris left on your driveway.
Pretreat Oil Stains
The next step in beautifying your driveway is to treat any remaining oil stains. The degreaser you applied likely got many surface-level stains, but those stubborn stains may require more effort. Sprinkling a thick layer of baking soda over the stain and letting it sit for 30 minutes can be very effective.
Use a bristle brush to scrub at the stains and then spray it down with a pressure washer. You may need to repeat this process several times or even try a combination of baking soda and degreaser. If a stain has sat for too long, you may not be able to remove it completely.
Cover Materials Around the Driveway
Sealing your driveway can be a messy job. You’re likely not going to get sealant off anything that touches it. If you have any decorative rocks or drains, use painter’s tape to cover them. This will help protect the materials around your driveway and give a smooth and professional look when complete.
Trim in the Edges
You want to remove any of the weeds, grass, and other vegetation that has grown up along the edges of your driveway. You can use the pressure washer or a weed eater to get the job done, but make sure that you get any loose debris off your driveway before moving on to the next step.
Pour and Spread the Sealer
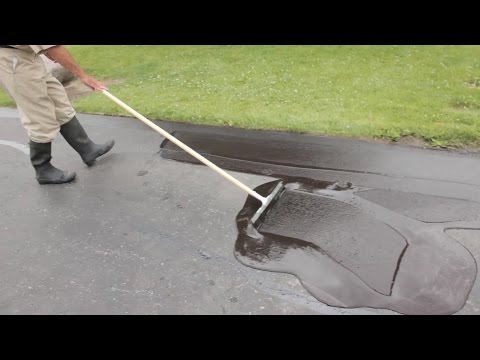
Once you have properly prepared your driveway, you’re ready to begin pouring and spreading the sealer. Divide your driveway into sections and focus on one area at a time. Use a squeegee to spread the sealant evenly and smoothly. This squeegee will likely be a one-time use item, so don’t worry about keeping it clean.
You likely want to work smarter and not harder, so let gravity do some of the work for you. If your driveway has a slope, start at the top and work your way downhill. Gravity will naturally spread the sealant for you and make it easier.
When complete, block off your driveway with a rope or other barrier to prevent others from driving or parking on it. You’ll want to avoid walking on it for at least 24 hours and wait 48 hours to drive or park on it.
Pro Tip: Prep your driveway to perfection so you can welcome moochdockers. Find out Is RV Moochdocking Legal?

How Long Does a Sealed Driveway Last?
How long you can expect out of a sealed driveway will depend on the climate and traffic. Intense heat and overuse can cause a driveway to wear prematurely. Under normal circumstances, you can expect to get at least two years of use each time you seal your driveway. This gives the sealant time to break down and avoids creating layers of sealant on your driveway.
Driveway Sealing Mistakes to Avoid?
One of the biggest mistakes homeowners make is not spending the time to prepare the surface. You want to get it as clean as possible before you start spreading sealant onto the surface. Keep dirt and debris off the surface when applying.
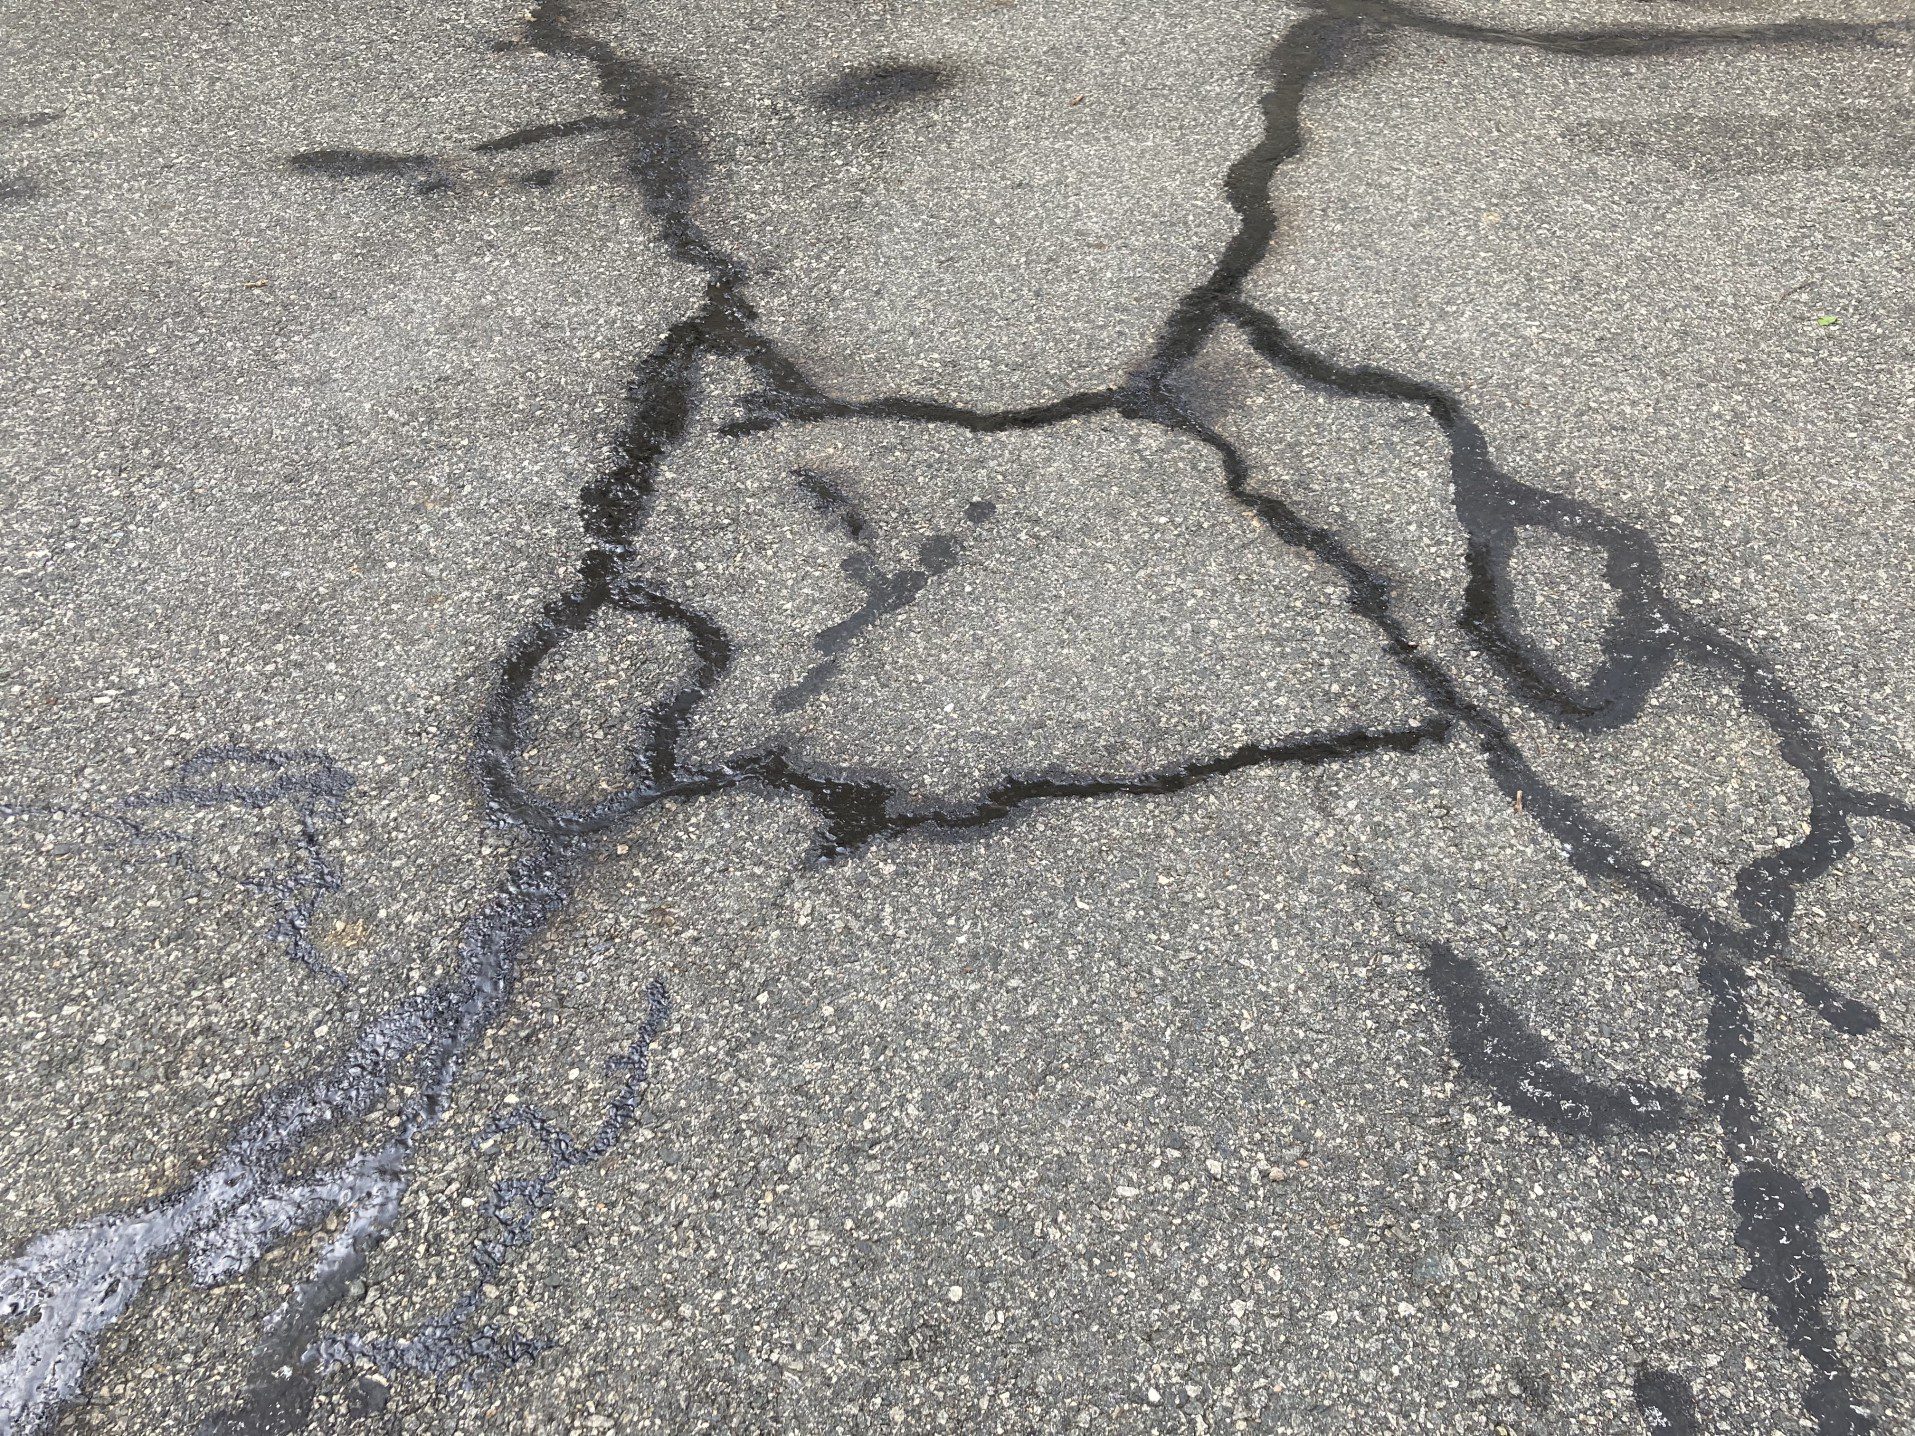
It’s also important to take the time to patch any holes or cracks in the driveway, especially if you live in a climate that experiences freezing temperatures. Water can get down inside of these cracks and expand as it freezes. This can damage your driveway and result in a much more serious and intensive repair to your driveway.
The final mistake many DIYers make is not checking the weather. Because this is a weekend project, you want to ensure no rain or storms will be in the area. Getting the sealant wet before it has had time to dry can ruin all the hard work you’ve put in on this project. Don’t forget to turn off those sprinklers if you have an irrigation system for your yard.
Is It Worth It to Seal Your Driveway Yourself?
If you’re physically able and have a free weekend, sealing your driveway yourself is worth it. You likely don’t want to pay more than you have to or pay someone else to do a job you can do yourself. If you take your time and follow our steps, you can have results that look almost as good as if you paid a professional to do it for you. At the end of this project, you should have a driveway that looks and smells like new.
Have you ever had to seal your driveway? Tell us about your experience in the comments!
Discover the Best Free Camping Across the USA
To be honest with you, we hate paying for camping. There are so many free campsites in America (with complete privacy).
You should give it a try!
As a matter of fact, these free campsites are yours. Every time you pay federal taxes, you’re contributing to these lands.
Become a FREE CAMPING INSIDER and join the 100,000 campers that love to score the best site!
We’ll send you the 50 Best Free Campsites in the USA (one per state). Access the list by submitting your email below: