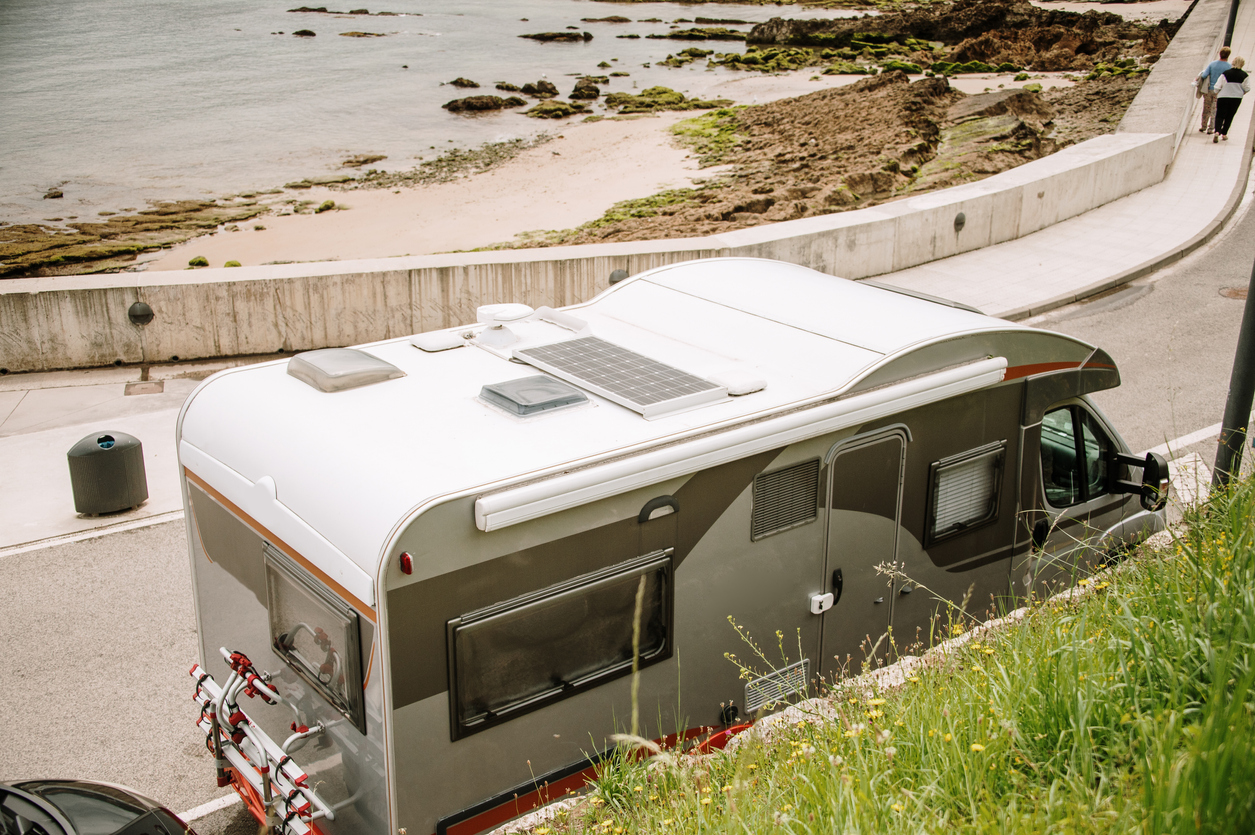
An RV membrane roof is a lightweight and durable option for your rig. And, if you take care of it, it’ll take care of you for years to come.
Manufacturers use several types of materials to cover the top of campers. If you want yours to last as long as possible, you’ll need to know how to maintain it.
Today, we’re all you need to know about your RV’s membrane roof and how to look after it.
Let’s go!
What Is an RV Membrane Roof?
The membrane is the top layer of material on an RV roof. Its primary purpose is to create a barrier against rain, snow, and other elements. In doing so, it extends the life of the wood and other components used during construction.
Manufacturers fold and staple a fabric-like sheet to plywood used during the building process. Then, they’ll come back through and use a sealant to create a water-tight barrier to keep water out.
Moisture is one of the biggest threats to the structure of a camper. The right product prevents it from getting in. Failure can lead to rotting wood and mold growth. Even a tiny hole can lead to a significant situation for you and your rig.

The Pros and Cons of RV Membrane Roofs
Overall, an RV membrane roof keeps the structural materials safe and in good condition. They’re solid and durable and capable of withstanding extreme conditions.
They tend to weigh approximately half a pound per square foot. For a 40-foot recreational vehicle, that’s roughly 200 pounds. And when it comes to the overall weight of your rig, every ounce counts.
Another benefit is that you can usually DIY minor damage and seam issues. With sealants and products like EternaBond RoofSeal, it might surprise you what you can fix yourself. You don’t have to haul your camper to the shop or hire a professional in every case.
But, like most things, it’s far from perfect. You may be able to fix minor damages, but large rips and tears require a total replacement. This type of repair is a massive undertaking and will likely need a professional. The larger your rig, the more expensive it’ll be. You can expect to pay anywhere from $2,500 to $10,000 to retrofit your vehicle.
One unattractive quality of this component is that it’s prone to developing streaks and looking chalky. You’ll have to do regular maintenance to keep them functioning like new. These include complete inspections, replacing sealant, and scrubbing away dirt and debris.
Additionally, it’s good to reapply protective coatings every year or two. It’s a relatively easy task that most owners do themselves. Unfortunately, it does take time and effort. Hire a professional if you can’t climb a ladder or do physical labor.
Do you know: How Much Does Camper Roof Replacement Cost?
What Are the Different Types of RV Membrane Roofs?
There are dozens of major manufacturers that use different building materials. When shopping for a rig, you’ll want to consider which type of RV membrane the builder chose for the roof when assembling your unit.
TPO
Thermal Polyolefin (TPO) is a common type of RV membrane roof. Since hitting the market in the 1990s, it’s been popular. Not only is it affordable, but it’s also lightweight and durable.
One significant advantage of this product is that it allows for heat-welded seams. These are stronger and more resistant to leaks and water intrusion. While they require you to check for holes regularly, this bonding method provides powerful protection from the elements.
While you’ll get between 10 and 20 years of use, other choices exist. As durable as it is, branches, hail, and other objects can severely damage it. Inspections and maintenance are essential if your camper uses TPO.
EPDM
Another standard RV membrane roof is Ethylene Propylene Diene Monomer (EPDM). Its name may sound like you’re back in high school chemistry, but it’s a quality product. You’ll find it in liquid and sheet form. Overall, It’s slightly heavier and less energy efficient.
A significant benefit of this product is that it’s more resistant to scratches, scuffs, and dents. If it does get damaged, it’s possible to do minor repairs yourself. When properly maintained, you’ll likely get 25 years or longer out of it.
But there are also some disadvantages. For starters, you’re more likely to experience white or black streaks on the outside of your vehicle. Removing is as easy as washing the surfaces with a mild detergent and warm water.
It’s important to remember that, when wet, EPDM is slippery. Use extreme caution when doing maintenance up top. Slipping and falling are risks and can lead to injuries or damage to your RV.
We wondered: How Much Weight Can an RV Roof Hold?
PVC
Manufacturers also turn to PVC for their RV membrane roofing needs. Most of your experience with this material might be with plumbing. But this is similar to the liners used in inground pools.
This is an excellent choice because it’s incredibly moisture-resistant. Its smoother surface repels dirt, debris, and bacteria that can cause mold, moss, and mildew to grow. Additionally, it’s slightly more robust and more resistant to punctures than TPO or EPDM versions.
While PVC has a lot going for it, it has its downsides. It’s usually one of the more expensive products. And PVC doesn’t do well in cold climates. Walking on it when it’s cold could result in cracks and damage.
How to Care for Your RV Membrane Roof
No matter what type of RV roof membrane you have, caring for it is essential. Regularly giving it some TLC protects it and your overall investment.
Maintaining Your RV Membrane Roof
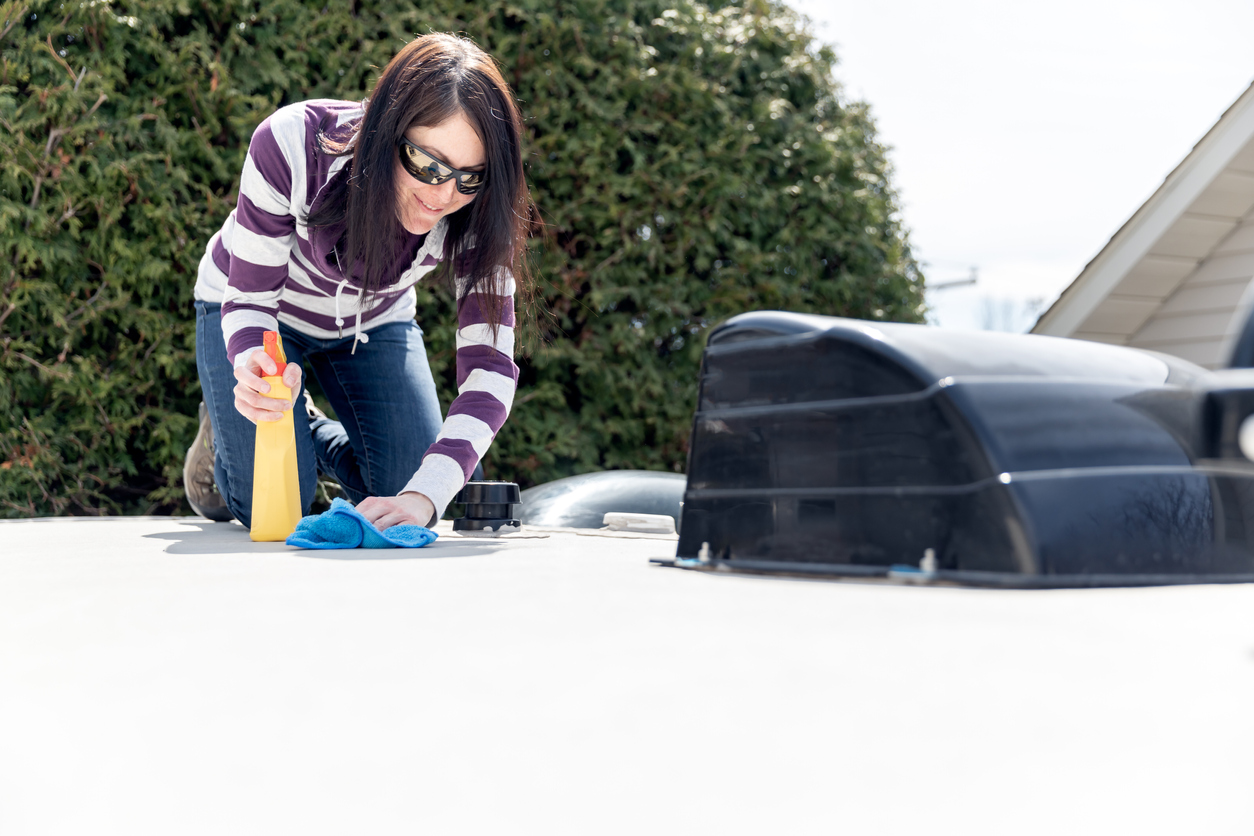
One essential thing you can do to preserve your RV membrane roof is clean it. Of course, where you live and how you use it will determine how often you should wash it. Most owners will clean their campers every three to six months. If it sits in covered storage, you may get away with it once a year.
The next thing you should do to maintain it is to do routine inspections. Don’t forget to add checking seams and sealant to your list. A tiny hole can create a big problem if it goes undetected. It’s best to do these checks every 60 to 90 days. However, your warranty may require more frequent inspections.
Repairing Your RV Membrane Roof
If you have an RV membrane roof, there’s a good chance you’ll eventually have an issue. Low-hanging tree branches, overhangs, and other hazards can cause tears and holes. Luckily, as long as the damage is minor, DIY repairs are often possible.
Two of the most common items used in these situations are EternaBond tape and Dicor Self-Leveling Sealant. These products are fantastic because they’re easy to use and get the job done.
Some owners use Eternabond along seams to reduce the chances of water intrusion. Additionally, it’s wise to have Dicor sealant on hand when inspecting your rig. This way, you can treat areas immediately and prevent future problems.
Take your time when using these products. They’re very sticky and can be messy. Rushing the process could result in a bigger mess on your hands.
Price Check: Eternabond and Dicor Sealant
RV Membrane Roofs Keep On Trucking…With Proper Care
Your RV membrane roof reduces the weight of your rig and is a durable, repairable component.
With regular maintenance, you’ll enjoy years of protection. But, like any relationship, if you neglect it, you can’t complain when it fails. Hopefully, learning the good, the bad, and the ugly about your RV membrane roof helps you stay motivated to protect and care for it.
We’ll Help You Find the Best Free Camping in the USA
You should give it a try!
As a matter of fact, these free campsites are yours to enjoy. Every time you pay federal taxes, you’re contributing to these lands.
Become a FREE CAMPING INSIDER and join the 100,000 campers who love to score the best site!
We’ll send you the 50 Best Free Campsites in the USA (one per state). Access the list by submitting your email below: