Managing your RV’s sewer system efficiently and affordably is a cornerstone of enjoyable camping. A well-maintained sewer setup ensures sanitary conditions, compliance with campground rules, and a hassle-free experience on the road. Fortunately, you don’t need to spend a fortune to equip yourself with the right tools.
Below, we explore five budget-friendly RV sewer supplies that every camper should own, detailing their uses, benefits, and approximate costs based on common market options. At the end, we’ll discuss the ideal RV sewer system kit to tie it all together for seamless waste management.
1. Clear Sewer Adapter
A clear sewer adapter is a small but critical component that connects your RV’s sewer hose to the campground’s sewer hookup. Made of durable, transparent plastic, it allows you to visually monitor the waste flow, ensuring your black and gray tanks are fully emptied. This visibility helps prevent overfilling, clogs, or premature disconnection, which can lead to messy spills. Most adapters are compatible with standard 3-inch sewer hoses and feature bayonet or threaded fittings for a secure seal.
- Why You Need It: The transparency lets you confirm when tanks are empty, reducing guesswork and minimizing cleanup. It’s also lightweight and easy to store.
- Price Range: $5–$15
- Tip: Choose an adapter with a sturdy build and a tight-fitting connection to avoid leaks. Some models include a cap for odor control when not in use.
- Where to Use It: Ideal for full-hookup campgrounds where precise tank emptying is necessary to avoid backups or environmental issues.
- Maintenance: Rinse thoroughly after each use to prevent residue buildup, and store in a sealed bag to keep odors contained.
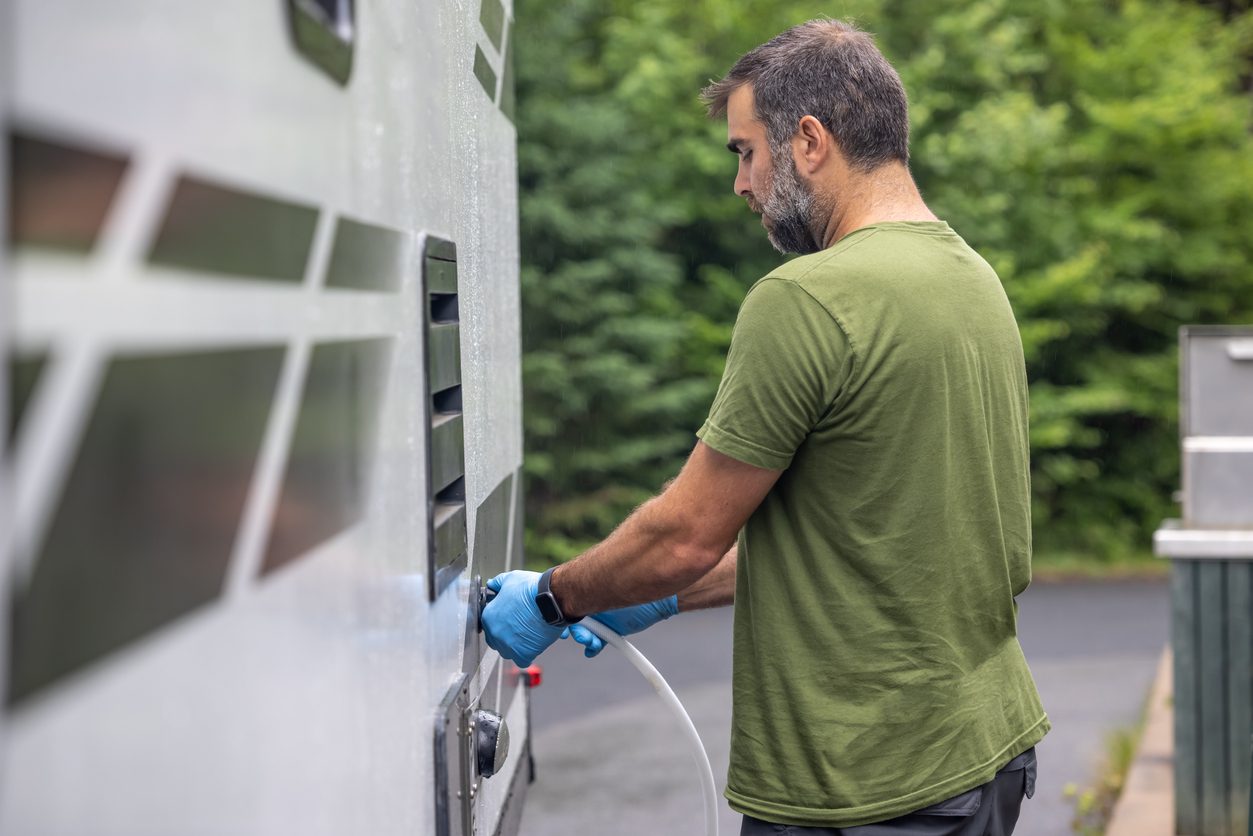
2. Disposable Gloves
Disposable gloves, typically made of nitrile or latex, are a must-have for handling sewer hoses, adapters, and connections. These gloves protect your hands from harmful bacteria and make the less pleasant aspects of RV camping more manageable. A single box of 100 gloves can last multiple trips, making them a cost-effective addition to your sewer kit.
- Why You Need It: Gloves ensure hygiene, preventing skin contact with waste-related contaminants. They also make you feel more confident when handling equipment.
- Price Range: $5–$10 for a box of 100
- Tip: Nitrile gloves are more durable and resistant to punctures than latex, making them a better choice for rugged tasks. Keep a box in your RV’s utility bay for easy access.
- Where to Use It: Essential at dump stations or when connecting/disconnecting hoses at campsites.
- Storage: Store in a dry, cool place to prevent degradation, and consider a small dispenser for convenience.
- Eco-Friendly Option: Look for biodegradable gloves if you’re aiming to reduce environmental impact, though they may cost slightly more.
3. Tank Treatment Chemicals
Holding tank treatments are chemical or enzyme-based products designed to break down solid waste, toilet paper, and organic matter in your RV’s black and gray tanks. Available as drop-in tablets, powders, or liquids, these treatments control odors, prevent clogs, and make tank emptying smoother. They’re especially important for extended trips or hot climates where odors can become a problem.
- Why You Need It: Treatments keep tanks fresh, reduce sensor malfunctions, and simplify dumping. They also help maintain a pleasant RV interior environment.
- Price Range: $8–$15 for a pack or bottle (10–20 uses)
- Tip: Opt for biodegradable or eco-friendly formulas to comply with campground regulations and minimize environmental harm. Tablets are often more convenient than liquids for precise dosing.
- Where to Use It: Use after every dump or as directed, especially in black tanks. Gray tanks may need lighter treatments to control grease buildup.
- Usage Notes: Follow package instructions to avoid overuse, which can harm tank sensors or septic systems. Always add water to the tank after applying treatments to activate them.
- Storage: Keep in a sealed container away from moisture to maintain potency, and store away from food or living areas.
4. Hose Support
A sewer hose support is a lightweight, expandable tool that elevates your sewer hose off the ground, creating a consistent downward slope for efficient waste flow. Typically made of plastic or lightweight metal, these supports prevent pooling, reduce clogs, and protect your hose from damage. They collapse for compact storage, making them a practical addition to any RV setup.
- Why You Need It: Proper hose elevation ensures smooth drainage, reduces wear on the hose, and keeps the campsite clean. It’s a small investment for a big improvement in functionality.
- Price Range: $10–$20
- Tip: Choose an adjustable support that can adapt to uneven terrain or varying hose lengths. Look for models with a wide base for stability.
- Where to Use It: Essential at campsites with sewer hookups, especially on sloped or uneven ground where natural drainage is challenging.
- Setup: Position the support under the hose after connecting to the sewer inlet, adjusting the height to maintain a steady slope.
- Maintenance: Clean after each use to remove debris, and inspect for cracks or wear before storing.
5. Rinse Wand or Tank Rinser
A rinse wand or tank rinser is a specialized tool that attaches to a garden hose and sprays high-pressure water inside your RV’s black tank to dislodge residue and clean sensors. These devices are simple to use, typically inserting through the toilet or an external port, and are crucial for preventing buildup that can cause odors or inaccurate tank readings.
- Why You Need It: Regular rinsing extends the life of your tanks, maintains sensor accuracy, and prevents stubborn clogs. It’s a proactive step for long-term RV maintenance.
- Price Range: $10–$25
- Tip: Select a wand with a shut-off valve for better water control and less waste. Some models include angled nozzles for thorough cleaning.
- Where to Use It: Use at dump stations or campsites with water hookups after emptying your black tank. Gray tanks may also benefit from occasional rinsing.
- Usage Notes: Always use a dedicated hose for rinsing to avoid cross-contamination with drinking water. Follow campground water usage rules to avoid fines.
- Storage: Dry thoroughly before storing to prevent mold, and keep in a labeled bag to avoid confusion with other hoses.
The Ideal RV Sewer System Kit
To streamline your RV sewer management, consider assembling a comprehensive sewer system kit that combines these affordable supplies with a few additional tools for maximum efficiency. The ideal kit ensures you’re prepared for any camping scenario, from quick weekend trips to extended boondocking adventures. Here’s what your ultimate RV sewer system kit should include:
- Clear Sewer Adapter: As described, this ensures you can monitor flow and confirm empty tanks.
- Disposable Gloves: A box of nitrile gloves for hygienic handling.
- Tank Treatment Chemicals: A pack of biodegradable drop-in tablets for odor control and waste breakdown.
- Hose Support: An adjustable support for proper hose drainage.
- Rinse Wand or Tank Rinser: A wand with a shut-off valve for thorough tank cleaning.
- Sewer Hose (Bonus Addition): A 15–20-foot collapsible sewer hose with elbow connectors for secure hookups (approx. $15–$30). While not part of the original five, it’s the backbone of waste transfer.
- Storage Solution: A dedicated plastic tote or bag to keep all supplies organized and contained, preventing odors from spreading (approx. $10–$20).
- Sanitizing Spray: A small bottle of RV-safe disinfectant to clean connections and tools after use (approx. $5–$10).
- Extra Fittings: A spare elbow or coupler to replace worn or lost parts (approx. $5–$10).
Why This Kit Works
This kit covers all aspects of RV sewer management: connection, hygiene, waste breakdown, drainage, and maintenance. Costing roughly $75–$150 depending on brands and quantities, it’s an affordable way to ensure clean, compliant, and stress-free camping. The components are compact, easy to store, and reusable across multiple trips, offering excellent value.
Tips for Using Your Kit
- Setup Routine: Always wear gloves when connecting the hose and adapter. Use the hose support to maintain a slope, and add tank treatment after dumping.
- Post-Dump Process: Rinse the tank with the wand, sanitize all fittings, and store everything in the tote to keep your RV odor-free.
- Campground Compliance: Check site rules for dumping and chemical use, especially in sensitive ecosystems. Biodegradable products are often required.
- Maintenance Checks: Inspect hoses, adapters, and supports for wear before each trip, and replace gloves or chemicals as needed.
Keep Your RV Sewer Flow Clean
Equipping your RV with these five affordable sewer supplies—clear sewer adapter, disposable gloves, tank treatment chemicals, hose support, and rinse wand—sets you up for clean, efficient, and budget-friendly waste management. Combined with the ideal RV sewer system kit, you’ll have a complete solution that minimizes messes, maximizes convenience, and keeps your camping experience enjoyable.
With a total investment of under $150, these tools are accessible to every RVer, from weekend warriors to full-time nomads. Always prioritize quality within your budget, read product reviews, and adhere to campground guidelines to ensure smooth travels.
Happy camping, and may your tanks always flow freely!
We’ll Help You Find the Best Free Camping in the USA
You should give it a try!
As a matter of fact, these free campsites are yours to enjoy. Every time you pay federal taxes, you’re contributing to these lands.
Become a FREE CAMPING INSIDER and join the 100,000 campers who love to score the best site!
We’ll send you the 50 Best Free Campsites in the USA (one per state). Access the list by submitting your email below: