Many homeowners have the unpleasant experience of discovering a crack in their driveway. Unfortunately, this type of damage doesn’t go away on its own. In fact, it’ll only worsen with time.
Thankfully, with the right tools and a little bit of patience, you can repair these issues yourself. This’ll save you the expense and hassle of calling in a professional.
Today, we’ll help you learn how to DIY repair a driveway crack. It just might be your next weekend project.
Let’s get started!

Why Does Your Driveway Crack?
No matter how much you spend on your fancy drive, there’s a good chance it’ll develop damage. One of the most common reasons for these to occur is because of settlement. This could be due to a poor foundation installation or the ground naturally settling.
The settlement may cause weak spots in the drive over time. Driving or parking a heavy load onto the surface can reveal these weak spots and cause cracking. However, it’s not always foundation or settling that cause this. Tree roots in the area can cause shifting and instability in the drive. This can lead to gaps developing very slowly as the trees grow their roots.
Unfortunately, cracks in driveways are relatively normal types of wear and tear. While there are some things you can do to extend the life of your drive, it’ll likely eventually develop a crack or two. The key is addressing them immediately to avoid encountering a more significant issue.
Are There Different Types of Driveway Cracks?
Once you start looking at the damages to your driveway, you’ll quickly realize they’re not all the same. Some are more serious than others, and how you address them depends on the specific type of crack. There are a few common types of damage; let’s see which one you might have.
The first type is a hairline crack. These are typically thin lines that are less than ⅛ inch wide. Some of the most common causes are shrinkage from drying, natural settling, and freezing and thawing cycles. These typically aren’t a big deal, but you want to keep an eye on them to make sure they don’t get worse.
While hairline issues may not be an immediate concern, alligator cracks are. These pieces of damage get their name from their resemblance to the scales on an alligator’s back. They typically cover a large area of the driveway and result from excessive weight, heavy traffic, or improper installation. You won’t want to delay this repair as it requires immediate attention.
Highways aren’t the only road surfaces that experience potholes. When water can get down into the base or sub-layer, it’s only a matter of time before a pothole develops. These will grow deeper and wider if left unattended. You could even be risking severe damage to your vehicle.
Some other common types of cracks include those along joints, corners, and the edges. These are typically very common, especially for older driveways. While none of these are major concerns, they do require attention. Ignoring them will lead to more significant damage and could result in a more costly repair.
Pro Tip: Want to spend the night on your freshly repaired driveway? Find out if you can legally camp on your driveway.
How to Prep Your Driveway for Repair
The first thing you need to do when repairing your driveway is to prep the surface. However, to do this correctly, you must first inspect the area. Inspect the entire surface and examine each crack. Any larger than a hairline will require you to measure them to determine the best options to repair them.
Inspecting the entire surface will likely require you to do some yard work. You may need a spade or lawn edger to clean up the weeds and debris in the gaps and along the edges. If you’re working with concrete, you’ll likely need a hammer and chisel to remove loose or crumbling pieces of concrete.
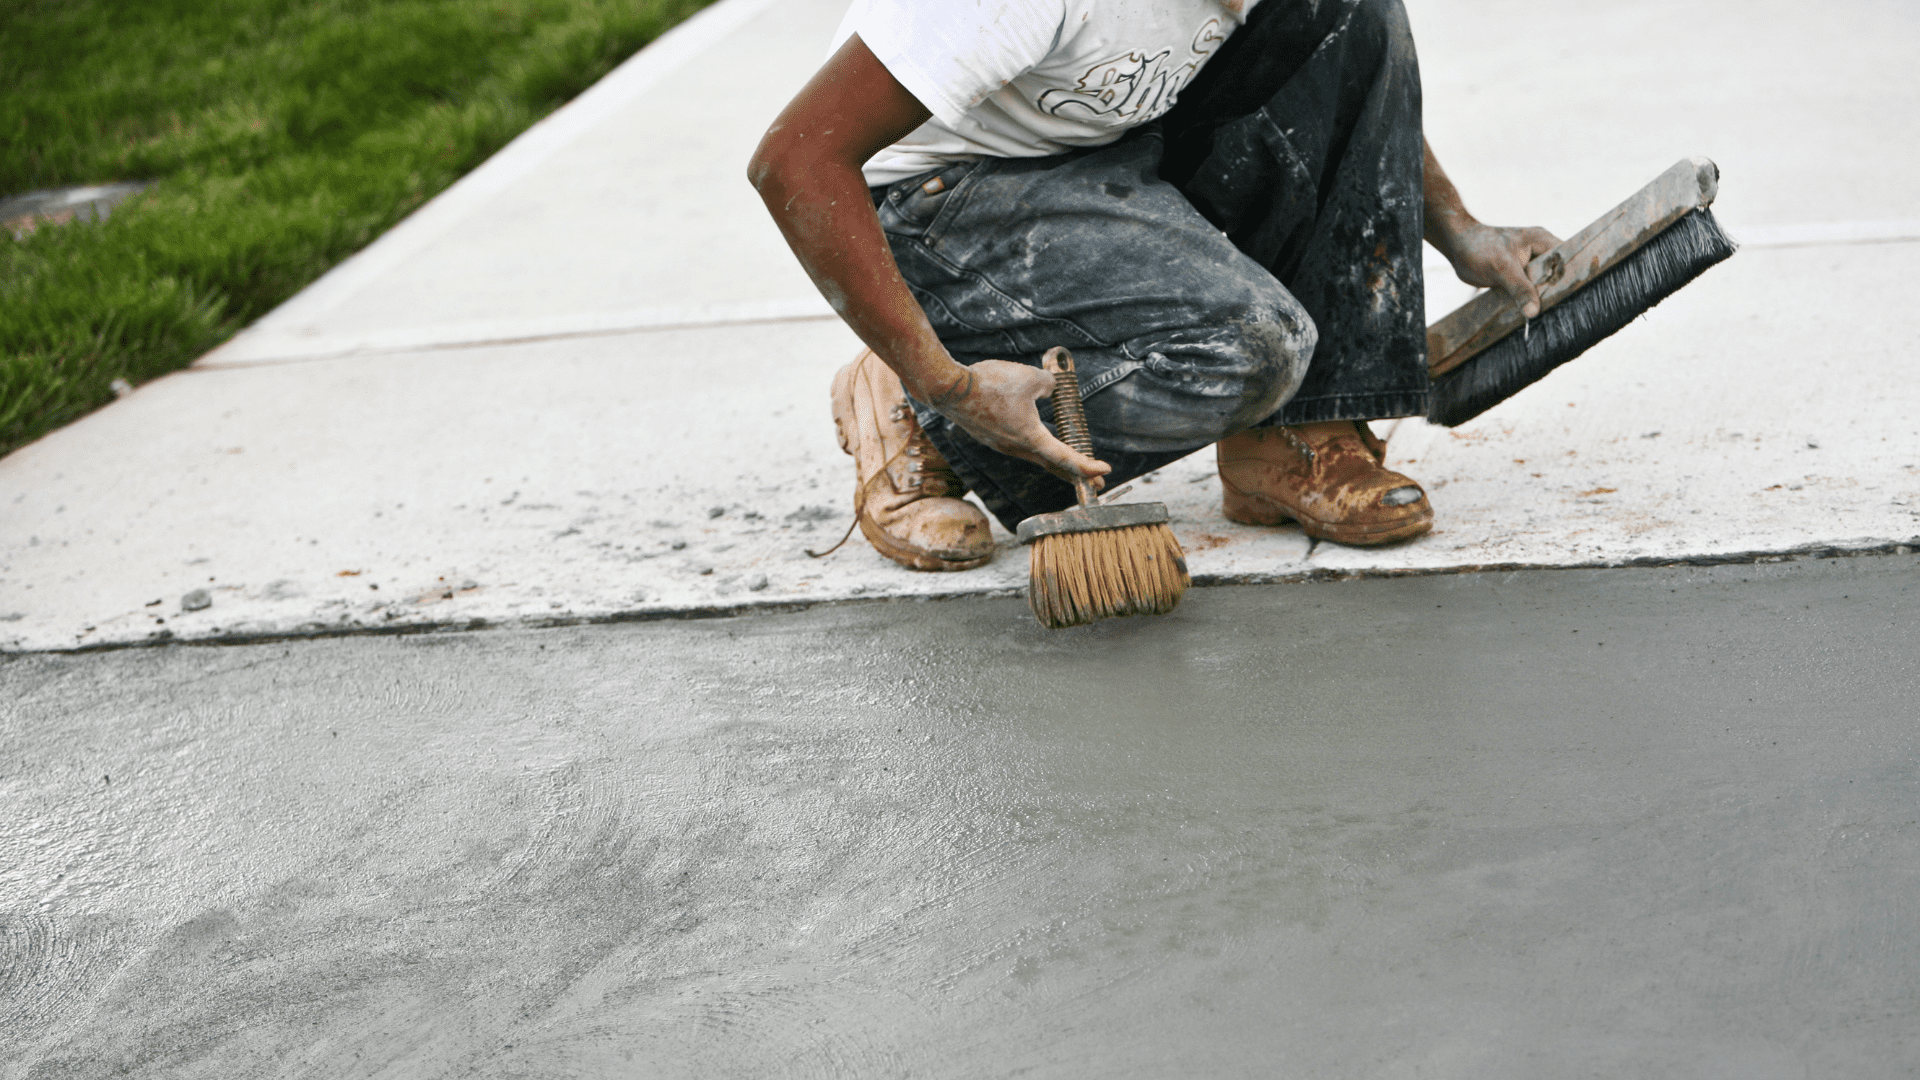
Give the surface a good cleaning with a push broom, leaf blower, or air compressor. You want to get as much dirt and debris off the surface as possible. If you want to go the extra mile, use a scrubber and some driveway cleaner to get the surface as clean as possible. A power washer can be beneficial. You want to get rid of oil spots and other stubborn gunk.
How to Repair Asphalt Cracks in Your Driveway
Once your asphalt has had time to dry, it’s time to start filling the areas. You can use a filler for any gaps that are ⅛” wide or smaller. However, you may need to put the filler into a squeeze bottle to help get it into the crevices.
For larger cracks, you may need to utilize a caulking gun. Take your time and avoid getting any caulk outside the damaged area. Using a putty knife to smooth out the surface can help prevent getting any filler outside the intended area.
If you’re trying to fill a larger space, you’ll want to use a backer rod. This is a foam material that helps fill the area and provides support for the filler. If not, the filler will cave in over time, and you’ll have another issue to address.
Those with large cracks or potholes will need a bit more work. You must thoroughly clean the area and shovel a cold-patch blacktop into the hole. Make sure you thoroughly pack down the material and give it time to dry.
One of the best ways to pack down the blacktop is to place a board over it and drive your vehicle over it a few times. Apply a couple of layers of sealant and let it dry for 24 to 36 hours before driving on it.
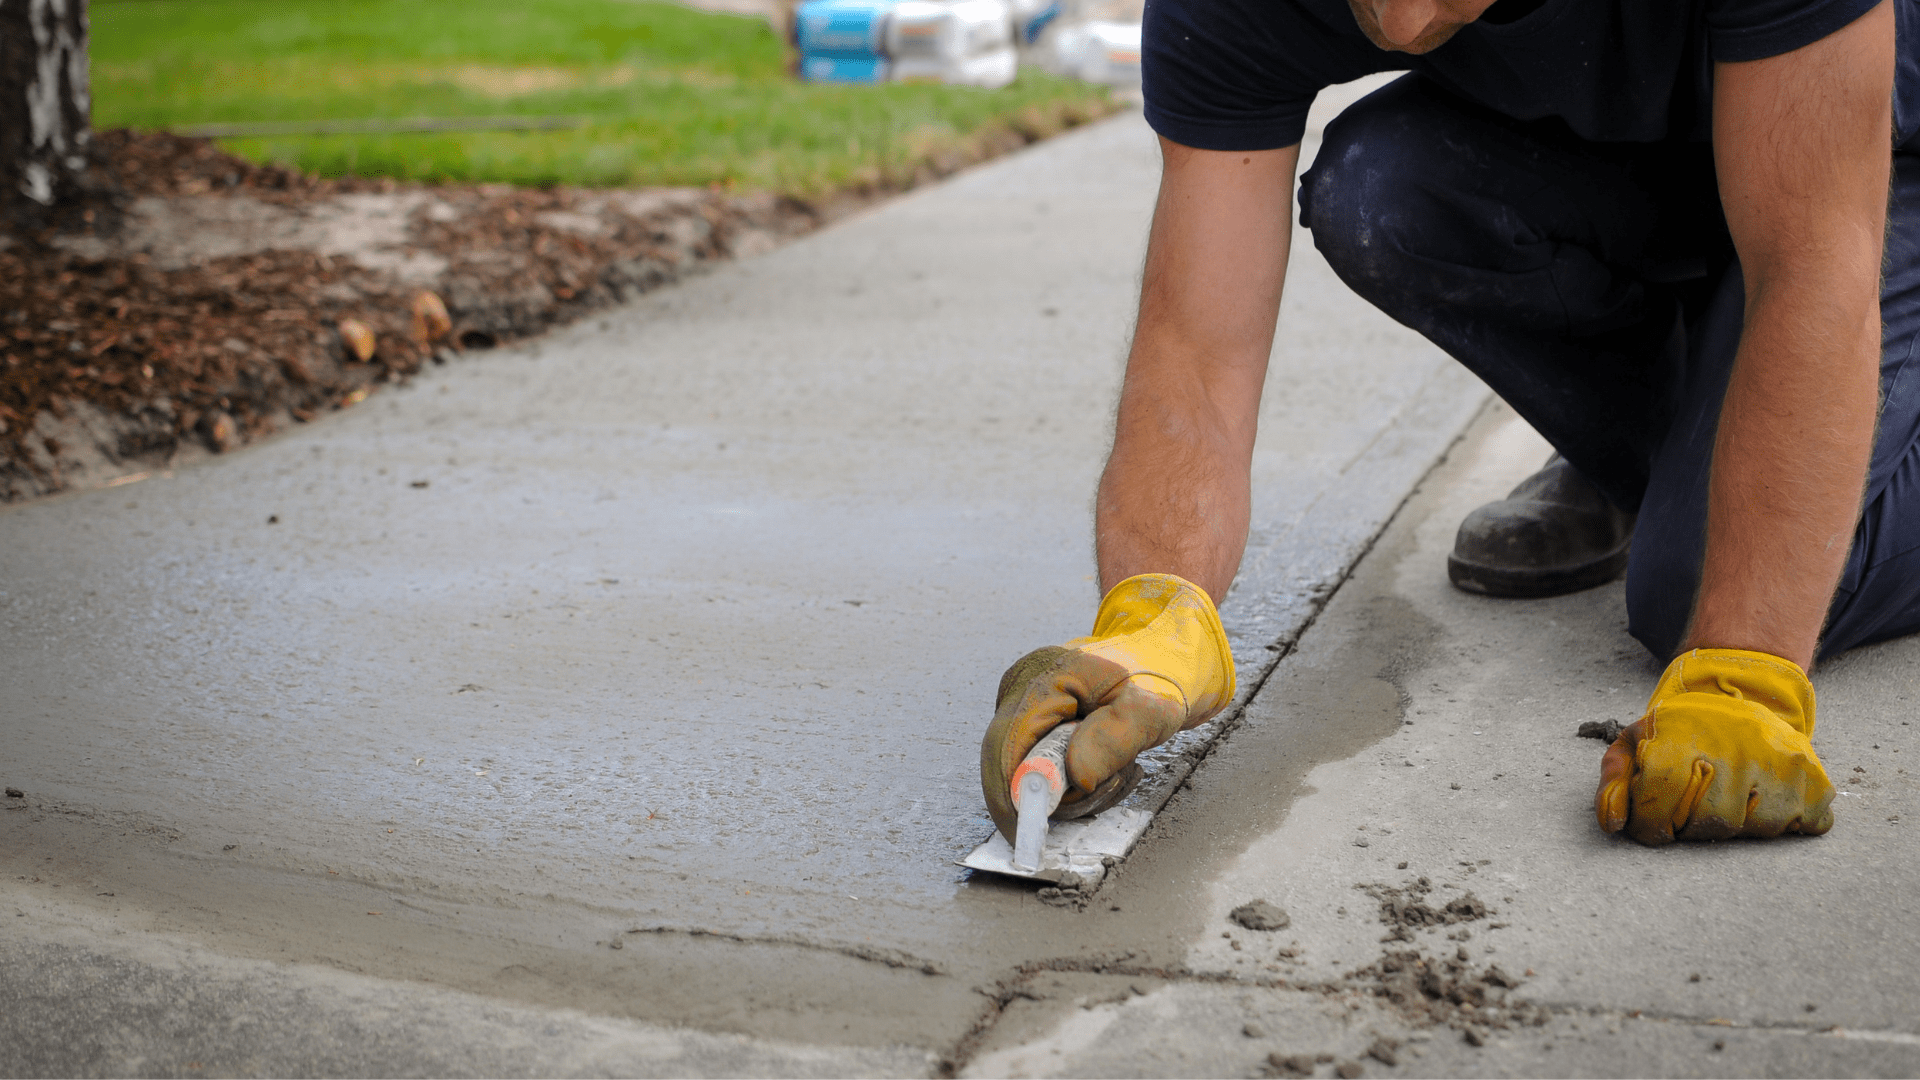
How to Repair Concrete Driveway Cracks
You may use a patching compound when repairing minor cracks in a concrete driveway. This typically requires a primer or bonding adhesive to ensure you get a solid bond between the surfaces. You can then use a patching compound to fill the space and a putty knife to work it into the crevice. Just ensure you don’t rush the process and give it plenty of time to dry.
While this works for minor issues, more extensive damage requires more effort. Like asphalt, if the damage is more than ⅛” wide and ½” deep, you’ll need to use a foam backer rod. Press the backer board firmly down into the gap to fill the space.
With the backer rod in place, you can use the same method as you would with more minor cracks. Take your time to smooth out the surface and let the compound sit for a few hours. However, this method will require a longer drying time than asphalt. You’ll need to cover the area with a tarp or plastic sheet for at least a week. Apply a light mist to the surface every day to help avoid it drying too quickly.
Pro Tip: Before you head out on an epic RV adventure, these are 5 Reasons to Test Your RV in the Driveway First Before Hitting the Road.
How Can You Prevent Your Driveway From Cracking?
Like most things in life, the best way to deal with cracking is to prevent it from happening in the first place. If you want to avoid these types of repairs as much as possible, make sure you monitor the drainage. Pooling water can spell a disastrous future for a parking surface. It’s only a matter of time before it finds its way in and damage appears.
While you may love how the trees or vegetation look lining your driveway, they could pose some dangers. The root structures of trees are nearly impossible to predict. Unfortunately, by the time you notice there’s an issue, it’s too late. If you insist on keeping the vegetation, keep a close eye on it. You don’t want their roots to cause serious and expensive damage.
Another thing you can do to prevent damage is to avoid putting excessive amounts of weight on it. Consider parking oversized vehicles on sturdier and more forgiving surfaces. If you have large and heavy delivery trucks, consider asking them to park in an area that won’t cause issues for your driveway.
Finally, the best way to prevent damage in your driveway is to keep up with your maintenance. This includes keeping it clean and inspecting it regularly. You want to fill any gaps or potholes as soon as possible.

Don’t Spend Thousands On Cracks, DIY
As you can see, repairing a driveway crack can be a DIY project that just about anyone can tackle. While it requires a few tools and supplies, it’s a manageable project for most. Take your time and ensure you give the surface plenty of time to dry and cure. If you do, you can achieve phenomenal results, and it’ll look as good as new for years to come.
We’ll Help You Find the Best Free Camping in the USA
You should give it a try!
As a matter of fact, these free campsites are yours to enjoy. Every time you pay federal taxes, you’re contributing to these lands.
Become a FREE CAMPING INSIDER and join the 100,000 campers who love to score the best site!
We’ll send you the 50 Best Free Campsites in the USA (one per state). Access the list by submitting your email below: