Nobody wants to spend time in a camper full of odors from its black tank. These noxious smells can cause your eyes to water and send your stomach in circles.
Fortunately, several methods are available to fix that horrid odor. They can help give you a fighting chance to have a fresh-smelling RV once again.
Today, we’re looking at the most common causes of black tank odors and how to fix them. So please put on your plastic gloves and prepare yourself, this isn’t a pretty job, but somebody’s got to do it.
Let’s get started!
What is a Black Tank?
A black tank is a container that stores wastewater from an RV toilet and plumbing system. It receives the nickname “black” because the wastewater primarily contains human waste and toilet paper, which typically appear dark.
These storage containers allow the use of the camper in remote locations or campsites without a sewer connection.
Sizes for waste storage containers can vary considerably from one rig to the next. For example, many Class B conversion vans can hold five to 15 gallons, while large fifth wheels and Class A motorhomes can contain 65 to 100. No matter their size, it’s typically best to empty them weekly or at the end of an adventure.
Pro Tip: Use this guide on How to Dump an RV Black Water Tank to make the process easy.

Common Causes of Black Tank Odors and How to Fix Problems
If you’re noticing some unpleasant odors in your RV, there are a few common causes, most typically coming from the black tank. Before getting worried or hiring a professional, doing a few simple checks yourself is a good idea.
You may even be able to fix the problems without paying someone else.
Clogged Tank
Many RVers have the unfortunate experience of dealing with clogs occasionally. This is typically due to using incorrect toilet paper or insufficient water when flushing.
Additionally, some RVers make the mistake of leaving their waste valves open when connected to a sewer connection. While this may not be an issue for a night or two, it can lead to clogs if left for extended periods.
Leaving the waste valves open allows all liquid to drain, which is necessary to help solids exit when dumping. Unfortunately, this can create the infamous “poop pyramid,” which is every RVers nightmare. It’s a solid chunk of poop that dries, creates a clog, and prevents you from dumping the waste.
The Fix: The only way to eliminate the “poop pyramid” is to break it up. The best course of action to do this is to fill your black tank with water before your next travel day. The constant movement of your rig can help dislodge chunks of excrement and allow you to dump the waste at your next destination.
If this doesn’t work, you’ll want to use a product made for breaking up solid materials. These treatments attack the bacteria in human waste and help soften and speed up decomposition.
You can also use special attachments and wands to stick down the toilet to help break up clogs. The longer the pyramid has had to solidify, the harder it’ll be to fix. You may need to call in the expertise of a professional in severe cases.
Toilet Flapper Seal is Damaged
Another common cause of black tank odors in an RV comes from the toilet’s flapper seal in the bottom of the bowl. When working correctly, a small amount of water should remain after each flush.
This helps prevent smells from the black tank and plumbing system from getting into your rig. If this seal has dried or cracked due to aging or is dirty, it won’t create a tight closure.
The Fix: Replacing a damaged toilet flapper seal is relatively easy. To start, gather your tool bag, shut off the water, and disconnect the water line from the toilet. Have a towel to clean up any excess water that may drip out.
There are likely only two bolts holding the toilet in place, so remove them, carefully lift the bowl, and place it onto a towel or cloth. Next, remove the old seal from the base while noting how it sits in the toilet. This’ll make installing the new one much easier.
Before installing the new seal, take the time to clean the area where the old piece sat. This’ll help the new seal to be as tight as possible and stay in place. Properly align the replacement to prevent any leaks or issues.
You can then carefully lower the toilet back into place, tighten the bolts, reconnect the line, and turn on the water supply. Before packing up your things, ensure everything is functioning correctly and watch for leaks.
Allow a few inches of water to collect in the bowl and check back after an hour or two to ensure it’s still there. If not, you have a slow leak and may need to adjust the seal.
Blocked Vent Pipe
Black tank vent pipes allow gases to exit through the roof, which helps to provide efficiency when dumping and keeps odors out of your rig’s living space. A clogged pipe can prevent gas from escaping. As a result, they’ll go for the path of least resistance, which typically is directly into your camper.
Clogs in a vent pipe can occur for a variety of reasons. Some of the biggest offenders are mud daubers, birds, and critters making a home in the tubing. Again, this situation likely won’t go away without some action.
So please don’t ignore it!
The Fix: Fixing a blocked vent pipe requires you to first climb on your RV’s roof. Look for a small pipe with a cap or attached cover. Inspect the vent for debris like leaves, dirt, or a nest from a pest. If you’re lucky, you’ll be able to quickly and easily remove the obstructions to fix the issue.
If that doesn’t fix the problem, you may have to take it further and check for internal blockages. You can use a camera or a long, flexible brush to help address the issue. You’ll want to be as gentle as possible to avoid causing any damage to the pipe.
You can test to see if you removed the blockage using a small amount of water down the vent. You’ve successfully unclogged it if you hear the water passing freely through the tubing and down to the bottom.
If you can’t unclog the vent, you may have to call in a professional. These are common issues that many technicians have experience in clearing out. They likely have specific tools to remove the clog without causing more damage.
Not Enough Water in Black Tank
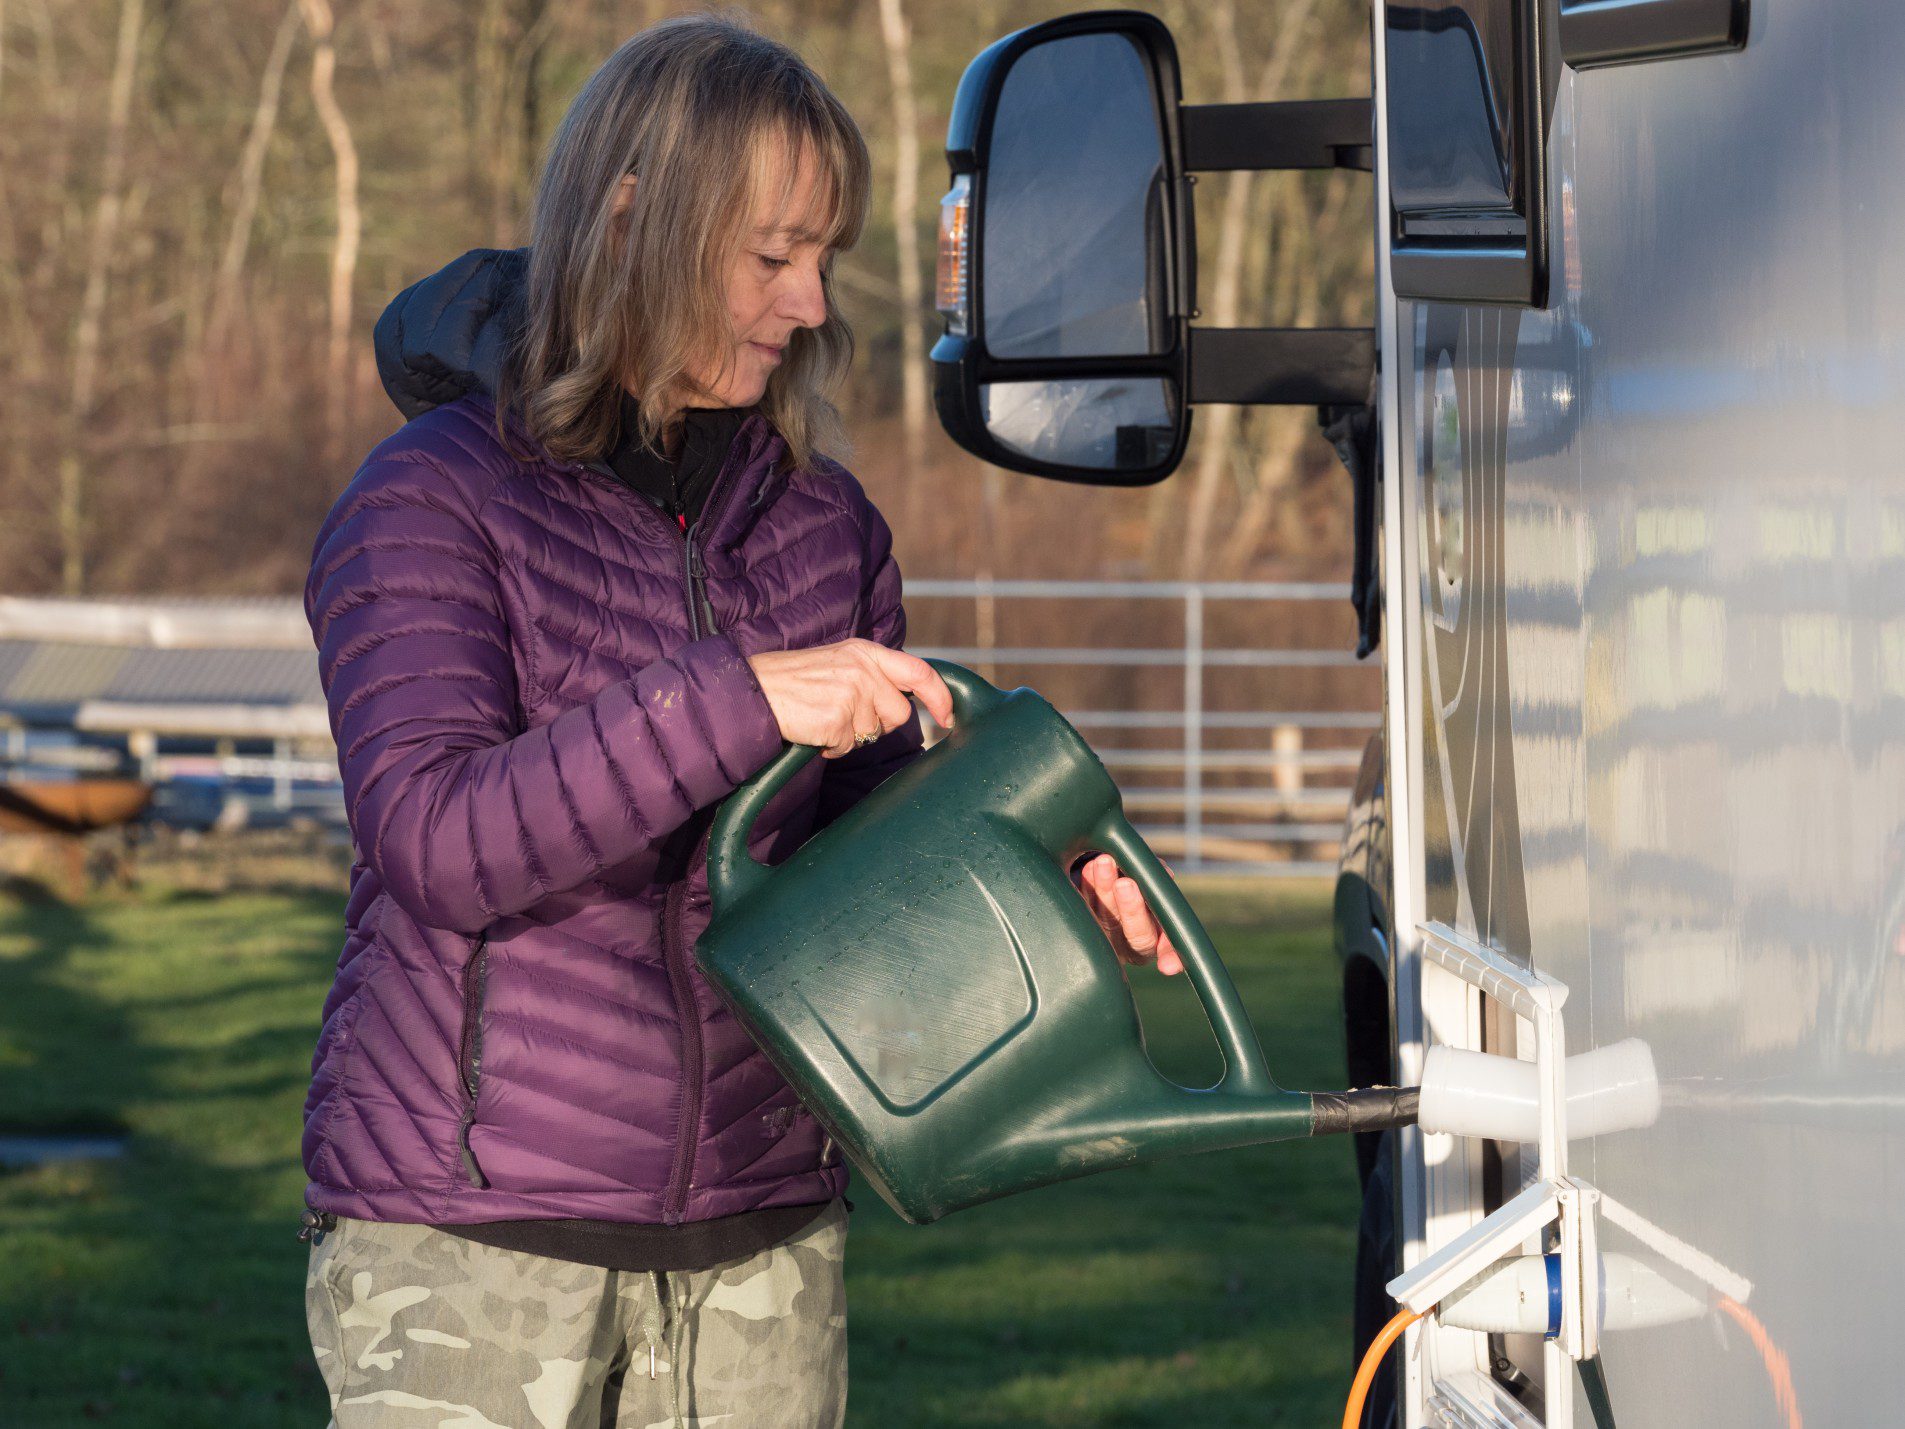
One of the most common reasons for odors is not using enough water. Typically, the more you can use, the better. Water helps break down solids and makes the dumping process easier. If you use more of it, toilet paper and other waste are less likely to stick to the sides and sensors of your system.
The Fix: This is one issue that’s very easy to fix. All you need to do is use more water each time you flush. Unfortunately, this is easier said than done for some RVers. Those who enjoy boondocking try to conserve as much of their precious resource as possible. Using excessive water when flushing can reduce the time spent in remote locations.
If this is you, we strongly recommend using a treatment in your black tank. As we mentioned earlier, the enzymes in these products are highly effective at helping expedite the decomposing process of waste. However, it’ll require that you consistently use them. They’re much more effective as a proactive measure than a last-ditch effort.
Pro Tip: Stay safe by learning How Dangerous Is Black Tank Water?

Products to Help Eliminate Black Tank Odor
If you continue to experience horrid black tank odors in your camper, you should purchase a product for extra help. Let’s look at some of the best options to consider in fighting off unpleasant smells in your RV.
Black Tank Treatment
You can find tank treatments in liquids, powders, and tablets. These products contain enzymes, bacteria, and special chemicals for targeting and breaking down waste materials. Unfortunately, as we mentioned previously, these are great options for preventative measures. They’re not a quick fix and require you to use them consistently.
Luckily, these are easy to use and require minimal effort. All you need to do is add a few gallons of water each time after dumping, then flush the treatment and let it do its job.
Water or Fabric Softener
Water and fabric softeners can also effectively deal with odors. Dissolve two cups into a gallon of hot water if you use a water softener. You can pour the solution into the toilet to flush it into your waste storage. Add a cup of standard laundry detergent at the same time to help clean the insides and break down any solids.
These components will tag-team the cleaning inside your tank and help reduce the chances of solids sticking to the sides in the future. Softened water creates a slick surface, which makes it nearly impossible for gunk to stick to. While the water softener prevents solids from sticking, the fabric softener helps cover odors and freshen up the waste system.
Don’t Let Black Tank Odors Ruin a Vacation
Whether you’re a newbie or have been RVing for years, learning to manage black tank odors can be challenging. Take the time to properly care for your waste system, and you’ll be able to keep the smells where they belong.
Don’t let your future trips get ruined by horrid smells coming from the belly of your camper. Start taking proactive measures now to make memories and enjoy your future adventures.
We’ll Help You Find the Best Free Camping in the USA
You should give it a try!
As a matter of fact, these free campsites are yours to enjoy. Every time you pay federal taxes, you’re contributing to these lands.
Become a FREE CAMPING INSIDER and join the 100,000 campers who love to score the best site!
We’ll send you the 50 Best Free Campsites in the USA (one per state). Access the list by submitting your email below: