A plumbing leak in your RV is one repair you don’t want to ignore. Knowing how to find and rectify it is critical to minimizing damage to your camper.
Luckily, it only takes a little skill or expertise to address some of the most common issues. In fact, you may already have the tools you need for the job.
Today, we’ll help you find and fix that dripping pipe in your RV.
Let’s get going!
Can You Repair a Plumbing Leak in an RV Yourself?
Completing a plumbing leak repair is usually nothing to sweat about if you have basic DIY skills. However, these kinds of projects are often very intimidating at first. Thankfully, most of these systems are simple, and working on them can be relatively easy.
In fact, many of them are easy to complete using a tiny toolkit and access to YouTube.
Unfortunately, it’s essential to be honest and aware of your abilities. Biting off more than you can chew is very easy to do. If you’re not careful, you could do more harm than good.
Hire a professional if you’re uncomfortable with doing the work yourself. These can be time-consuming endeavors, and getting it right the first time is crucial.
If you decide to hire a plumber, make sure you do some research. You shouldn’t trust any “Joe Schmo” to work on your RV. Ensure they have a positive review history and know what they’re doing. In addition to parts, you’ll pay anywhere from $150 to $225 per hour for labor.

What Are Common RV Plumbing Leak Repairs?
Almost every RVer we know has had to complete a plumbing repair or two at some point. One of the most common is addressing cracks and holes in water lines. A pinpoint-sized hole in one of these plastic tubes can be disastrous.
Additionally, manufacturers often create a spaghetti-like mess to send fluids throughout your rig. These often rely on connectors and splitters to change the direction of the tubing. Each one of these points is an opportunity for failure.
Unfortunately, they can even come loose when traveling down the road. When bumps send vibrations throughout your camper, everything shakes.
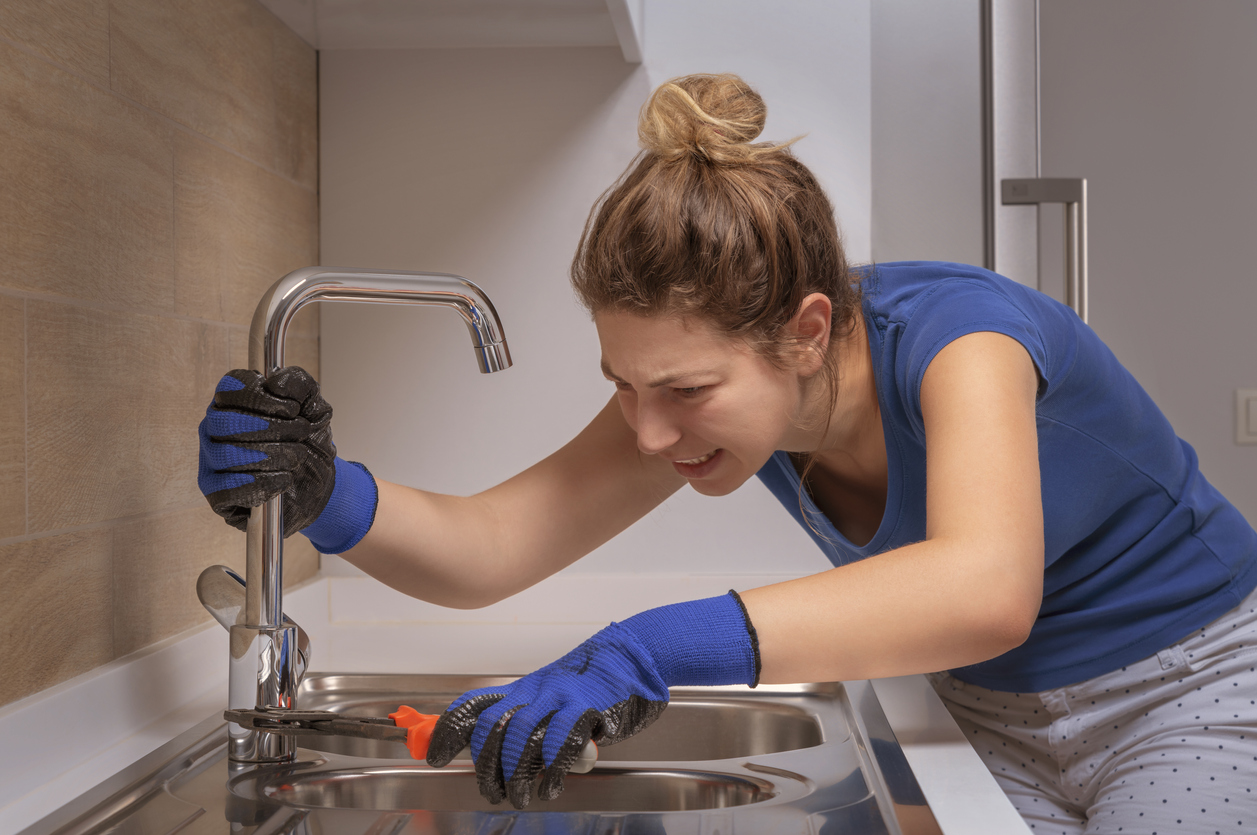
Another common plumbing leak repair you should prepare for is at your faucets. Locations where tubing connects to sinks, toilets, and other sources can be problematic. Whether they loosen over time or were never tight in the first place, a broken connection or damaged seal can create quite a mess.
Dive into the details: The Most Common RV Plumbing Issues.
How to Detect an RV Plumbing Leak
Knowing how to detect a leak is a critical skill to develop to avoid a disaster. The most obvious sign that you have a problem is if you discover dampness or evidence of damage. Standing liquids under cabinets or in storage bays don’t just magically appear.
Dampness comes from somewhere, and it’s your job to find out where.
Catching the source may require you to empty storage bays or find a way to access the underbelly. Look for the path and trace it back to where it came from.
With some luck, you’ll be able to identify the cause.
Another way to find them is by suddenly experiencing low pressure when using faucets. While there can be many reasons for reduced flow, volume loss is one of them. It’s likely being lost somewhere between the faucet and the source.
The final method is by listening to your water pump. It pressurizes the lines in your rig, moving fluids when you open a faucet or flush a toilet. If your pump notices a negative change, it’ll turn on and cycle to restore it to the proper level.
A pump that cycles randomly is a significant sign that you could have a system failure.
What Tools Do You Need?
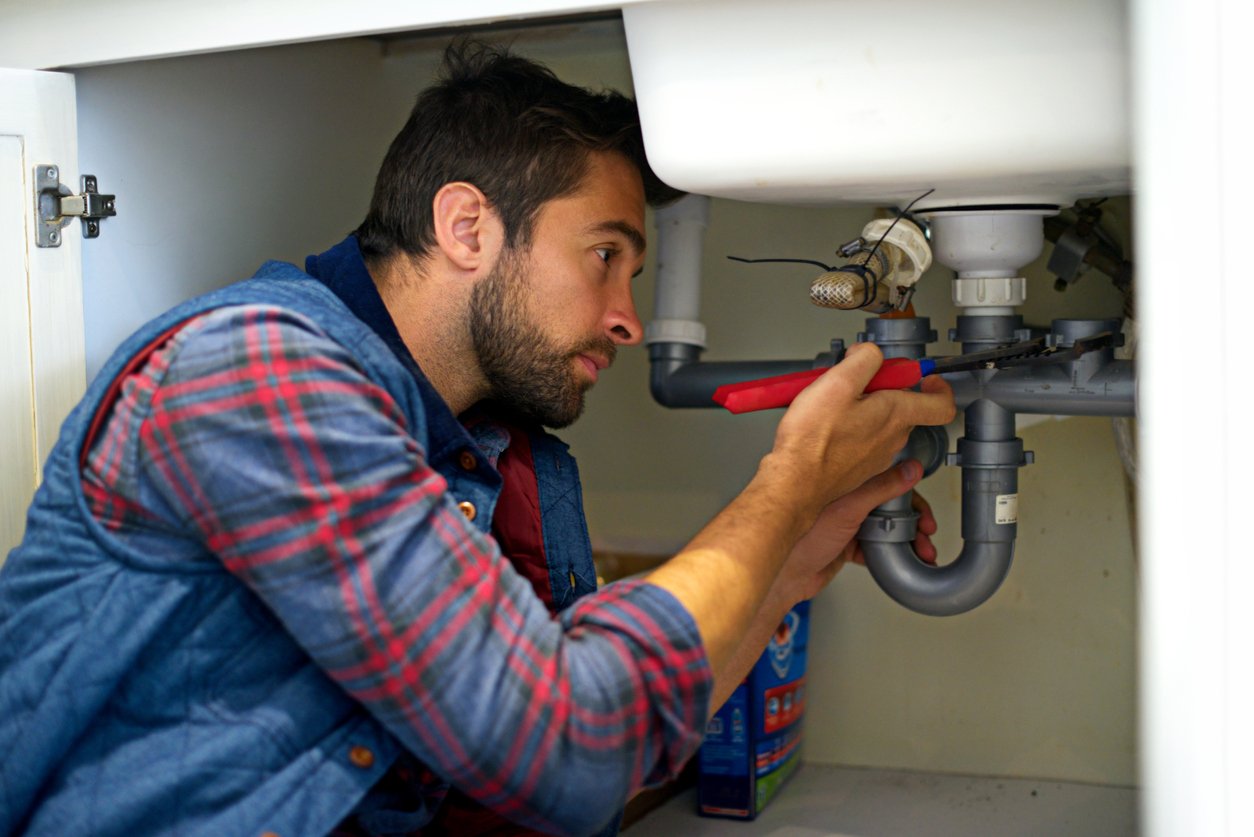
Gather your tools before attempting to repair a plumbing leak. What you’ll need will depend on the issue. You may only require some adjustable pliers if it’s something as simple as a loose connection. However, you may need a few more items for more complex projects.
A more extensive problem could mean replacing sections of your water lines. Manufacturers typically use PEX tubing to route the liquids throughout campers. As a result, it’s a good idea to have a PEX tubing cutter and enough tubing to replace whatever you’ll be removing.
Additionally, these tasks require fittings to connect the old and new tubing.
Grab some plumber’s tape and pipe sealant when gathering supplies at the hardware store. It’s wise to have these items on hand in case you need to use them to tighten loose seals.
How to Repair an RV Plumbing Leak
Like many projects, how you repair a plumbing leak can vary. However, the first step in most of these fixes is shutting off the water supply. The last thing you need is a geyser spraying everywhere while trying to remedy the situation.
One of the most basic problems is the result of loose connections. These are easy to address as you’ll only use a set of pliers. Whether metal or plastic, secure the pliers to the nut and tighten it. Remember, “righty tighty, lefty loosey.”
You want it snug but don’t muscle it too much. Doing so can lead to adding another item to your list.
If everything is sound, but you’re still getting a drip, you may need to replace the gasket. Rubber can dry out and break, especially as it ages. Luckily, all that’s required is disconnecting the pipes, pulling the rubber gasket out, and popping in a new one.
You’ll need more effort for a busted pipe. Once you identify the location of the break, use a PEX cutter to remove the damaged piece of tubing. Measure and cut a portion of the new PEX line to fit in its place. SharkBite fittings let you snap them into place without any mess.
No matter where you’re fixing, thoroughly test your system before packing up your tools. Additionally, keep an eye on the area and watch for any signs as you’re traveling and using your rig.
Catching future issues as soon as possible can help avoid major headaches later.
Prevent Future RV Plumbing Leak Repairs
The best way to avoid a plumbing leak repair is to do everything possible to prevent it. Use Teflon tape and plumber’s putty on the threads to help ensure a secure connection. These materials reduce the chances of drips due to vibrations or regular use.
In addition, winterizing your camper is one of the most significant things you can do to prevent a future issue.
You’re fortunate if you live in an area that experiences mild winters and temperatures that rarely dip below freezing. However, most of the country isn’t that lucky, and preparation is essential to maintaining your camper.
To do this, remove as much liquid as possible from the entire system. Since water expands when it freezes, you can reduce the chances of damage to lines and components.
Some folks fill their pipes with RV antifreeze to ensure they’re ready for a long winter nap.
Get advice from an expert. Plumbing Bible: The Complete Step-by-Step Guide for Homeowners.
Repair Plumbing Leaks to Avoid Damage to Your RV
If you want to avoid disruptions to your travels, knowing how to find and repair a plumbing leak is vital. The sooner you can fix them, the better. These are situations where procrastination isn’t going to be your friend.
Typically, the longer you wait, the more expensive and extensive the damage gets. Do yourself and your RV a favor and take action as soon as possible.
We’ll Help You Find the Best Free Camping in the USA
You should give it a try!
As a matter of fact, these free campsites are yours to enjoy. Every time you pay federal taxes, you’re contributing to these lands.
Become a FREE CAMPING INSIDER and join the 100,000 campers who love to score the best site!
We’ll send you the 50 Best Free Campsites in the USA (one per state). Access the list by submitting your email below: