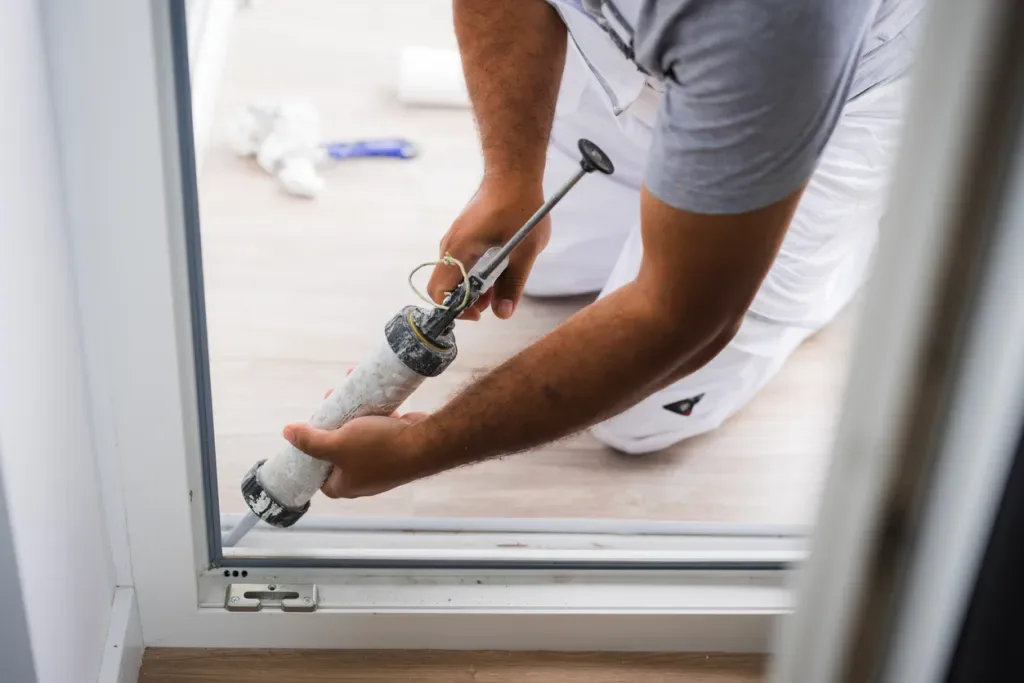
Drafty doors and windows are a pain most homeowners eventually face, but sealing these areas yourself is easier than you might think.
Even if you’re new to DIY projects, this is a simple task you can accomplish over a weekend.
Today, we’re giving you step-by-step instructions to revive your home’s insulation.
Let’s get into it!

Why Should You Seal Your Doors and Windows?
Many of us put a lot of effort into keeping our energy bills in check. We turn off lights we’re not using and make sure the AC will get a break when we head out on summer vacation. But all that effort won’t do much good if the seals around our doors and windows constantly let in ambient temperature.
You probably know this feeling of defeat. In winter, you can’t seem to shake off the cold. And during hotter months, there’s no end in sight for your air conditioner.
Most new homes are well insulated, but moisture can cause the seals around your doors and windows to degrade over time. After all, people and pets naturally generate humidity, which can build up indoors.
If you’re unsure whether your seals are to blame for air infiltration, wet your hands and hold them near the area in question. If the temperature is noticeably different or you feel a slight breeze, you can bet this is part of the problem.
Of course, some older houses have single-pane windows that don’t do a great job of regulating the temperature. That’s a bigger and much more expensive issue.
But if you have faith in your existing windows, an easy DIY project can help you defeat the draft.
Check your RV too! What Causes RV Caulking to Crack?
Steps to Seal Doors and Windows on a Budget
Properly sealing your doors and windows doesn’t have to be pricey or difficult. All you need are the right tools and a little guidance. Here’s all the info to tackle this project yourself.
Gather Materials
Step one is to grab your toolbox and make sure you have the right products for the job. You’ll need a utility knife, a three-inch putty knife, a pry-bar, and pliers. You should also have a caulking gun and a caulk finishing tool.
Next, pick up some window insulation foam. This polyurethane spray gently expands to fill nooks and crannies that allow air to seep into your home. While you could use a roll of fiberglass insulation, it’s harder to work with and poses a health risk if misused.
Finally, grab some molding and trim sealant. If you’re reinforcing the inside and outside, you’ll also want some that’ll stand up to the elements.
Price Check: Loctite Tite Foam Sealant
Remove Trim and Insulation
Once you have all your materials, it’s time to remove the interior trim around your doors and windows. Use your utility knife to cut through any paint along the seam between the wall and frame. Slide the putty knife under the wood to create a gap that the tip of your pry bar will fit into. Then, use the bar to gently pull the trim away from the wall.
You may need to loosen the trim a little bit at a time to avoid breaking the lumber.
Now that you’ve uncovered the hidden gaps, use your putty knife to remove any existing insulation. If it’s fiberglass, be sure to wear gloves, safety glasses, and a mask, as tiny particles are painful on the skin and even more harmful if you breathe them in.
Add Insulation and Reattach Trim
You’re just a few steps away from fully sealing your doors and windows!
When the gaps are free from debris, use your spray insulation to refill them. Because this product expands to fill small spaces, you should only cover about one-third of the area, starting as deep in the wall as possible. Most brands come with a long straw for hard-to-reach places.
Remember, you can always add more, but it’s easy to overdo it.
Once the foam dries, use your utility knife to cut away the excess so it’s flush with the wall. Then, reattach your trim with new nails.

Seal and Inspect
The final step is to use your caulking gun and sealant to fill any remaining gaps around your door and window trim. Simply cut the tip off the container at a 45-degree angle, load it into the gun, and slowly squeeze the trigger to release a small amount of product all the way around the frame.
Use your caulk finishing tool, or even a gloved finger, to wipe away any excess and create an even finish. Sealant dries quickly, so don’t wait long between steps.
Repeat these steps outdoors if you want to take on the exterior as well, using the proper sealant.
Don’t forget your roof! Should I Caulk My RV Roof Each Spring?
A Few Bonus Tips
Once your doors and windows are properly sealed, you can take a few extra steps for added insulation.
Consider applying weather stripping to your windows and exterior doors. You can buy adhesive strips that are easy to remove and provide a bit more protection against the elements. You can also add door bottoms and draft stoppers.
If you find that outdoor temperatures are making their way inside through the glass in your windows, you can apply window film. This product attaches to the frames using adhesive tape. Then, you use a hair dryer to shrink it into place. It’s not the prettiest solution, but it’ll help in a pinch.
Finally, you might want to layer window treatments to keep out the cold. Blinds plus a layer of sheer curtains beneath a heavier fabric can help you fend off ambient temperatures.
Is Sealing Doors and Windows Worth It?
Sealing your doors and windows is an easy DIY project that could save you a ton on your utility bills. By eliminating air flow through these cracks and crevices, you can insulate your home and give your HVAC system a much-needed break. Plus, you’ll have the satisfaction of accomplishing a goal, and that always feels good!
We’ll Help You Find the Best Free Camping in the USA
You should give it a try!
As a matter of fact, these free campsites are yours to enjoy. Every time you pay federal taxes, you’re contributing to these lands.
Become a FREE CAMPING INSIDER and join the 100,000 campers who love to score the best site!
We’ll send you the 50 Best Free Campsites in the USA (one per state). Access the list by submitting your email below: