Cracking RV caulking is an inevitable part of owning a motorhome. Over time, sealants break down, and water can creep inside, causing significant damage.
So why does this happen, and what can you do about it? It may surprise you to discover the solution is easier than you think.
We have all the answers to help you prevent moisture mayhem and protect your investment.
Let’s jump in!
What is RV Caulking?
Compromised sealants are the bane of any RV owner’s existence. The last thing you want to deal with is moisture creeping in and wreaking havoc on your motorhome. Even air passing through can cause problems, which is why RV caulking is so important.
Exterior sealants are at nearly every joint and seam exposed to the elements. Windows, roofs, and corners are prominent places where you’ll find it, but it’s also applied around outlets, vents, and your RV’s nose.
Different parts require specific types of sealants, so choosing the correct one for the job is essential.
Why Does RV Caulking Crack?
Over time, cracks tend to form in RV caulking. The leading cause tends to be environmental. Heavy sun exposure is detrimental to these barriers, particularly when RVs are stored outdoors. Year-round UV rays are a sure way to lower the lifespan of exterior caulking.
Extreme weather also plays a part in cracking sealants. Intense heat and heavy rains can take as much of a toll as direct sunlight.
How Often Do You Need to Recaulk an RV?
Depending on the environment where your RV spends the most time, you’ll want to check caulking for cracks every 30 to 90 days. If they look dried out, you can count on cracks forming soon.
No matter what, you should reseal your roof at least once a year to prevent water damage. You may need to caulk other areas, such as doors and windows, more or less often. It may seem like a lot of work, but you’ll save yourself a ton of money and stress by preventing leaks before they damage your interior.
Pro Tip: We took a closer look to uncover Should I Caulk My RV Roof Each Spring?
How to Fix Cracks in RV Caulking
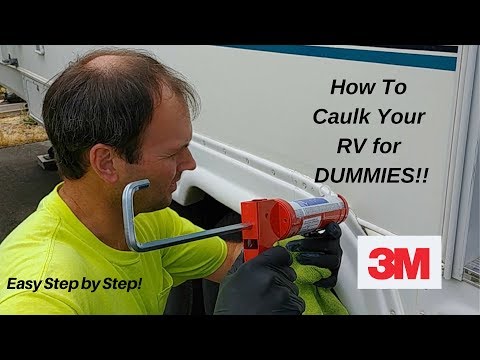
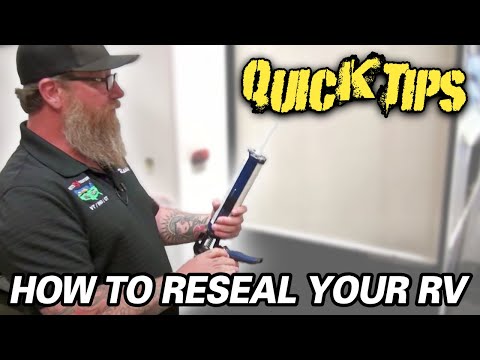
Fortunately, it’s pretty easy to fix cracked RV caulking. With the right tools and a little know-how, you should be able to do it yourself in a day.
Every manufacturer uses specific caulking and sealants, so you’ll want to check with them before purchasing.
Gather Materials and Inspect Surfaces
The first step is to grab all your materials. You’ll want some cleaning rags, gloves, and a good degreaser to remove any gunk from the existing sealant. Then you’ll need the correct sealing product for your RV, a caulking gun, and a utility knife. And a ladder will definitely be handy for accessing the roof.
Once you’ve gathered your materials, it’s time to inspect every inch of your sealant. Take your time, especially when it comes to the roof and any skylights. After all, you don’t want to go to the trouble of caulking just to spring a leak the next time it rains.
Clean Caulking
Cleaning your existing caulk is an essential step of the process. It helps reveal cracks that went unnoticed under all that dirt and discoloration.
Use the degreaser to clean any areas that need to be re-caulked. Be sure to wipe off any remaining cleaner with a damp cloth so you’re working with an untarnished surface. You can also clean your caulking with pure acetone, but avoid any metal areas, as it’ll easily strip your paint.
Remove Damaged Caulking and Clean the Area Again
Use your utility knife to remove any dry or damaged caulking. Heavily worn sealant might come off when you touch it, but most should require a little elbow grease.
Once you’ve gotten rid of the old caulking, clean the area again to remove any remaining bits and create a better surface for your new sealant to bond to. Finally, wipe down the surface again with a damp cloth.
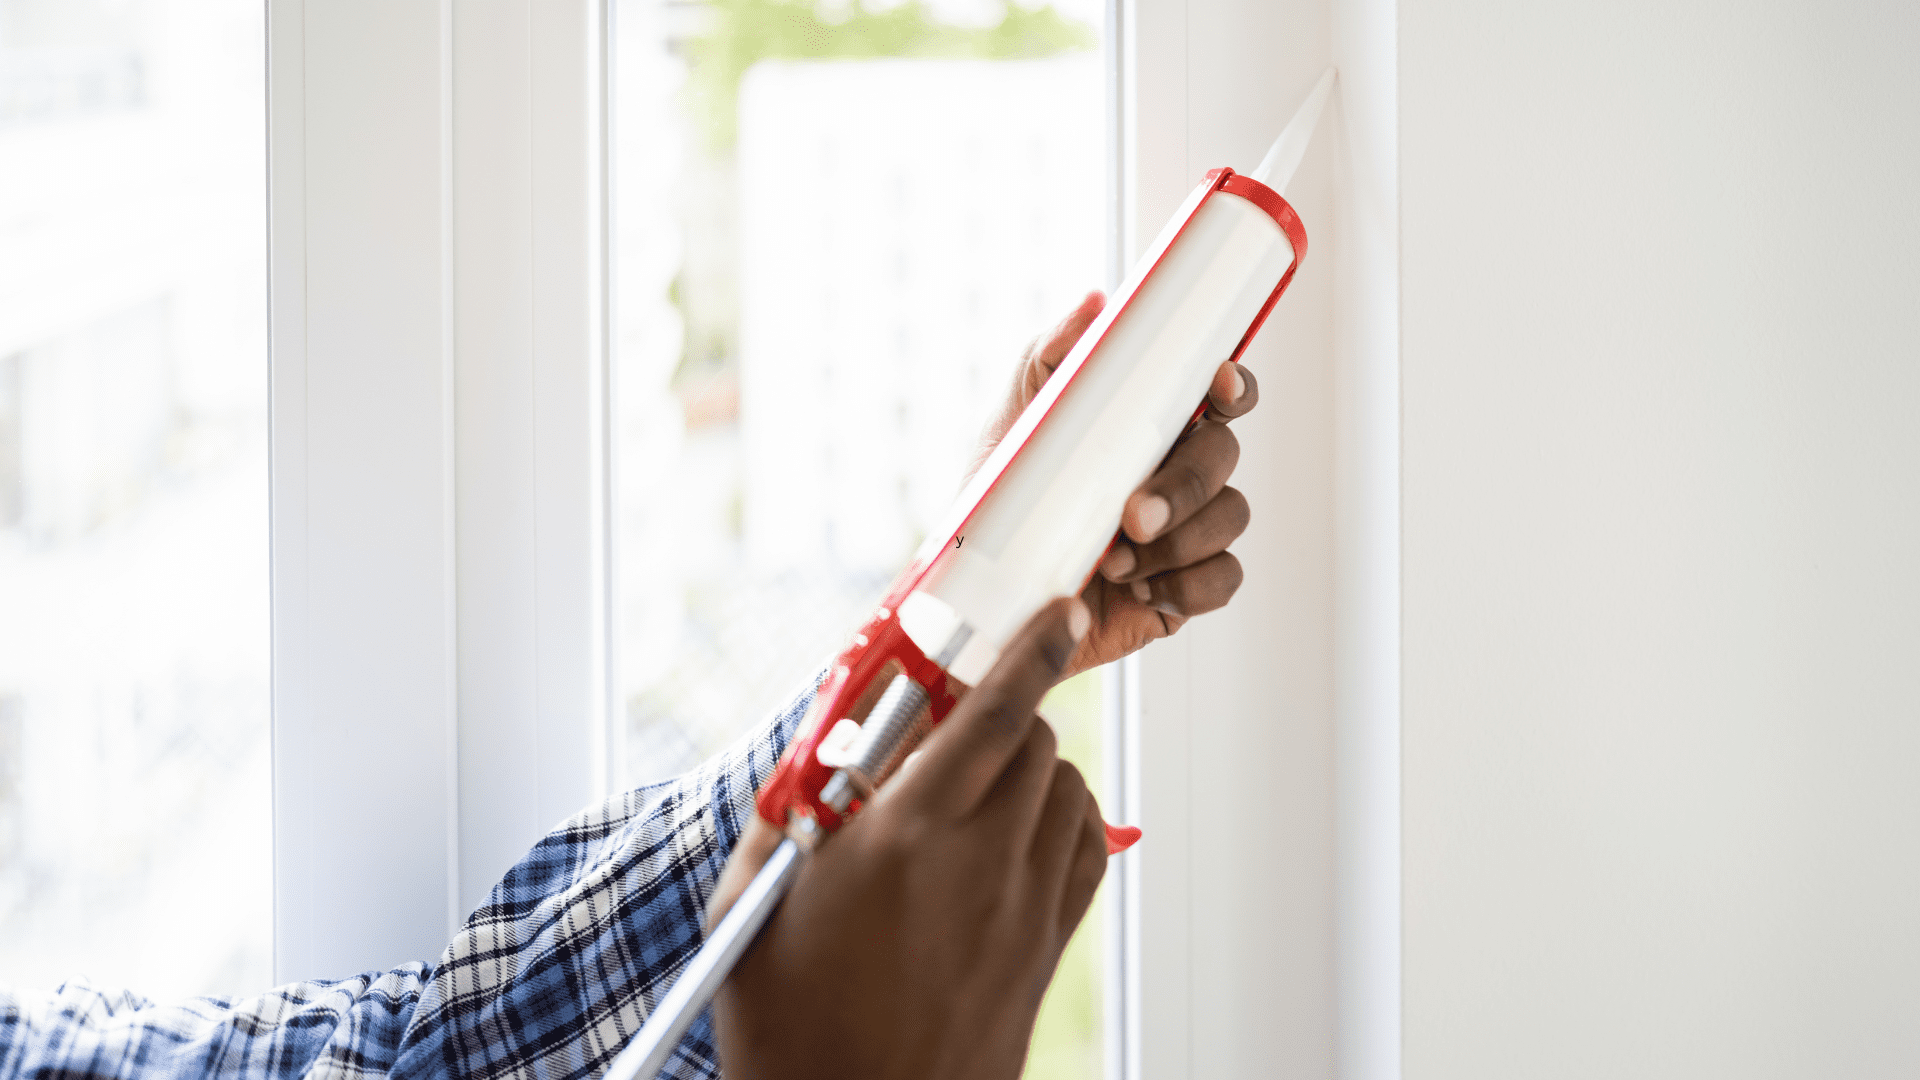
Apply and Let Dry
When your surface has thoroughly dried, it’s time to apply fresh caulking to your RV. If you’ve never applied sealant, do a test run on a piece of cardboard to get a feel for it.
Self-leveling sealants will creep into nooks and crannies in your joints to thoroughly protect against the elements. Once it dries, you’ll want to follow up with another layer to ensure the area is completely covered. If using a thicker caulking, level the surface with a gloved finger.

Alternatives to Caulking an RV
Caulking is the RV industry standard for sealing up joints. But it’s not your only option. Below are two alternatives for keeping your rig airtight and waterproof.
Seal Tape
Heavy-duty seal tape can stand up to the elements much like other sealants, and it’ll keep water and air from penetrating cracks in your RV. This product is beneficial for long seams, such as those on slideouts and roof edges. Even better, it can be used on its own to protect your motorhome from the elements.
Pro Tip: Get the inside scoop on whether or not flex seal tape actually works on RVs.
Butyl Tape
On the other hand, butyl tape is best when used in conjunction with other sealants. It’s super pliable and resistant to extreme temperatures. You can use it on skylights, vents, and windows, then apply an additional sealer on top for maximum security.
While you’ll still want to inspect joints sealed with butyl tape regularly, it tends to last longer than your average caulking.
Don’t Delay Repairing Cracks in RV Caulking
The idea of caulking your RV may feel daunting, but it’s not as tough as it seems. The job can easily be a weekend project or even completed in an afternoon. Just be sure to use the right products for your rig and pay close attention to spots that need repair.
And if it makes the process easier, you can remind yourself that preventing leaks will save you a major headache down the road!
We’ll Help You Find the Best Free Camping in the USA
You should give it a try!
As a matter of fact, these free campsites are yours to enjoy. Every time you pay federal taxes, you’re contributing to these lands.
Become a FREE CAMPING INSIDER and join the 100,000 campers who love to score the best site!
We’ll send you the 50 Best Free Campsites in the USA (one per state). Access the list by submitting your email below: