The 7 Hacks That Will Save Your RV Bathroom Remodel
Anyone renovating a bathroom can attest to how difficult it can be. Thankfully, an RV bathroom remodel is much easier.
When you have such a small space, less is more. You can make small renovations that leave a big impact.
Today, we’ll show you seven hacks for your RV bathroom remodel.
Let’s take a look!
An RV Bathroom Remodel Doesn’t Have to Be Hard or Expensive
Surprisingly enough, the key to renovating an RV bathroom is stickers. You can apply vinyl wood to the floors, peel-and-stick tile to the backsplash, or wallpaper to the walls. These quick fixes are easy, cheap, and durable.
When your bathroom is tiny, and on the move, it’s better to focus on solutions that are waterproof and won’t add unnecessary weight to your vehicle.
1. Paint and Wallpaper Can Change the Whole Look
When you think of remodeling, the first thing that comes to mind is probably painting. Especially in a bathroom without furniture, painting can completely refresh the space. If you absolutely can’t handle painting, try wallpaper instead.
Just wipe off the walls like you would before painting, but instead of applying a couple of layers of primer and paint, apply glue and then wallpaper.

2. Upgrade Your Sink and Faucet for a Modern Vibe
The difference between an RV sink and a regular house sink is weight. In an RV, weight can make a big difference. Some RVs, such as fifth wheels, can use regular sinks that you’d install in your house.
However, be careful that you’re not adding too much extra weight. If you want something nicer, focus on the finishing of the faucet. Bronze rubbed oil looks nice and is very durable. Or, if you want to stick with a silver-tone, you can try stainless steel to provide a more classic look.
Pro Tip: A bathroom update is always exciting, but keep in mind: The Unfortunate Truth of RV Wet Baths.
3. Textiles and Art Add Tons of Style in an RV Bathroom Remodel
You’ll likely only have room for one or two pictures or pieces of art, so make them count. Whether it’s beaches, flowers, or even just pictures of your adorable kids, make the space your own.
Going thrifting during your vacations can give you a way to decorate your RV with memories of your adventures and the places you’ve traveled. Whatever you decide on, it should be the cherry on top of a well-thought-out aesthetic.

4. Replace Your Countertop for a New Aesthetic
You know you’re an adult when new countertops make you drool. Sometimes you have to replace rather than refurbish, and bathrooms can definitely wear out over time. Much like sinks, RV countertops need to be lighter. If you love the durability of granite but don’t want the extra weight, try Corian countertops. They’re just as sturdy but much lighter and better for travel.
5. Use a Peel-and-Stick Backsplash for a Tiled Look
Want to add some pizzazz to your wall but don’t want to bother with paint? For a quick RV bathroom remodel, use a peel-and-stick backsplash on the wall. It’s a lot like wallpaper and just as easy. In this case, you only apply it to the bottom half (or back-splash area) of the bathroom, such as right behind the sink.
This will help balance the room with some color and design without overwhelming the space.
You don’t even have to worry about it peeling off after too many steamy showers; it’s heat and humidity resistant.
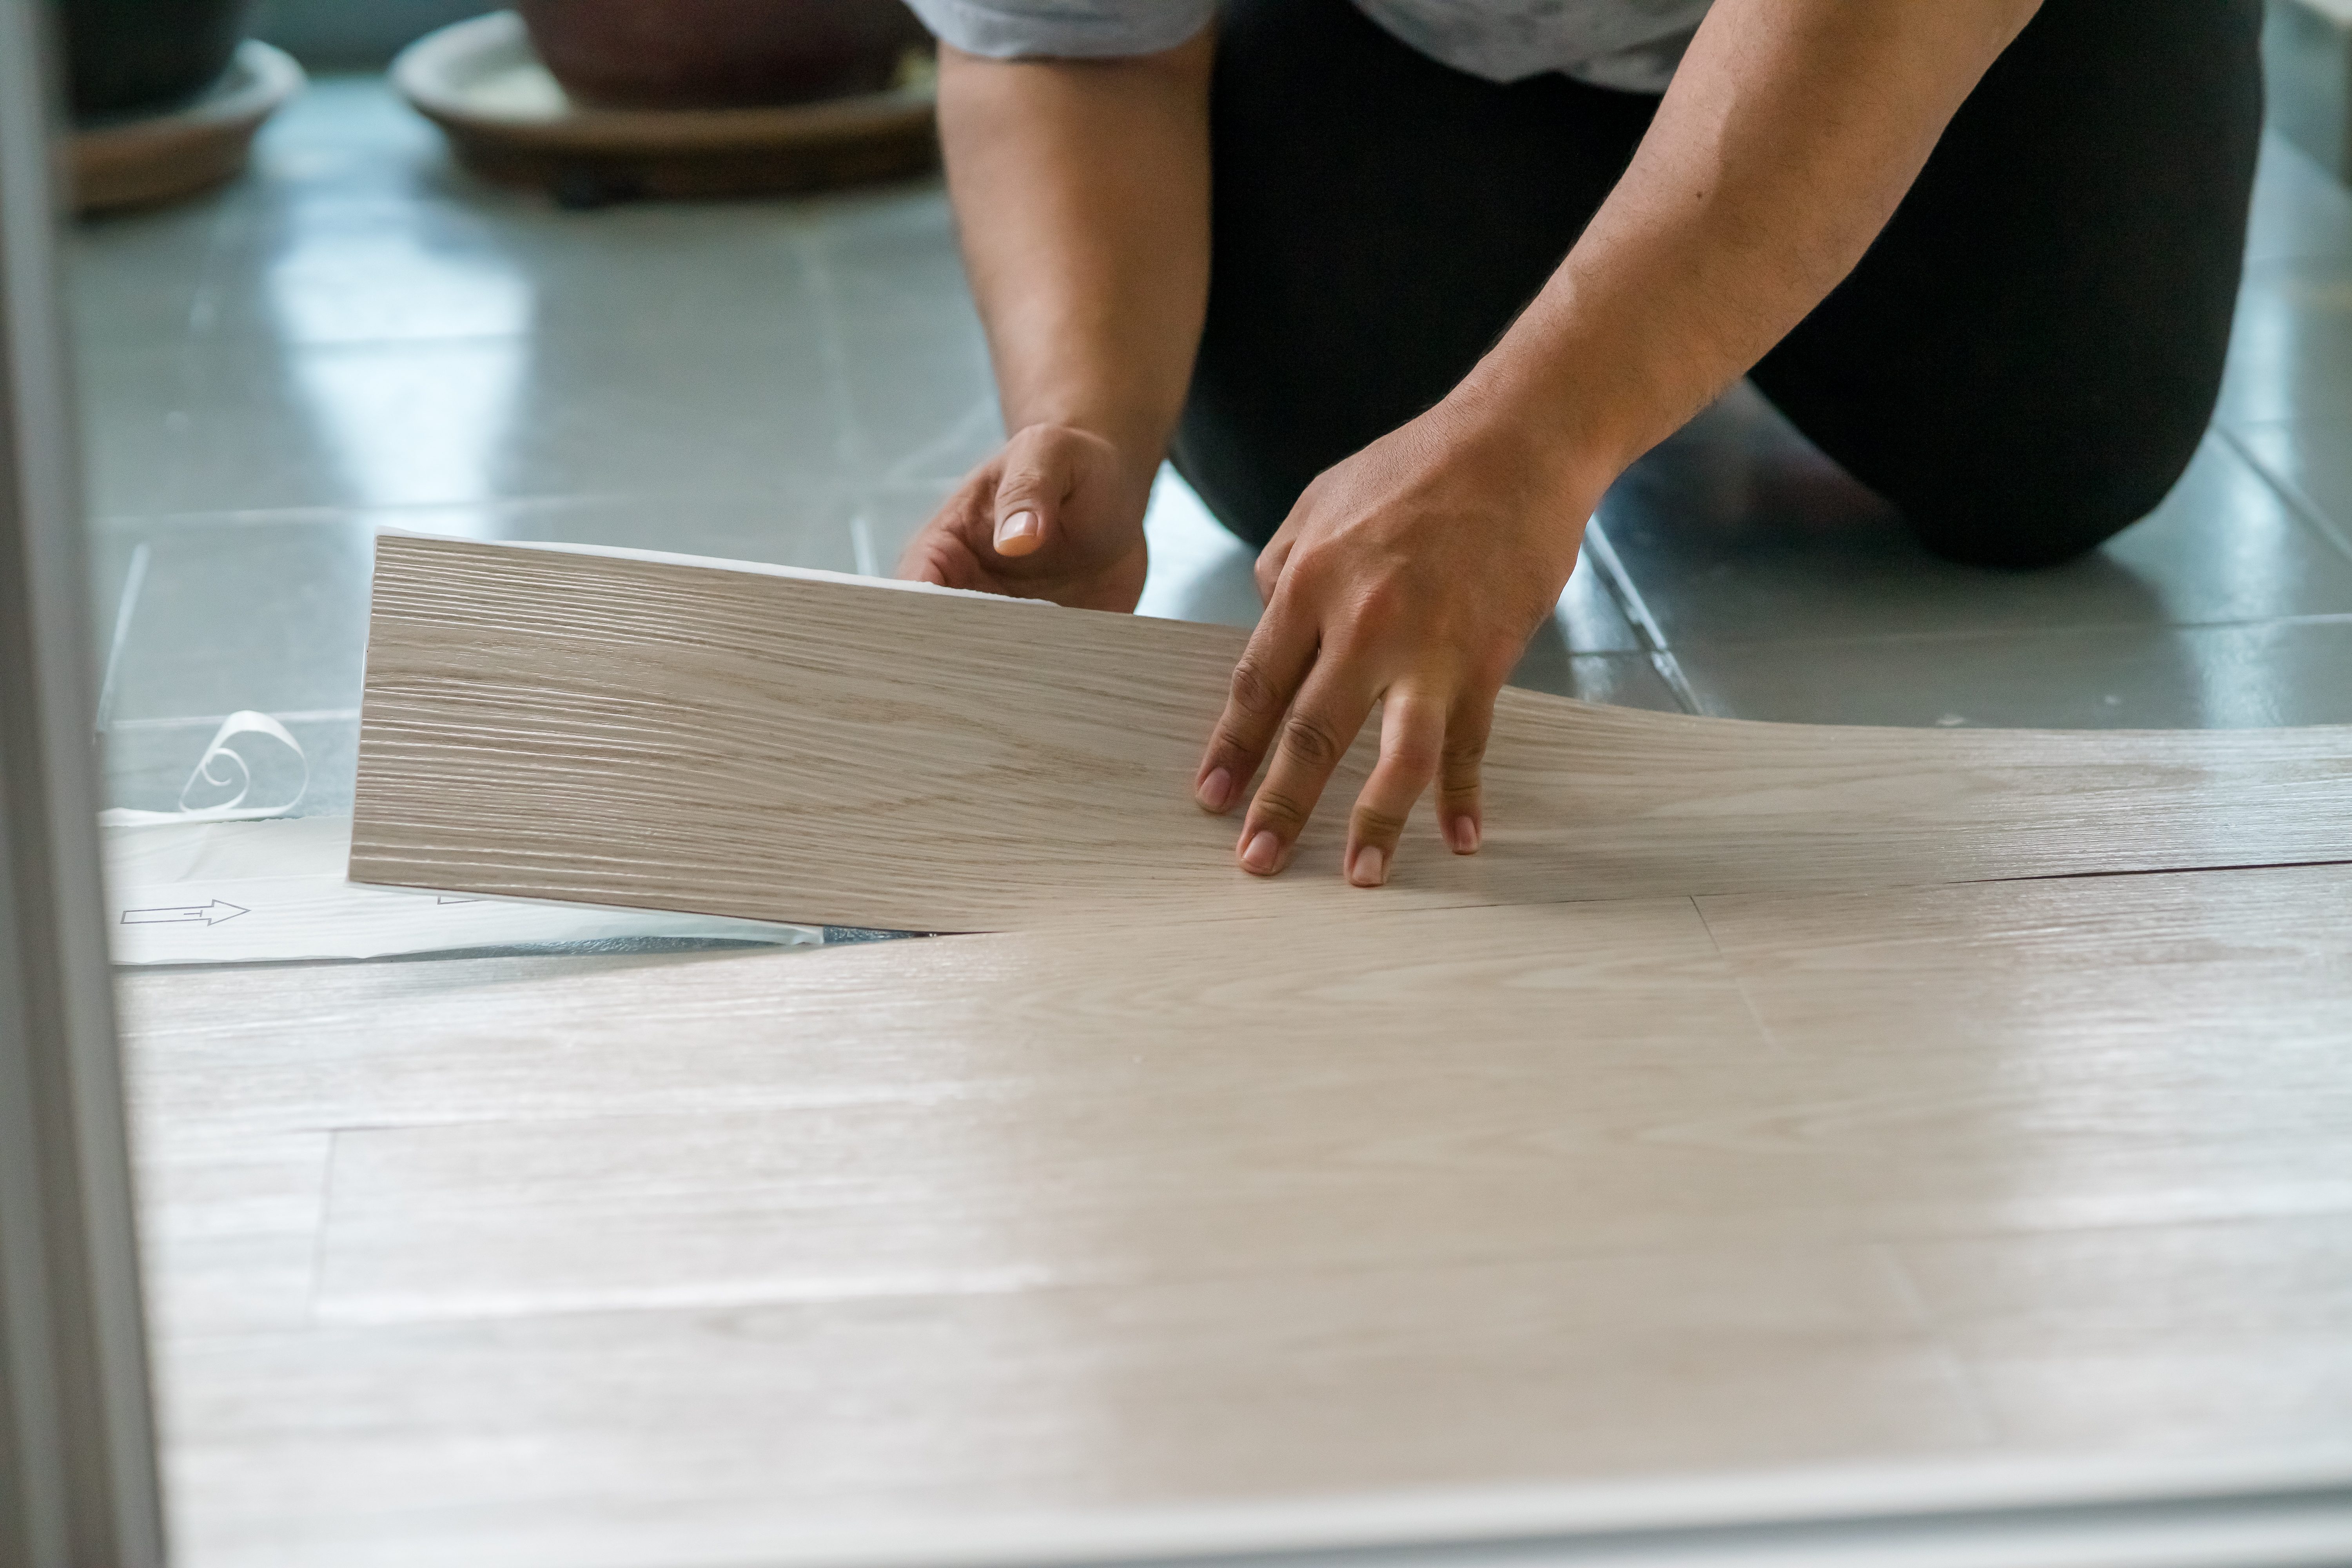
6. Use Vinyl Peel-and-Stick Flooring for an Updated Feel
For a smooth, shiny floor, try vinyl. It’s waterproof, easy to clean, and even easier to apply. You can go for a tile design or wood vinyl that complements the flooring throughout the RV. Just clean the floor, apply some adhesive, and stick on the vinyl. Be careful to line up the corners, so it’s all straight lines, and enjoy your updated floor.
Keep in Mind: If your floor is feeling spongy it can be a sign of water damage from your bathroom. Read more to find out: Should a Spongy RV Floor Worry You?
7. Replace Your Showerhead for Style and Function
Having a quality showerhead is worth the effort. It elevates the whole shower experience and can help cap off a perfect day, especially if you’ve spent that day outdoors. Plus, there are so many classy styles that can make your shower look extra fancy.
A new showerhead can even help conserve water.
Ease Into Your RV Bathroom Remodel
Updating your RV bathroom doesn’t have to be expensive or extensive. Just have fun looking at vinyl designs and special RV sinks, then find something that fits both your personality and compact bathing area.
It’s amazing how even the smallest effort can make a room look so much better, which can be comforting while traveling. How have you renovated your RV bathroom?
We’ll Help You Find the Best Free Camping in the USA
You should give it a try!
As a matter of fact, these free campsites are yours to enjoy. Every time you pay federal taxes, you’re contributing to these lands.
Become a FREE CAMPING INSIDER and join the 100,000 campers who love to score the best site!
We’ll send you the 50 Best Free Campsites in the USA (one per state). Access the list by submitting your email below:
I was looking for some rv remodel ideas and I think your first suggestion nailed it for me. I’ve taken on big projects before and they can be really satisfying, but the simplicity of new paint or wallpaper can be so easy and rewarding… Sometimes you just forget about it. Thank you!!
Thanks for sharing such an amazing blog. It is really helpful in bathroom remodeling.