DIY repairs are a great way to keep your RV looking and functioning like new. Better yet, you’ll save money and enjoy a sense of accomplishment by handling these tasks yourself.
However, it’s easy to bite off more than you can chew. Before you know it, you could do more harm than good to your precious camper.
Luckily, we’ve compiled a list of some of the simplest DIY RV repairs and tips on completing them so you don’t get in over your head.
Let’s take a look!
The Basics of DIY RV Repairs
It’s typically not whether something on your camper will break but when. Many owners quickly learn that working on these vehicles is much easier than they thought. It may surprise you how much you can accomplish with a few tools and access to YouTube.
Completing DIY RV repairs can be extremely beneficial. First of all, it can save you a tremendous amount of money. Shops and technicians often charge $125 to $200 per hour. They may even have minimum charges, which means something simple might cost you a couple hundred bucks. That’s money that could go toward your future adventures.
Additionally, going the DIY route can save you time. Some of these shops let vehicles sit in their lots for a long time before taking a look at them. Why not correct the problem in minutes or hours instead of weeks or months?

5 Easy DIY RV Repairs
It’s natural to feel a little nervous about working on your rig. However, we’re confident that almost anyone can complete these DIY RV repairs. If you take your time and have the right tools, you can check them off like a pro.
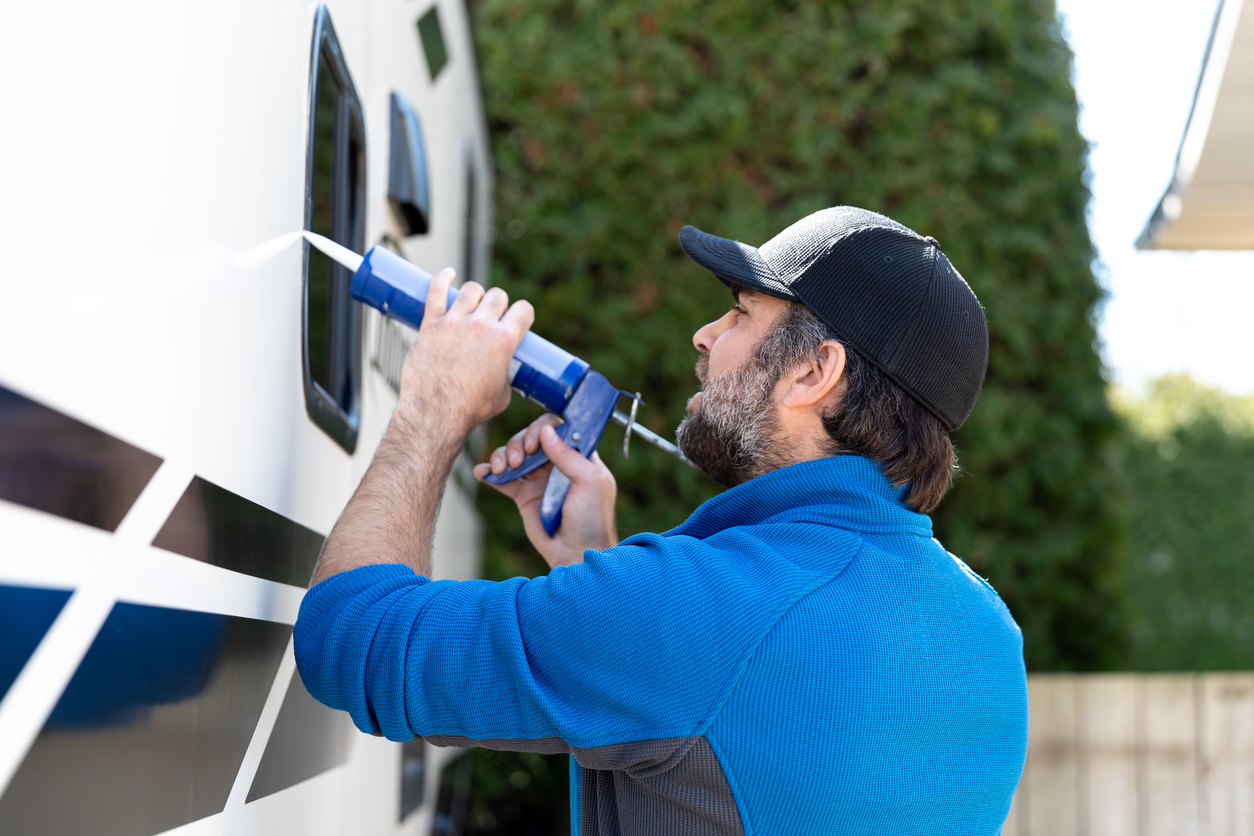
#1 Fix a Roof Leak
A standard DIY repair for RV owners is fixing a leaky roof. These occur when sealants fail or the material gets torn. Leaks can be disastrous and cause extensive damage. Some warranties even require inspecting the surface every 30, 60, or 90 days. If you discover an issue, this isn’t something you want to put off.
Before fixing a leak, you should thoroughly clean the damaged area. Mineral spirits and a rag can effectively remove dirt, debris, and other gunk.
A strip of Eternabond can be a great way to patch smaller areas. However, some damage may require replacing the entire roof. Leave total replacements to a professional.
While up there, inspect seals around skylights, vents, and the corners of your camper. After all, these spots are where most leaks occur. If you’re dealing with cracking or peeling, you’ll want to remove the old material and clean the area. A plastic scraper can be handy for this. Next, use a caulk gun to apply the sealant to the site.
Get the book: DIY RV Illustrated Repair Manual.
#2 Switch Out a Faulty Propane Regulator
A propane regulator is an essential piece of your RV’s gas system. Unfortunately, these devices can fail over time. Luckily, if they stop working, it’s a relatively simple DIY RV repair. You don’t have to stress or worry about getting your appliances back up and running.
You’ll need a set of wrenches and pipe thread tape designed for these lines. Turn off the propane and empty the lines before getting started. The next step is to unscrew the old regulator. Put thread tape on the line and tighten the new one into place.
When finished, you’ll want to check for any leaks. Typically, a spray bottle of soapy water will do the trick. Turn everything on and spray the connections with the mixture.
If you see any bubbles, shut it down immediately and repeat the process.
#3 Replace a Water Pump
In a perfect world, the water pump in your camper should last ten years or more. Sadly, that’s not always the case.
These devices are critical to your plumbing system, especially if you regularly use your freshwater tank. So, keeping it in working order should be a top priority.
Water pumps break for various reasons but are easy to replace. Generally, parts cost between $50 and $100. Shops and technicians will likely charge you more for labor than the materials. Once you have the pump, you can complete this DIY RV repair in 30 to 60 minutes.
First, turn off the water and empty the lines. You’ll also want to remove the fuse to avoid potential electrical issues. Once you’ve tested to ensure everything is safe, disconnect the old unit and hook up the new one. Turn the power back on and test the pump before securing it and cleaning up your tools.
Deep Dive: Common Reasons Your RV Water Pump Isn’t Working.
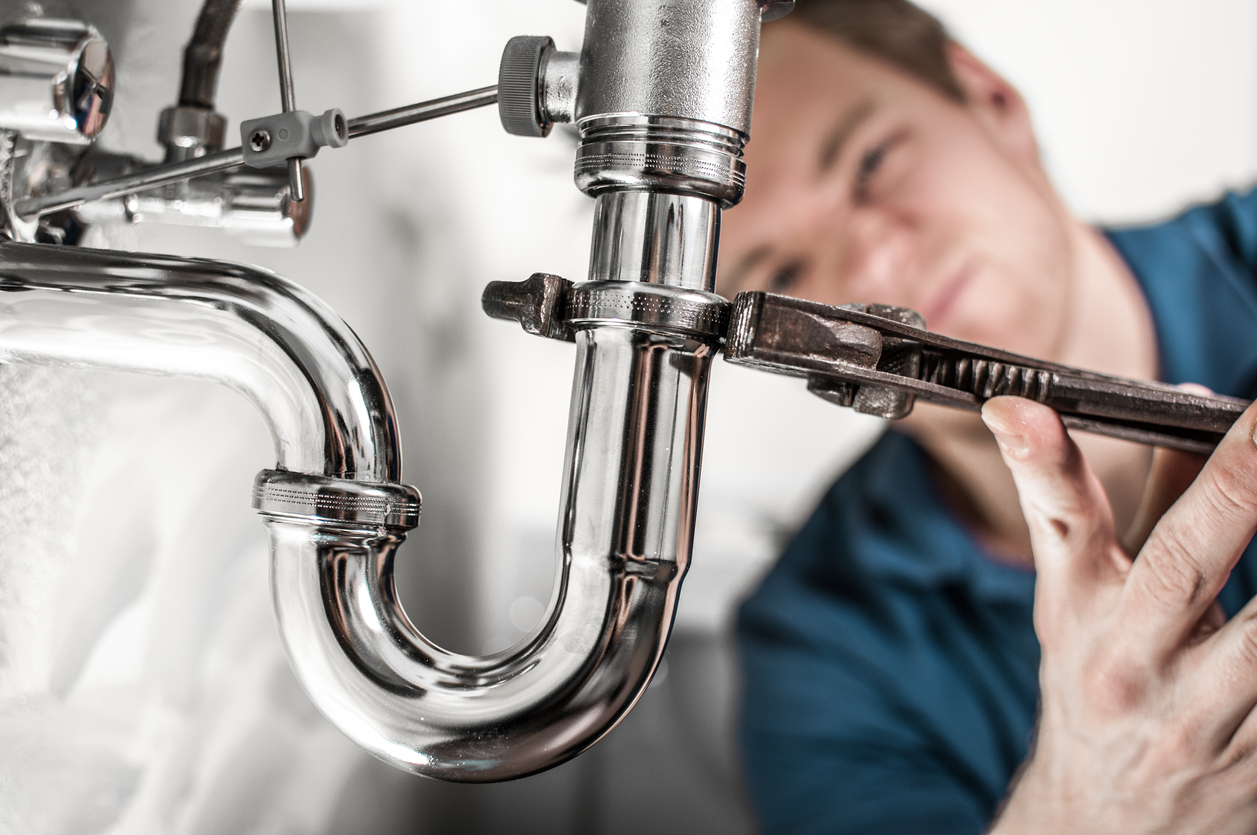
#4 Repair a Leaky Faucet
Another DIY RV repair you can do is replace a leaky faucet. It’s worth noting that many owners swap these out when doing renovation projects, not just when they break. If all goes as planned, it should take 15 to 20 minutes to make the switch.
In addition to the faucet, you’ll likely only need a bucket, a pair of channel locks, and some plumber’s tape. It can also help to have a towel to clean up any accidental messes.
Start by turning off the water and turning on the faucet to remove excess liquids from the lines. Place the bucket under the sink and use your channel locks to loosen the threads connected to the faucet. Once disconnected, your channel locks can remove the nuts holding the tap and exchange the old with the new.
Reconnect everything and inspect for leaks before packing up.
#5 Replace a Damaged Screen
Having massive windows in your RV can allow a cool breeze to flow through your rig. But you might let in more than fresh air if you have holes in the screens. This could weaken your defenses against bugs and other annoying critters getting into your space. Replacing a damaged screen is a straightforward DIY repair for any RV owner.
Start by removing it from the window to assess the damage. If it’s minor, you can simply patch it. Simply buy a roll and cut it to size. Use a spline roller to push the rubber into the frame to hold it in place.
For more extensive wear, you might need to replace the screen.
Like most of the other DIY RV repairs we’ve discussed, this is one where it pays to pace yourself. You want to tighten the material to look nice and not blow in the wind. If it’s loose, it could create issues during breezy conditions or while traveling. Do yourself a favor and slow down so you do it right the first time.
Here’s How to Easily Repair a Window Screen.
DIY Repairs Make RV Ownership More Sustainable
As you can see, doing DIY repairs on your RV doesn’t have to be scary or complicated. While it can sometimes feel like a hassle, completing these tasks on your own saves time, money, and stress. Unfortunately, there won’t be anyone to blame but yourself if you don’t do a quality job.
That said, we believe in you and have confidence you can knock these projects out of the park!
We’ll Help You Find the Best Free Camping in the USA
You should give it a try!
As a matter of fact, these free campsites are yours to enjoy. Every time you pay federal taxes, you’re contributing to these lands.
Become a FREE CAMPING INSIDER and join the 100,000 campers who love to score the best site!
We’ll send you the 50 Best Free Campsites in the USA (one per state). Access the list by submitting your email below: