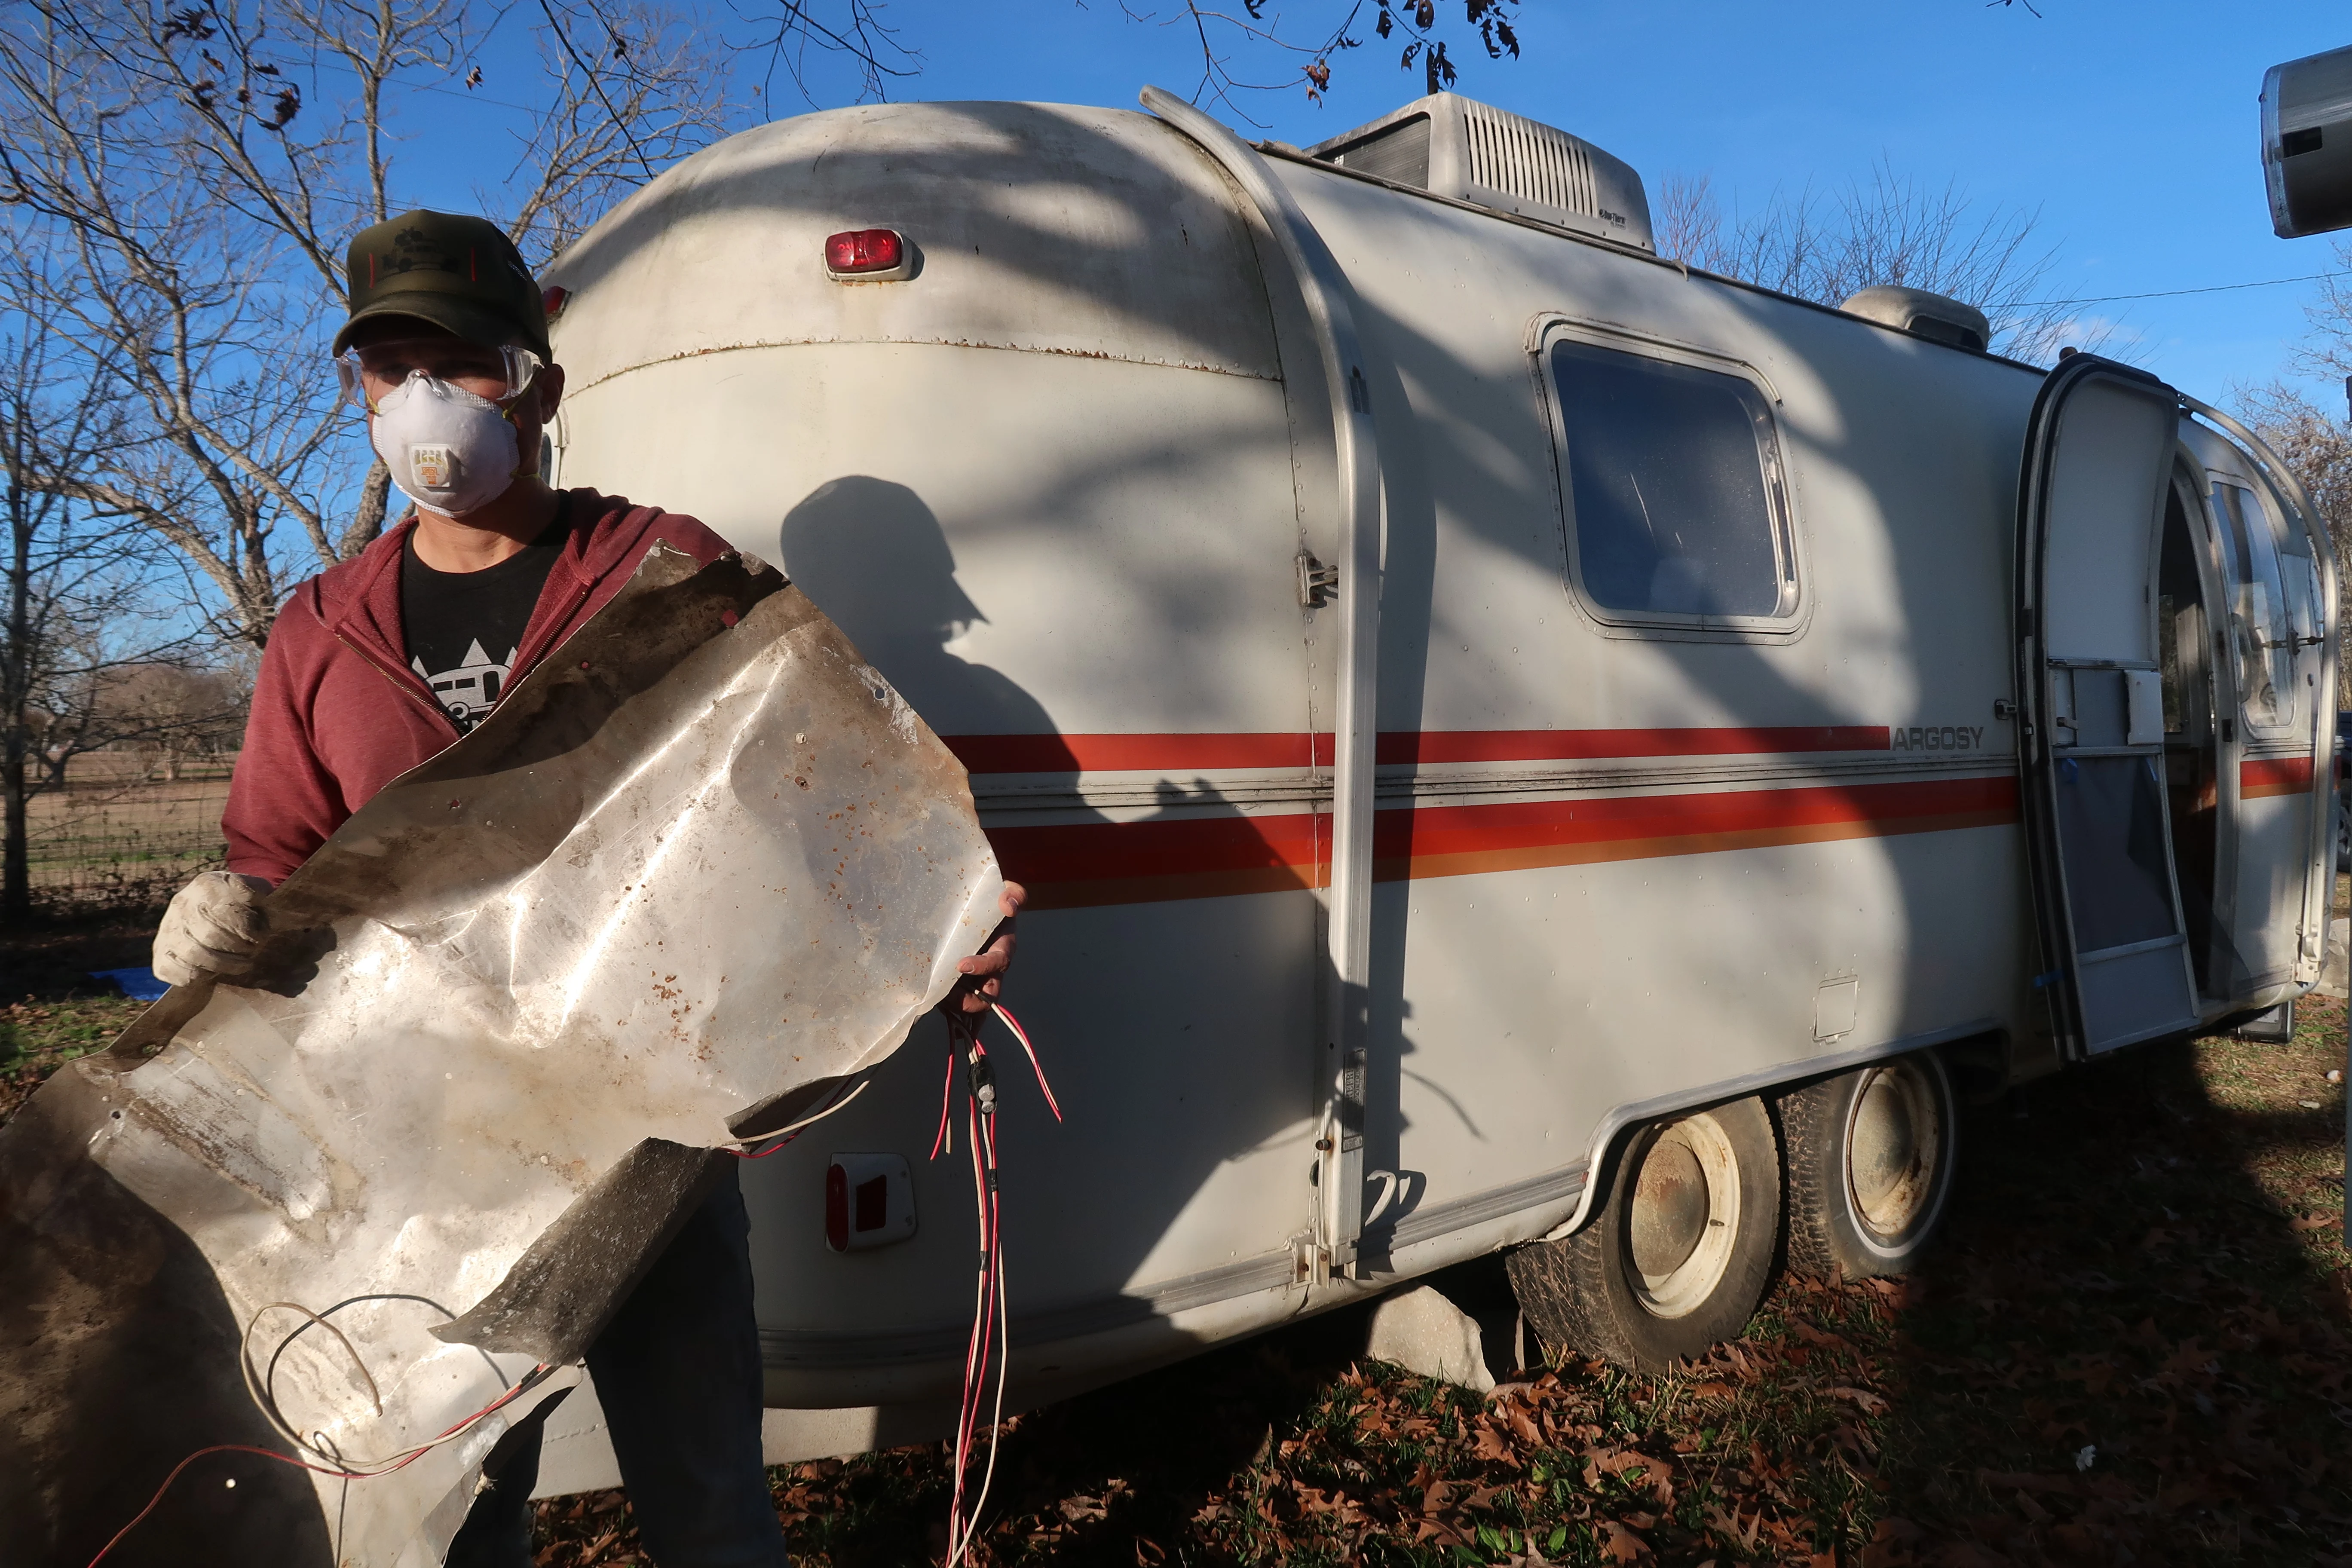
Our vintage Airstream renovation began in March 2018. The task at hand: completely renovate a 24 foot, 1979 Airstream Argosy to be used for full time RV travels.
When we purchased this Airstream, it was already demo’d (this is a good thing) and had no subfloor (this is a blessing & curse).
In this blog post we’ll show you PHASE ONE of the project. This first phase includes rebuilding the frame, installing new axels with lift, and building a completely new subfloor.
If you want to follow our renovation in real-time, head over to our YouTube channel and smash that subscribe button! Here’s a chronological playlist of all the renovation videos:
Airstream Renovation Task 1 // Continue Demolition
We quickly realized the first step forward would actually be a step backwards. In order to properly install our new subfloor and fix the “c” channels we had to preform the “full monty.”
In case you don’t know – the full monty is an Airstream renovation term that means removing the aluminum shell from the frame (we’ll get into this in just a bit).
Back to the demo: Here’s a video of us unriveting the walls & the underbelly.
It was SUPER important to have two things for this project – an awesome drill and high quality drill bits.
We used a cheap drill at first and the jobs took twice as long.
Airstream Renovation
Task 2 // Lift Shell Off Frame
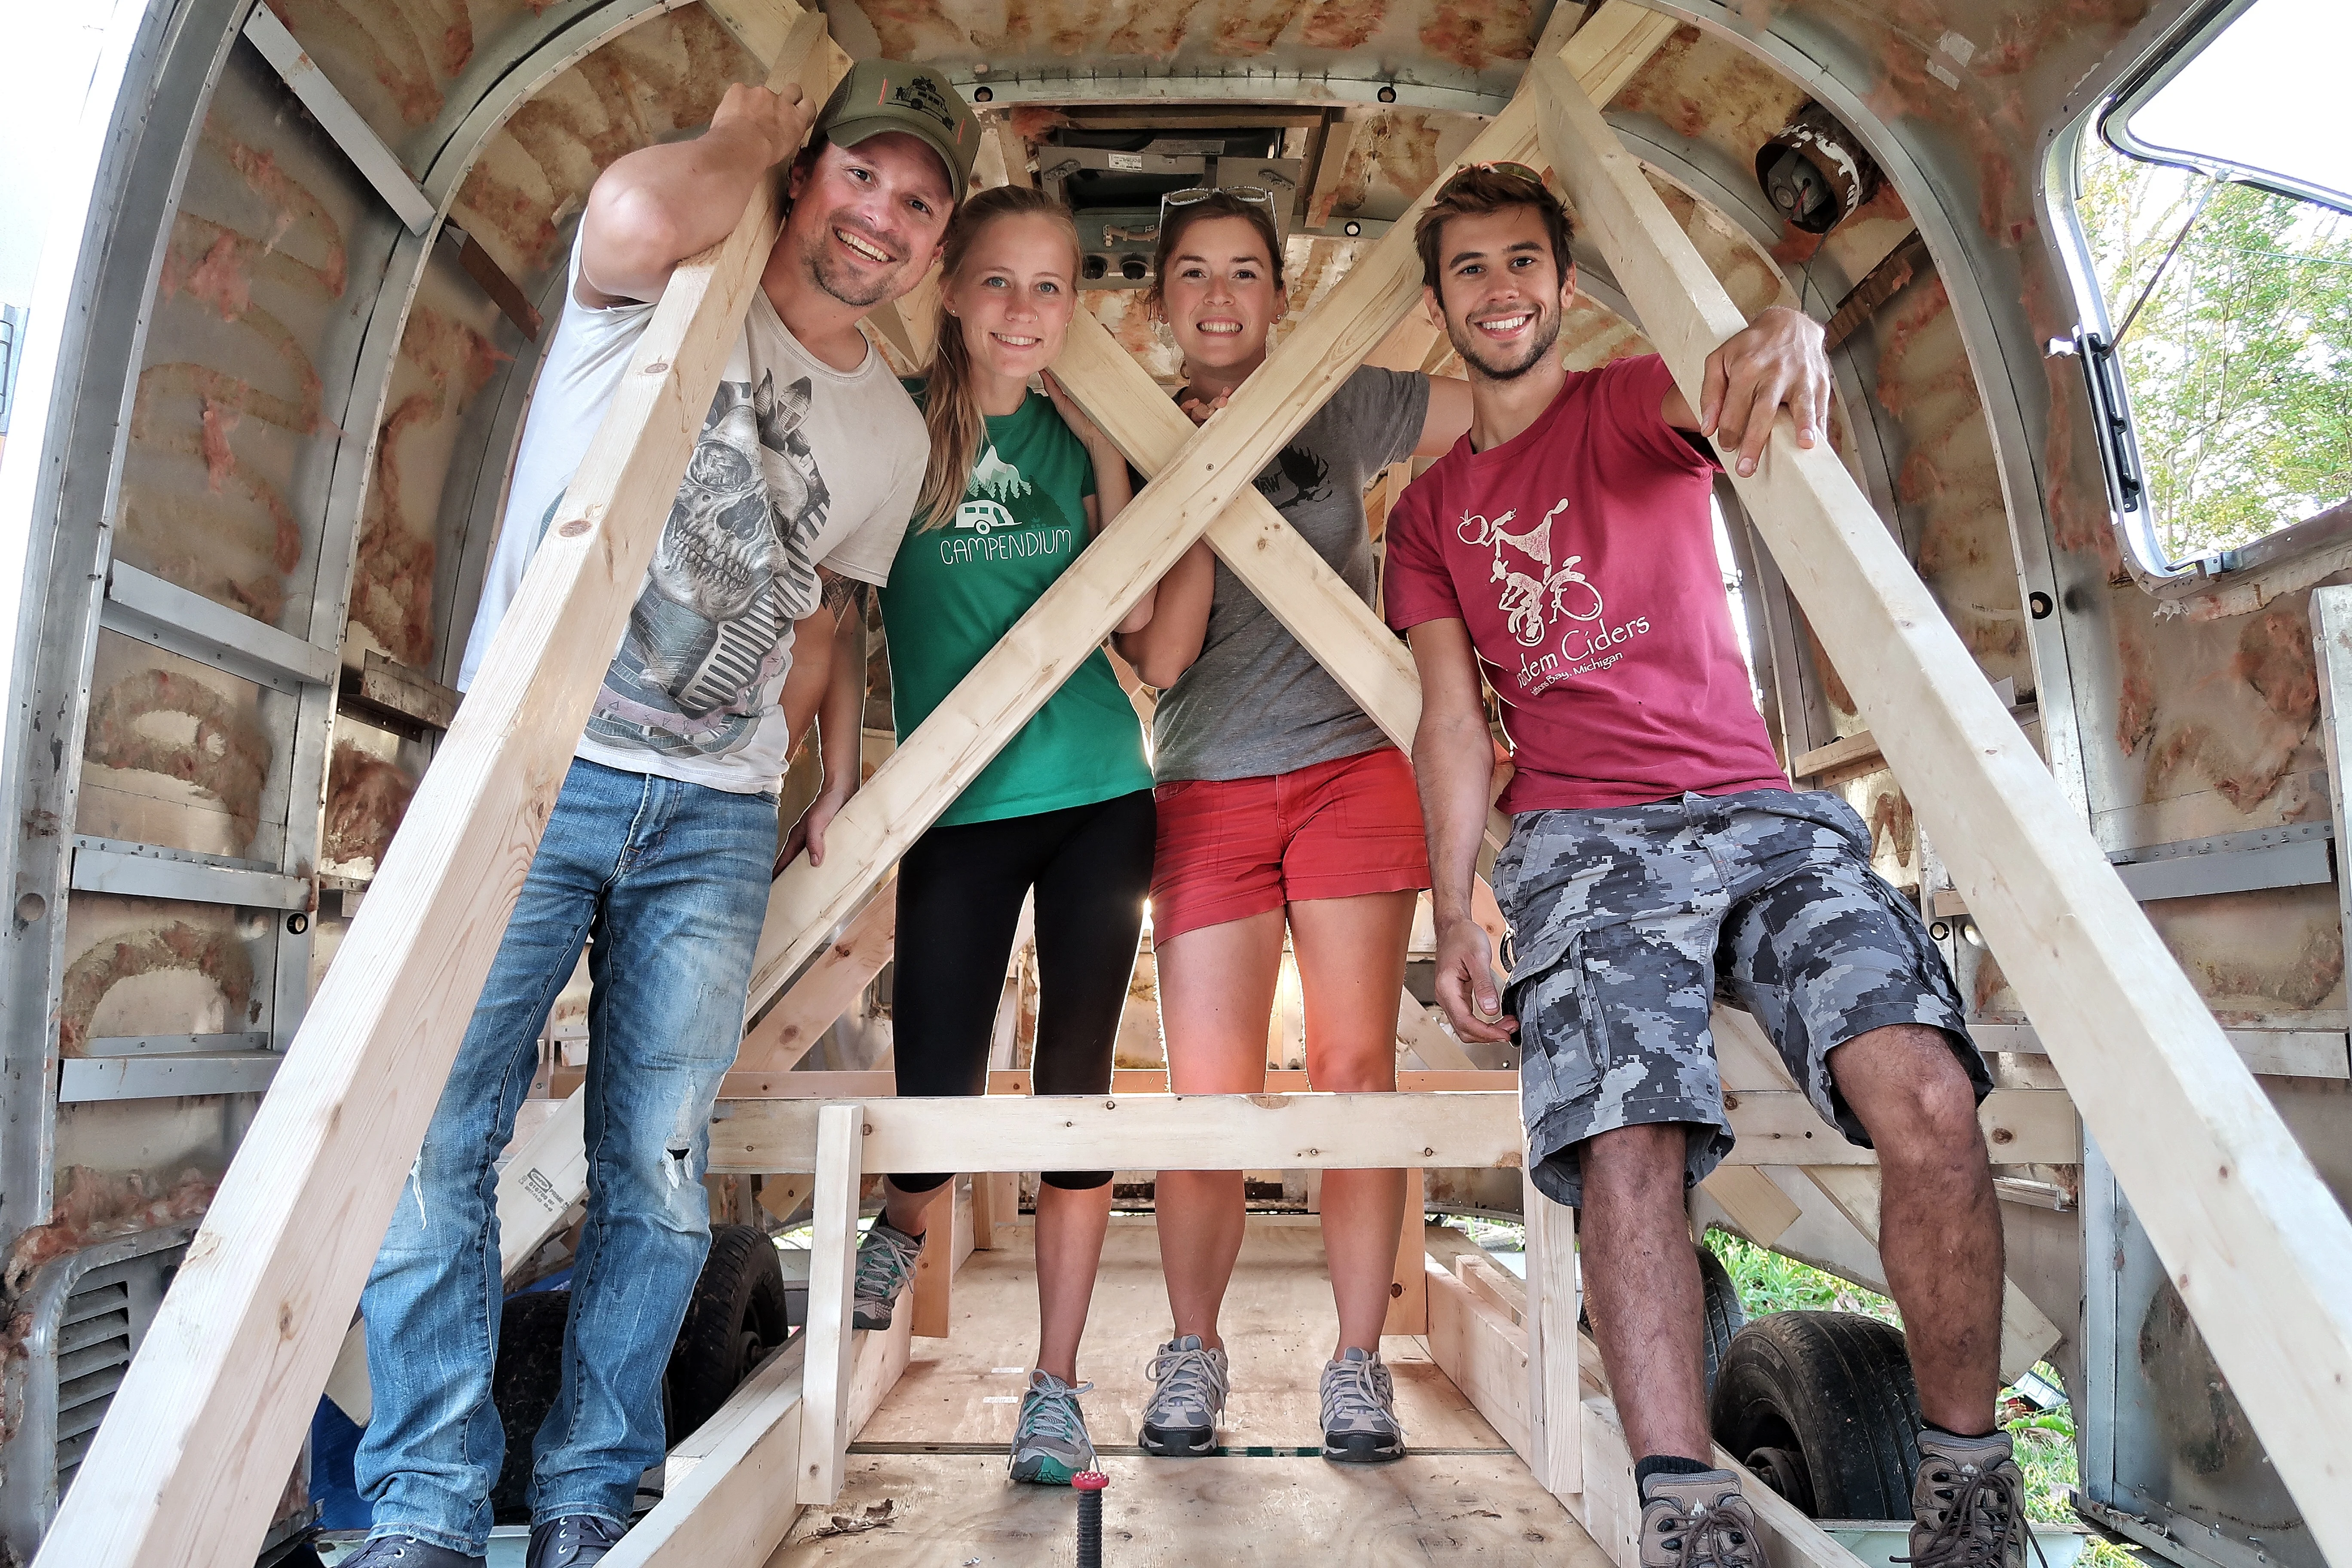
Time to get the full monty underway! From our research, there are two ways to preform the shell removal: build an inner frame and jack the shell up or build a large pulley system and lift the shell off.
We decided to go with the first option. Fortunately, we had our friends, Mortons on the Move, to help us with this step.
Constructing an inner wooden frame is VERY important. This will prevent the aluminum shell from warping and bending out of shape. It also gives us a good structure to stabilize the frame once lifted.
The day after we built the wooden structure, we carefully and slowly jacked the shell off the frame. Once the frame was lifted, we positioned 4×4 beams on cinder block columns to keep the shell in position.
For the project, the high quality drill came in handy. Also, lots of heavy duty jacks and jack stands!
You can watch the process below:
Airstream Renovation
Step 3 // Total Frame Overhaul
Pulling the frame out from underneath the shell was eye opening! We spotted a few areas of rust that concerned us.
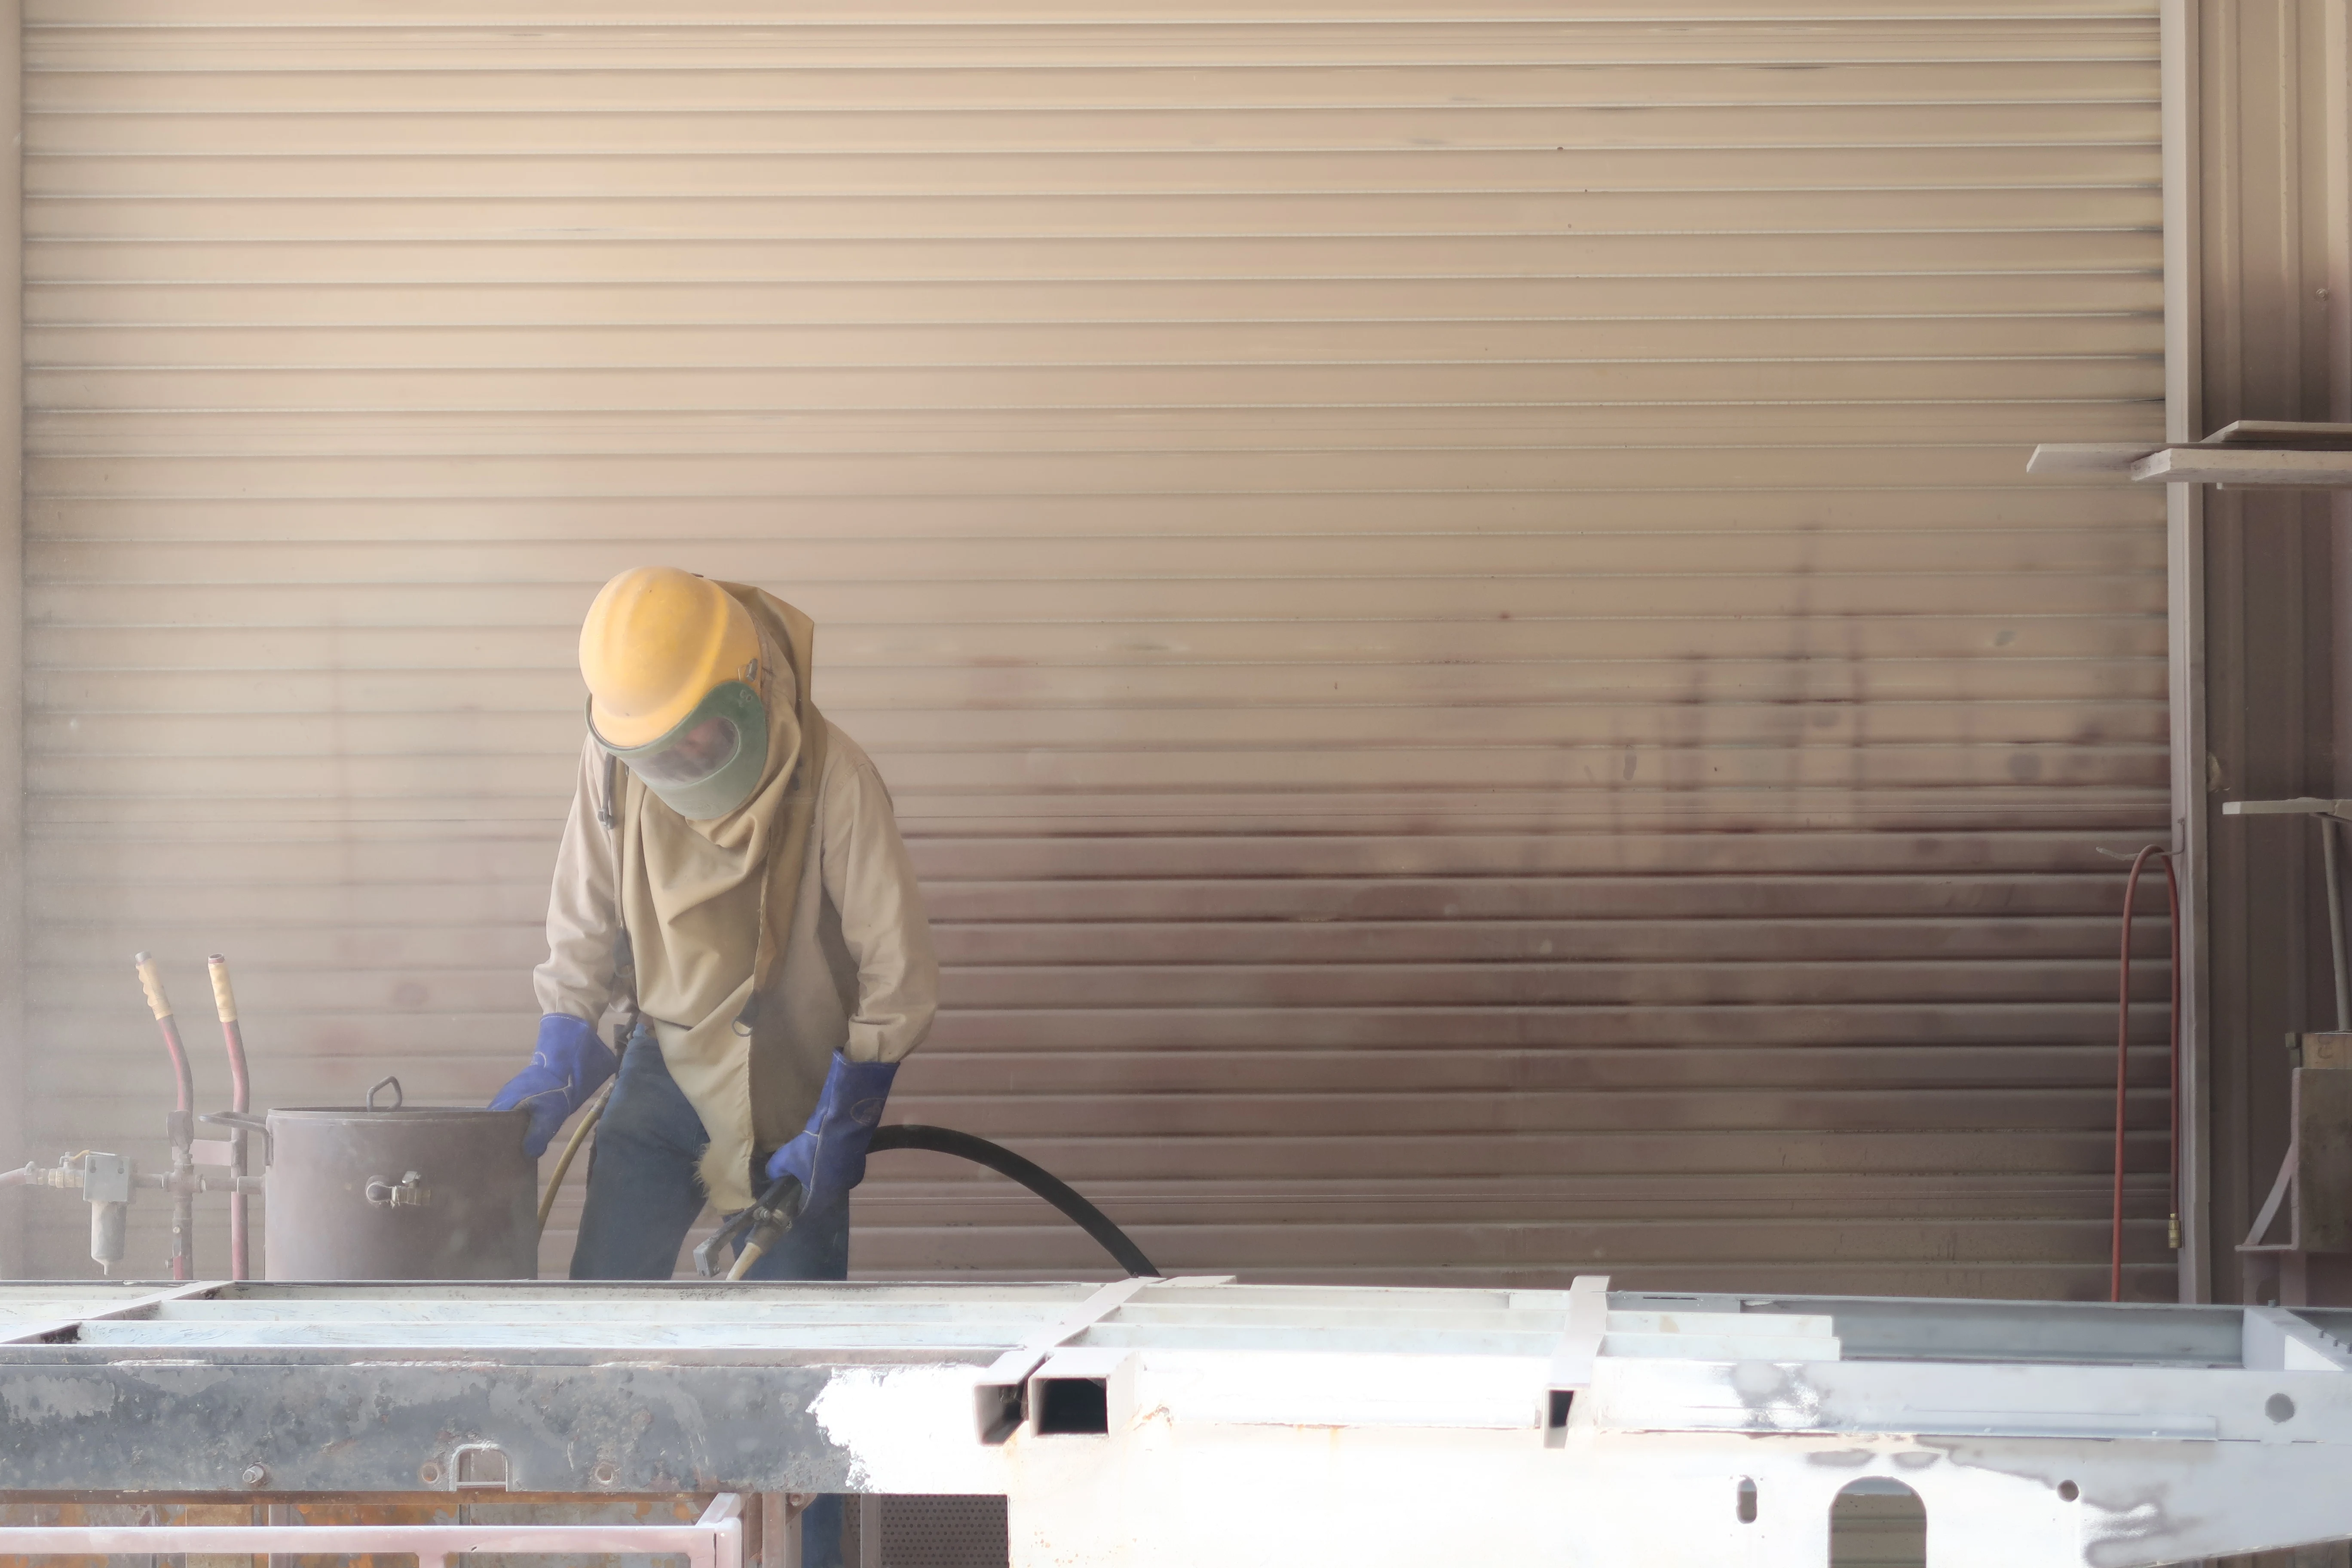
But, to get a full scope of potential rust damage, we decided to get the entire frame sandblasted.
After sandblasting, we rebuilt areas that had too much rust and we reinforced other spots just for good measure.
My favorite upgrade during this phase was adding a 3in lift! This lift gives us a lot more clearance when going off-road. In addition to the lift, we installed new Dexter axles from Inland RV. This also added a half inch of lift.
Next up, we coated the frame with rust encapsulator from Eastwood Co. The biggest tip we have for this job…buy a spray can comfort grip trigger.
To finish the frame overhaul we put some new shoes on the ol’ girl! We bought these from eTrailer.
Airstream Renovation
Step 4 // Building the Subfloor
This was the most daunting process so far…mostly because we had no template to start from. We had to use the inside shell to get an approximate measurement and EVERY time we took the measurements the numbers came back different . Albeit, the differences were all within 1/2 an inch.
We also had to trace the curves and hope it was correct.
All of this may seem easy and like a no-brainer solution, but let me tell you, the aluminum at the bottom of the shell was anything but perfect. The aluminum had about half an inch of natural flex and was wavy due to riveting (none of this will be noticeable once the renovation is complete, but it made the template far from perfect).
Once we got the measurements and cut the subfloor pieces, we also cut reflectix insulation to adhere to the bottom of the subfloor plywood.
To reattach the shell to the frame we basically preformed the “lift off” in reverse. I suggest watching the video above for all the deets.
Next Steps for the
Airstream Renovation
Now that we completed the full monty, we’re beginning the wiring and plumbing systems.
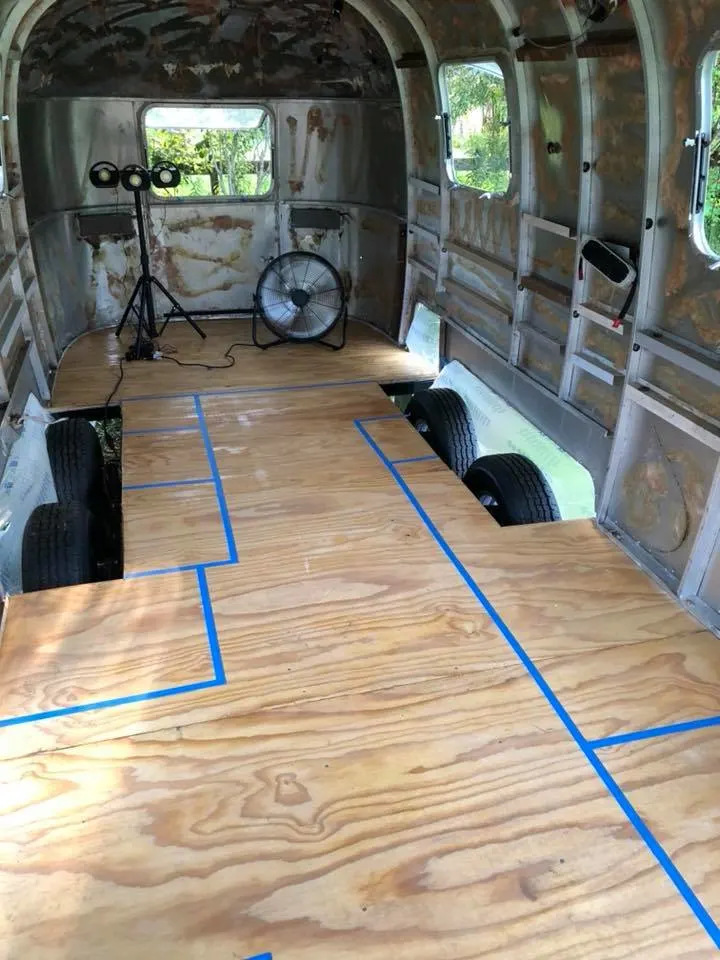
Olivia has also began taping-off different floor plans to get a better idea of the space.
If you want to learn about the History of the Airstream Argosy and why its painted, check out this article.
You can also head over to our YouTube channel to see our progress by clicking the link below!
Watch our step by step Airstream Renovation playlist for a complete understanding of our process!


[…] You can read more about that process here – Vintage Airstream Renovation: Subfloor, Frame & Axles […]
[…] You can read more about that process here – Vintage Airstream Renovation: Subfloor, Frame & Axles […]
[…] you want to see what we’ve done so far, check out our post – Vintage Airstream Renovation: Subfloor, Frame & Axels This process took much longer than expected, but we have a solid foundation and we’re ready […]
I’m beginning a restore of my own this weekend. I’m wondering about rivet guns. I believe I saw Olivia using an air powered one but I also saw someone using a manual rivet gun. Could you go over which you preferred and if you have any issues fitting them into some places. Thanks, Liz
We did use both, so multiple of us could rivet at the same time. The manual can get exhausting after a few hundred or so. If you’re going to be doing a ton of riveting definitely go with the air powered if you can, but if you’re just going to be replacing a few here and there then a manual pop rivet gun should be fine.
[…] Its great for campfires and new friendships, and you get to decorate too! When we finish our Airstream Argosy renovation we’ll be right there with you! In the meantime, I compiled a list of some of my favorite Fall […]